Field & Home
The short answer: Build a self-watering planter using two 27-gallon totes in about a weekend; the design creates a roughly 3-inch reservoir, a 1.5-inch fill tube, and a wicking layer that typically keeps plants watered for 3–7 days depending on heat and plant size.
Materials and tools
Gather two heavy-duty plastic storage totes, recommended size 27 gallons each (roughly 33″ x 17″ x 17″ external). One tote becomes the reservoir (bottom), the other becomes the planting box (top). You will also need: 1 piece of 1.5-inch PVC pipe, cut to 8 inches for a fill tube; four 2-inch plastic or wooden spacers; a 1/2-inch drill bit plus a 1-1/4-inch spade bit or hole saw for the fill tube; landscape fabric, coarse gravel or pea rock, potting mix, and a utility knife or jigsaw.
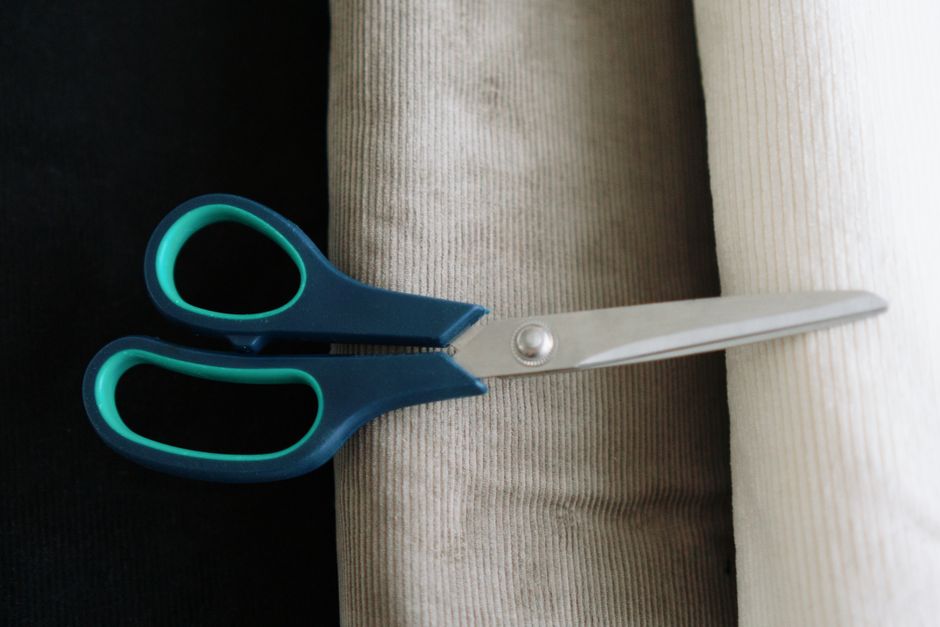
Tools: electric drill, jigsaw or sturdy box cutter, tape measure, marker, silicone sealant (exterior grade), and a 1/2-inch garden hose shutoff or cap if you want to test reservoir leakage. Expect about 2–4 hours of cutting and assembly plus 30–60 minutes for potting and watering the first time.
Prep a flat workspace and wear gloves and eye protection when cutting plastic. Test-fit the two totes before you cut anything: nest the planting tote upside down on the reservoir tote and mark where the fill tube will sit so it will reach the reservoir without interfering with spacer placement.
Why this works
Gallons, inches, and hours for tote reservoirs.
Holes half-inch on 1.5 grid
Half-inch holes every 1.5 inches center-field with 1-inch wall margins keep strength.
Tube 8 in of inch-half
Eight-inch 1.5-inch PVC fill tube on four 2-inch spacers waters the reservoir cleanly.
“Using a raised planting box with a spaced floor keeps root crowns above stagnant water; I refill once every 5 days in summer and every 10 days in fall for small containers.”
—
Build and planting steps
Step 1: Prepare the reservoir tote. Clean it and dry it, then measure up 3 inches from the bottom on the inside wall and mark a continuous line; this will be your maximum reservoir depth. Drill a hole for the overflow at 3 inches above the base using a 1/2-inch bit; this prevents overfilling. If you want to add a bulkhead overflow fitting, cut a 1-1/4-inch hole and seal the fitting with silicone for a watertight finish.
Step 2: Cut the planting tote floor pattern. On the bottom of the planting tote, mark a grid of 1/2-inch drainage holes spaced 1.5 inches apart across the central planting area. Drill the holes with a 1/2-inch bit so water can move from the planting box into the reservoir. Leave a 1-inch margin of plastic around the side walls to preserve strength.
Step 3: Make supports and assemble. Attach four 2-inch spacers—one near each corner—on the inside bottom of the planting tote using exterior-grade silicone or screws into plastic posts; these spacers raise the planting tote off the reservoir floor and create a continuous 3-inch reservoir cavity. Position the 1.5-inch PVC fill tube through the side of the planting tote so it extends to within 1/2 inch of the reservoir bottom when assembled; drill a 1-1/4-inch hole and seal the pipe with silicone.
Step 4: Add a wicking and ballast layer. Place a 1-inch layer of coarse gravel or pea rock across the raised floor to prevent soil from collapsing into the holes, then cover with landscape fabric cut to fit. The fabric acts as a wick: fold it so a short flap extends down into the reservoir through a row of holes to carry water upward. This setup creates capillary pull; leave about 1/2-inch of fabric tucked into the reservoir at one corner.
Step 5: Test for leaks and water the reservoir. With the planting tote set into place, add water to the reservoir through the fill tube until water begins to flow from the overflow hole; this confirms your overflow height. Expect to need roughly 1–2 gallons to reach the 3-inch reservoir on a 27-gallon tote base—measure when you first fill to know your specific capacity.
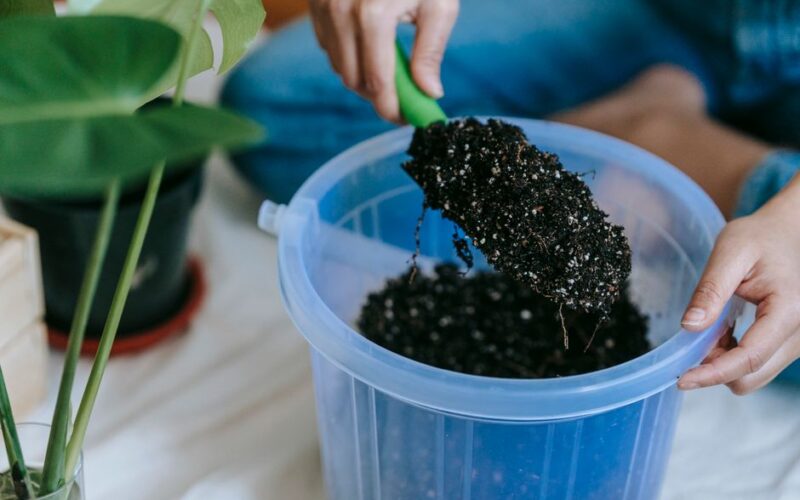
Step 6: Add potting mix and plant. Use a light potting mix with 30% perlite or coarse sand for good internal aeration. Add soil to the planting tote to within 2 inches of the rim, firm lightly, then plant seedlings or seeds. Water the top once to settle soil; the reservoir will top-up the planting mix over the following 24–48 hours through the wick.
Maintenance tips: check the fill tube once every 3–7 days for herbs or 2–4 days for thirsty vegetables in full sun. Flush the reservoir and replace water every 4–8 weeks to avoid mineral buildup; every 12 weeks inspect holes and the fabric wick and replace landscape fabric if it clogs.
Variations: use two 15-gallon totes for a shallower footprint, or use a single larger tote with an internal false bottom if you want a sleeker look. For patio display, hide the reservoir tote inside a wooden planter box sized to the tote’s external dimensions—allow 1/2 inch clearance for removal.
Frequently Asked Questions
Further reading: Seven Seedling Watering Mistakes That Drown New Plants · How to Grow Kitchen Herbs in Containers
Sources: UMN Extension