 Field & Home
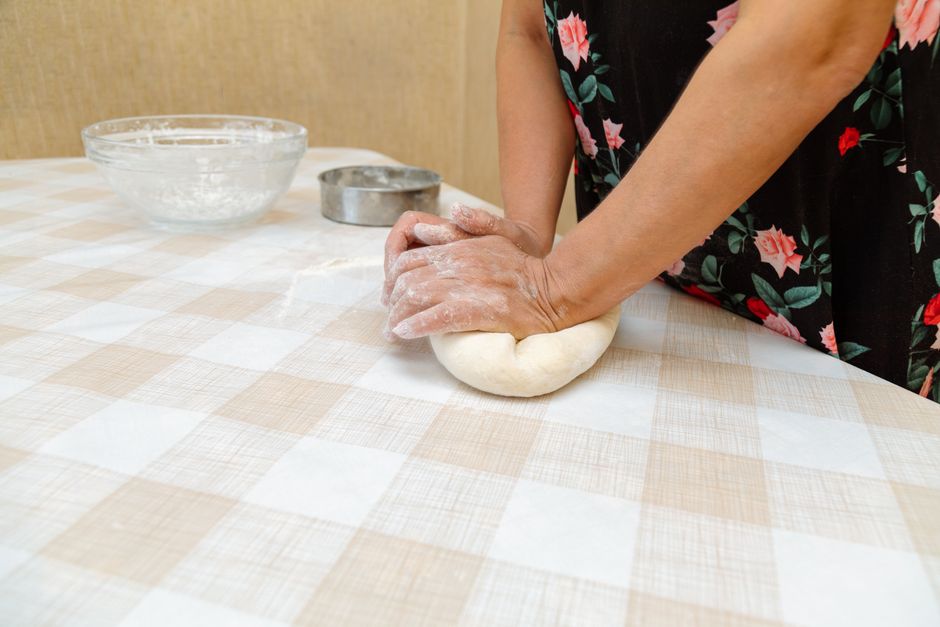
The short answer: A crisp, open-crumb loaf requires only 4 ingredients, 10–18 hours of fermentation, and a 30–40 minute bake in a preheated Dutch oven at 450–475F. Use exact times, temperatures, and a covered bake to trap steam for a blistered crust.
Ingredients and the simple wet dough
This recipe uses 4 basic ingredients: 500 g (about 4 cups) all-purpose flour, 375 g (1 1/2 cups plus 2 tablespoons) water at room temperature, 2 teaspoons fine sea salt, and 1/8 teaspoon instant dry yeast. Use a digital scale for accuracy; weight-based measuring gives consistent hydration and crumb. The target hydration is 75% (375 g water / 500 g flour), which produces a sticky, extensible dough that yields large air pockets after a long ferment.
To mix, pour the flour into a large bowl and add the salt on one side and the yeast on the other so the salt doesn’t touch the yeast directly. Pour the water over the flour and mix with a spoon or your hand until no dry flour remains, about 30–45 seconds. The dough will be shaggy and sticky; do not knead. Cover the bowl with a tight lid or plastic wrap to prevent drying.
Optional autolyse: let the mixed dough rest, covered, for 30 minutes before adding salt and yeast if you want a slightly more extensible dough. For a true no-knead method skip the autolyse and let time build strength. If you choose to perform stretch-and-folds, do 2 sets spaced 30–60 minutes apart during the first 2 hours of bulk ferment: reach under the dough, pull one side up and fold over, rotate 90 degrees and repeat, 4 folds per set.
Bulk fermentation is key: leave the covered dough at room temperature (68–72F) for 12–18 hours. At 12 hours you may see bubbles and roughly a 30–50% increase in volume; at 18 hours the dough should be airy and ready. If your kitchen is warmer than 75F, shorten the bulk ferment to 8–10 hours and check every hour after 6 hours to avoid overproofing. In high-altitude kitchens (above 3,000 ft), shorten fermentation by about 10–20% and expect faster rise.
Weights, hours, and temps for open crumb.
Fold twice, then wait
Two sets of 4 folds spaced 30 to 60 minutes in the first 2 hours, then hands off to 30 to 50 percent rise.
Weigh, never scoop
Scale-weighed flour plus 30 to 45 second shaggy mix beats cups for repeatable holes.
Room-temp long ferment
- 12 to 18 h at 68 to 72 F, airy ready
- Best for: deep flavor, big pockets
- Cut 10 to 20 pct time over 75 F
Rushed warm ferment
- Fast rise, tight flat crumb
- Best for: nothing but same-day panic
- Check hourly past 6 hours
“Long fermentation does the work of kneading—patience is the technique.”
—
Shaping, baking, and storage
Turn the dough out onto a lightly floured surface after bulk fermentation. Use a bench scraper to loosen the dough, then perform two quick folds to create some surface tension: fold the left and right edges toward the center, then cup the dough and spin it under your palm for 30–45 seconds until the surface is taut. Let it rest seam-side down for 10 minutes before final shaping.
For a tight boule, pull the dough toward you on the bench with cupped hands while rotating it to create tension. Aim for a final shape about 7–8 inches across for a 4–6 quart Dutch oven. Place the shaped boule seam-side up in a floured proofing basket or a bowl lined with a well-floured towel. Proof at room temperature for 45–90 minutes depending on warmth, looking for a 20–40% rise. For a cold schedule, proof in the refrigerator for 8–12 hours; remove and rest 30–60 minutes at room temperature before baking.
Preheat: position a rack in the lower third of the oven and preheat to 475F for at least 30 minutes with the empty Dutch oven (lid on) inside. A full 30 minutes ensures the pot reaches an even temperature. When hot, carefully lift the lid with oven mitts, line the pot with a 10–12 inch parchment square, and invert the boule seam-side down into the pot so the seam becomes the bottom.
Score the loaf with a very sharp blade or razor; make a 1/4-inch deep slash at a 30–45 degree angle for a single ear, or make a cross for multiple ears. This controls expansion and directs steam release. Cover and bake at 450F: 20 minutes covered, then remove the lid and bake an additional 12–20 minutes until the crust is deep golden. Use an instant-read thermometer to check the interior: 205–210F indicates a fully baked crumb. If the crust darkens too quickly, lower the oven to 425F and extend bake time by 3–6 minutes as needed.
Cooling: remove the loaf and place it on a wire rack to cool for at least 1 hour before slicing; slicing earlier (under 60 minutes) will often result in a gummy interior. For thinner crust, remove the lid 5 minutes earlier or bake at 425F for a total of 28–32 minutes. Reheating slices: wrap a slice in foil and warm at 350F for 8–10 minutes, or toast frozen slices directly for 2–3 minutes per side.
Storage: keep a fully cooled loaf in a paper bag or bread box at room temperature for up to 2 days to preserve crust crispness. For longer storage, slice and freeze in airtight bags for up to 3 months; thaw at room temperature or toast slices from frozen. If the crust softens after a day, revive the loaf in a 350F oven for 5–8 minutes to restore some crispness.
Troubleshooting: if your crumb is overly dense, extend bulk fermentation by 2–4 hours or increase bulk temp to 70–72F to encourage activity. If the loaf collapses or is flat, tighten your shaping and reduce final proof by 15–30 minutes. A gummy center usually means underbaking—bake an extra 5–10 minutes and check for 205–210F internal temperature.
Frequently Asked Questions
Further reading: How to Make Hummus Smoother Than Store-Bought · How to Make Perfect Stovetop Rice
Sources: FoodSafety.gov


One response