Field & Home
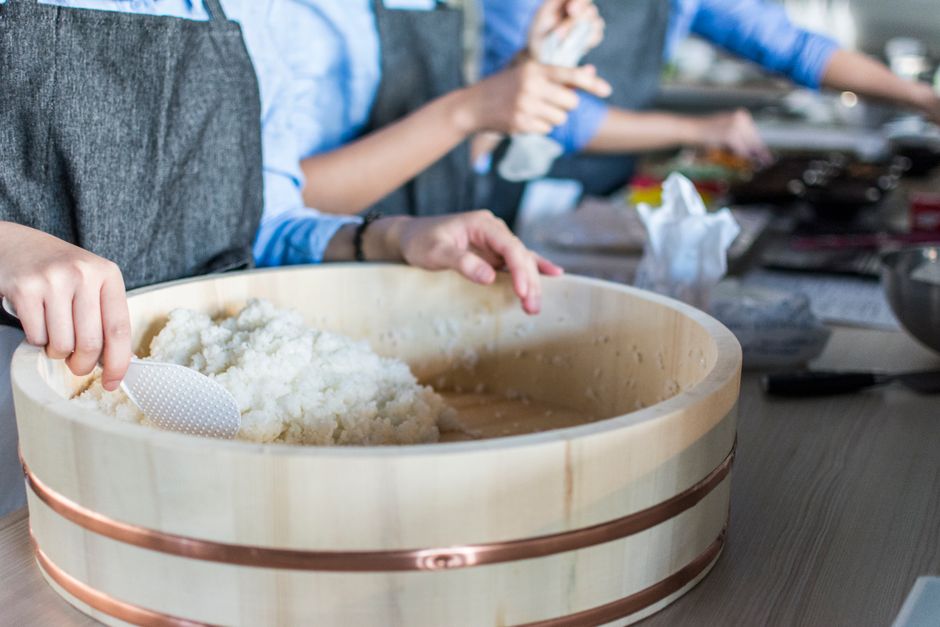
The short answer: Perfect stovetop rice comes from the right rice-to-water ratio, a snug-fitting lid, and a short resting period; use a 1:1.5 volume ratio for most long-grain white rices and 10 minutes of steam rest after turning off the heat
Stovetop rice basics
Rice is simple in ingredients but precise in method. Start with 1 cup (200 g) uncooked long-grain white rice to yield about 3 cups (approximately 600 g) cooked rice. Use a heavy-bottomed saucepan with a diameter that gives 2 inches of clearance from the rice surface to the lid when water is added; for 1 to 2 cups of dry rice, a 2- to 3-quart (1.9 to 2.8 L) pot works well. A snug lid that traps steam is essential; if the lid leaks a lot of steam, wrap a kitchen towel under it once the pot is off the stove for added insulation.
Measure rice either by volume or weight. For consistent results, weigh rice: long-grain white rice is roughly 200 g per cup. Measure water by the same method or use cups: the default ratio for most long-grain white rice is 1 cup rice to 1.5 cups water. Short-grain or sushi rice takes closer to 1:1.25, while brown rice needs about 1:2 or 1:2.25 and 35 to 45 minutes of simmering plus 10 to 15 minutes resting. Always account for the rice type when planning time and liquid.
Rinsing removes surface starch and prevents gummy clumps. Place the rice in a fine-mesh sieve or bowl and rinse under cold running water until the runoff is clear, usually 20 to 30 seconds for white rice or 60 seconds with vigorous swirling for sticky rice. For every 1 cup of rice, use a minimum of 1:1.5 water if you did not soak; if you rinse and then soak 15 to 30 minutes, drop the water by about 10 percent because soaked grains absorb some liquid ahead of cooking.
Salt and fat are optional. Add 1/4 to 1/2 teaspoon salt per cup of dry rice for a noticeable but not salty finish. A teaspoon of neutral oil or 1 tablespoon of butter per cup of dry rice helps keep grains separate and improves mouthfeel; add the fat to the dry grain before toasting or to the water before bringing to a boil.
Quick facts
Ratios, rinses, and rests for separate grains.
Soak cuts 10 percent water
Fifteen to 30 minute soaks absorb ahead, so drop water about 10 percent for soaked grains.
Salt quarter to half
Quarter to half teaspoon per cup plus a teaspoon of oil keeps long grains distinct.
Ideal ratio for fluffy long-grain white rice
Typical brown rice ratio and longer simmer time
Resting time after heat-off for improved texture

Cooking and finishing steps
Step 1: Measure and rinse. Measure rice by weight or volume. Rinse in a fine sieve until water runs clear; for 1 cup rice this takes roughly 20 to 30 seconds of running water and gentle agitation. Drain thoroughly for 10 to 20 seconds to remove excess surface moisture before adding to the pot.
Step 2: Combine rice, water, and salt in the pot. For 1 cup long-grain white rice, add 1.5 cups (approximately 360 mL) water and 1/4 teaspoon salt. If you toasted the rice briefly in the dry pan for 30 to 60 seconds to deepen flavor, add the measured water immediately and scrape any browned bits from the pan into the water.
Step 3: Bring to a controlled boil. Place the pot uncovered over medium-high heat and bring to a brisk simmer where the surface shows active bubbles but not a violent rolling boil. This typically takes 3 to 6 minutes depending on burner output. Watch for the first large bubble and then reduce heat immediately to the lowest setting that maintains a gentle simmer.
Step 4: Simmer gently with lid on. Once the pot is at a gentle simmer, cover with a tight-fitting lid and reduce heat to low. Cook undisturbed: do not lift the lid or stir. For long-grain white rice, simmer 15 to 18 minutes; for jasmine rice, 12 to 15 minutes; for brown rice, 35 to 45 minutes. Use a timer for accuracy.
Step 5: Turn off heat and rest. After the timed simmer, switch off the burner and leave the lid on. Let the pot rest, undisturbed, for 10 minutes for white rice and 10 to 15 minutes for brown rice. The residual heat finishes cooking and evens moisture; skipping this step often yields uneven or gummy grains.
Step 6: Fluff and portion. Remove the lid and use a fork to fluff the rice gently, separating grains without smashing them. For the 1 cup uncooked example, expect roughly 3 cups cooked rice; portion by scoops or weigh portions if you follow a meal plan. Serve immediately or cool quickly for storage.
Storage and reheating: Cool cooked rice within 1 hour to reduce bacterial risk. Store in an airtight container in the refrigerator for 3 to 5 days. Reheat covered with a splash of water (about 1 tablespoon per cup) for 1 to 2 minutes in the microwave or 3 to 5 minutes on the stovetop over low heat with a lid until steaming hot.
Troubleshooting: If rice is undercooked but dry, add 1/4 cup boiling water per cup of dry rice, cover, and simmer 2 to 5 more minutes. If rice is gummy, next time lower the water by 1 to 2 tablespoons per cup and rinse thoroughly before cooking; also try a 30-second toast in the dry pan before adding water to reduce surface starch.
Frequently Asked Questions
Further reading: How to Make Hummus Smoother Than Store-Bought · How to Make No-Knead Dutch Oven Bread for Beginners
Sources: FoodSafety.gov