Field & Home
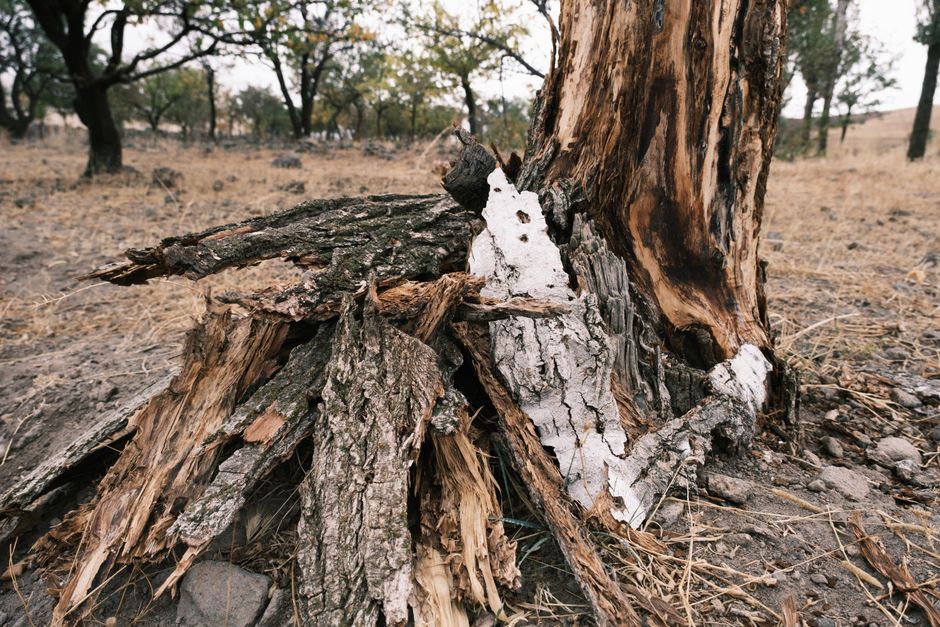
The short answer: Mulch should never touch the trunk: keep 2-4 inches of clear space at the root flare and 2-3 inches of mulch depth in a 1-3 foot radius to prevent trunk rot.
Why mulch volcanoes harm trees
Mulch volcanoes form when wood chips, shredded bark, or compost are heaped against a tree trunk in a conical pile that resembles a small volcano. Landscapers and homeowners often pile mulch this way to cover roots or hide irrigation rings, but the mound traps moisture against bark and buries the root flare—the natural junction where stem tissue transitions to root tissue. When that flare is covered by 1 inch or more of mulch or soil, the microclimate changes and many problems start within a single growing season.
Expanded moisture leads to prolonged dampness on bark and cambium tissue. Bark that remains wet for days to weeks is prone to soft-rot fungi and canker pathogens; symptoms like sunken bark, dark streaking, and mushroom fruiting bodies often appear within 1 to 3 seasons. On fruit trees this can reduce scaffold growth and yield because vascular tissues become compromised in the first 12 to 36 months after infection.
Mulch volcanoes also change root architecture. Feeder roots will grow up into a deep mulch layer rather than exploring the native soil below, concentrating most fine roots in the top 2 to 8 inches of media. That surface rooting increases drought stress: in dry spells a surface-rooted apple tree will show leaf wilting sooner and recover more slowly compared with a tree rooted at 12 to 18 inches.
Mechanical damage is another risk. Heavy mulch piled against bark increases the chance of rodent chew and insect boring; wet bark is softer and more easily colonized by insects that exploit weakened tissue. In addition, mulch that mounds 4 to 12 inches high insulates soil and delays spring warming by 1 to 3 weeks, which can push back bud break and reduce pollination synchrony by several days—enough to impact early blossoms on some stone fruits.
Core problem
Depths, roots, and delays that condemn volcanoes.
Hold 2 to 3 in, never more
Keep loose coarse mulch 2 to 3 inches deep and pull it 2 to 4 inches off the visible flare.
Probe with a 6-inch ruler
Six-inch ruler check: flare visible, no mushrooms or streaks within 1 to 3 seasons of piling.
“Removing a mulch volcano and exposing the root collar often halts collar rot if the tree is corrected and monitored within 1 to 2 seasons.”
—
How to mulch correctly and fix volcanoes
Step 1: Inspect and measure. Stand so you can see the trunk flare; use a 6-inch ruler or your hand to confirm there is 2 to 4 inches of visible, bark-free trunk at ground level. If you cannot see the flare or if mulch reaches the lowest branch, plan to remove mulch and, where needed, cut back topsoil no deeper than 1 to 3 inches to reveal the collar without damaging major roots.
Step 2: Tools and prep. For small to medium trees use a hand rake, flat-blade shovel (blade 8 to 10 inches wide), and work gloves; for larger trees add a garden fork and pruning saw. Expect to spend 10 to 30 minutes per small tree (trunk diameter under 4 inches) and 1 to 2 hours for larger specimens. Lay a tarp or wheelbarrow 10 feet away to move removed mulch; do not pile the removed material against other trunks.
Step 3: Remove the volcano safely. Starting at the outer edge of the mulch circle, rake or shovel mulch outward until the root flare is fully exposed. Remove at least the top 2 to 4 inches of mulch nearest the trunk and angle the outer ring so the finished profile is a shallow donut: inner radius 2 to 4 inches from the trunk, outer radius 12 to 36 inches depending on tree size (18–24 inches is typical for young fruit trees under 2 inches caliper).
Step 4: Address soil mounding and soft collar tissue. If soil was heaped against the trunk, use a flat shovel to scrape away only 1 to 3 inches of surface soil until wood is visible; do not dig deeper to major roots. If the collar tissue is soft or discolored over a 2 to 6 inch band, sterilely remove mushy tissue with a sharp pruning saw or knife, cutting back to healthy, firm tissue. Allow exposed wounds to dry for 7 to 14 days before covering with mulch or soil.
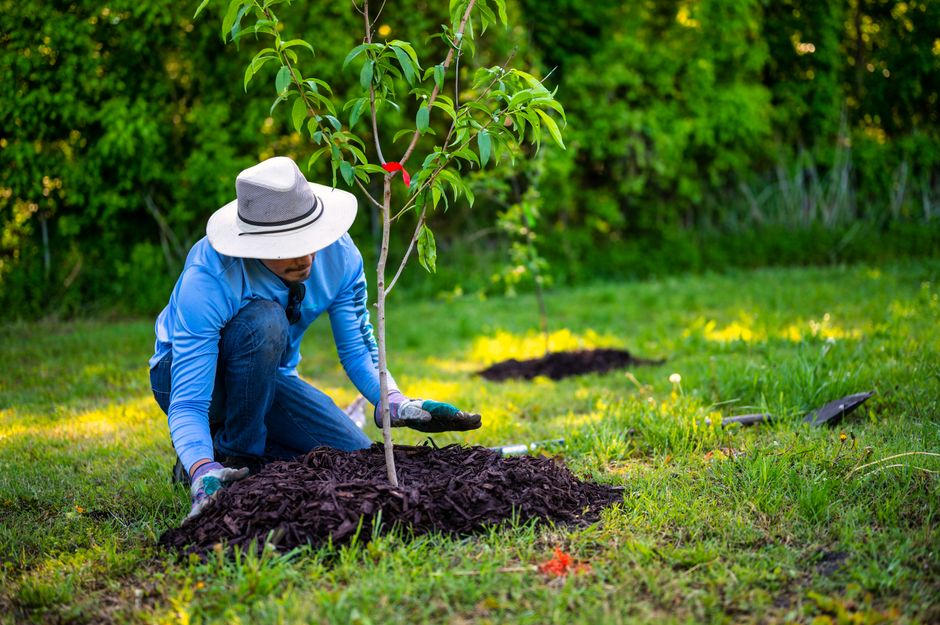
Step 5: Re-mulch correctly. Spread 2 to 3 inches of coarse, non-compacted mulch such as shredded bark or wood chips in a donut shape. Use approximately 1 cubic foot of mulch to cover a 2 foot radius with a 3 inch layer; for a 3 foot radius double the volume to roughly 2 cubic feet. Never pile mulch against the trunk—maintain a 2 to 4 inch clear collar at all times.
Step 6: Young vs. mature trees. For newly planted saplings (trunk under 2 inches caliper), keep the mulched ring 18 to 24 inches radius and check mulch depth monthly for the first 6 months. For established trees extend the ring to 2 to 3 feet and inspect quarterly. Top up no more than 1 inch of mulch at a time to avoid accidentally recreating a volcano.
Step 7: Seasonal checks and monitoring. Inspect the collar each spring and after heavy storms—look for bark discoloration, fungal bodies, or a soft 2 to 6 inch band. If you detect early symptoms, photograph and mark the area, monitor weekly for 4 to 8 weeks, and if deterioration continues consult a certified arborist within 30 days for diagnosis and possible collar excavation or pruning.
Prevention checklist: do not pile mulch in planting holes, keep ground covers 12 inches away from trunks, and train maintenance crews to leave a visible 2 to 4 inch collar. Educate anyone who mows or blow-cleans the landscape to avoid pushing soil or mulch up against trunks during cleanup.
Frequently Asked Questions
Further reading: How to Plant Bare-Root Apple Trees in a Small Backyard · How to Prune Apple Trees
Sources: UMN Extension