 Field & Home
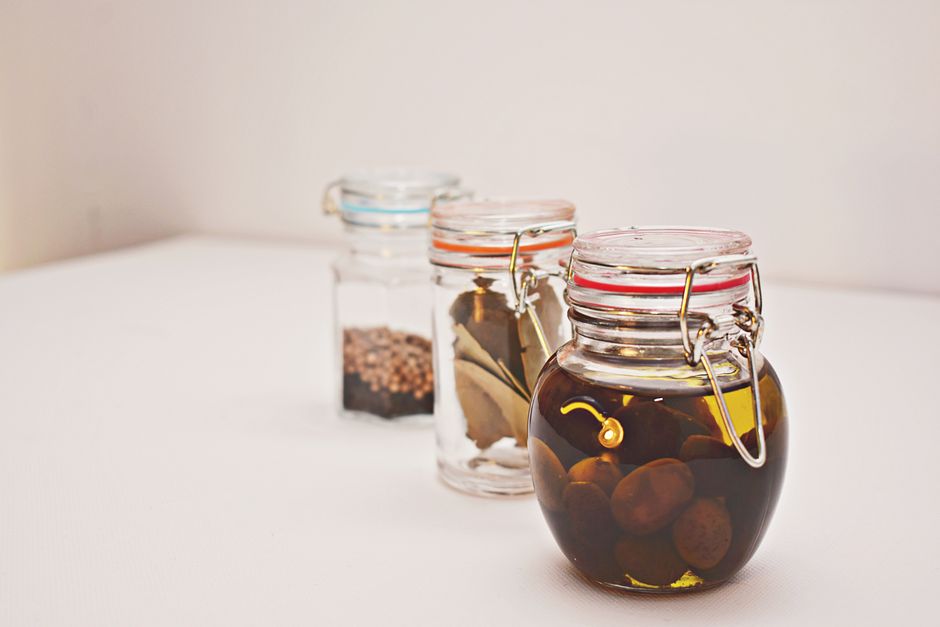
The short answer: Seal jars using a clean jar, a tight lid with gasket or a vacuum/oxygen barrier, plus date-labeling and rotation to prevent pantry pests.
Why Proper Sealing Matters
Pantry pests such as Indian meal moths, flour beetles and weevils can infest dry goods quickly; a single female moth can lay between 60 and 400 eggs, and eggs may hatch in 4–14 days depending on temperature. These pests are drawn to exposed food, gaps in lids, and jar headspace where they can deposit eggs or larvae. Proper sealing reduces oxygen, blocks access and creates an environment that is inhospitable to eggs, lowering the chance of visible infestation by over 90% when layers of protection are used.
Many infestations start from a single contaminated package introduced to the pantry; when transferred into jars without cleaning, that contamination spreads. Inspect new jars and repurposed containers for hairline cracks, rusted lids or warped threads; reject jars with any damage larger than 0.5 mm or lids that wobble more than 2 mm when tightened. Clean glass and lids with hot, soapy water (at least 140 F / 60 C) for 1–2 minutes to remove residues that attract pests.
Timing matters: eggs and larvae are most vulnerable at low humidity and low temperature. Storing dry goods below 60% relative humidity and under 70 F (21 C) slows development; freezing newly acquired dry goods at 0 F (-18 C) for 72 hours will kill most eggs and larvae before you jar them. Combine that step with good sealing and rotation to keep stored food pest-free for 6–12 months depending on the ingredient.
Humidity, frost, and spares that stop pantry moths.
Quarantine new bags
Freeze newly acquired grains and flour on arrival; it kills eggs and larvae before they reach your jars.
Keep spare lids
Store 2 to 4 replacement lids per jar style plus one silicone gasket per screw jar so a damaged seal never forces an open bag.
Glass jars
- Airtight with intact lids and gaskets
- Best for: daily-use staples
- Needs 2–4 spare lids per style
Vacuum sealer bags
- Removes air moths need to thrive
- Best for: long-term bulk storage
- Needs a jar-sealer attachment
Keep dry goods below 60 percent relative humidity to slow larvae development.
Store under 70 degrees Fahrenheit; warmth above it speeds hatching.
Keep 2 to 4 replacement lids per jar style so one damaged lid never leaves goods exposed.
How to Seal Jars Right
Prepare materials: have clean glass jars of the right size, 2–4 replacement lids per jar style (in case one is damaged), silicone gaskets if using screw lids (1 per jar), a vacuum sealer with a jar-sealing accessory or a set of oxygen absorbers rated by cc (see package) plus a handheld labeler or marker. Typical oxygen absorber packs are 100 cc, 300 cc, or 500 cc; for a 1-quart (950 ml) jar use a 100–300 cc absorber depending on headspace and product type.
Step 1 — Inspect and clean: check each jar and lid for chips, rust or warped threads. Wash jars and lids in hot, soapy water at 140 F (60 C) and rinse; air-dry fully or dry with a clean towel. Metal lids with thin lacquers can rust over time; if storage will exceed 12 months, prefer stainless-steel lids or replace metal lids every 6–12 months.
Step 2 — Pre-treat dry goods when recommended: for flour, meal and cereal, spread the item on a baking sheet and bake at 120 C (250 F) for 30 minutes, or freeze at 0 F (-18 C) for 72 hours to kill eggs. Let goods return to room temperature before jarring to avoid condensation. For whole spices or beans, dry roast for 10–20 minutes at 150 C (300 F) if you prefer a heat-kill step.
Step 3 — Fill and minimize headspace: pack jars so headspace is 0.5–1.5 cm (1/4–1/2 inch) for rigid items like beans, and 2–3 cm for powders that settle. For powders, tap the jar gently to settle contents and then add to the desired headspace. Label each jar with the packing date (YYYY-MM-DD) and the expected shelf life: 3–6 months for flours, 6–12 months for rice, 12+ months for whole beans when properly sealed.
Step 4 — Choose sealing method and apply: for routine home storage, a tight screw lid with a fresh silicone gasket is sufficient for 3–6 months. Tighten lids to hand torque plus a 1/8 turn; avoid over-tightening beyond 1 full extra turn which can damage threads. For longer storage, use a vacuum sealer with a jar accessory or add oxygen absorbers before closing: insert the absorber pack into the jar headspace and close immediately—this typically reduces oxygen to under 1% within 24–48 hours.
Step 5 — Post-seal check and cure: after sealing, place jars upright for 24 hours and check for any hissing or lid movement. If using vacuum sealing, verify that the vacuum indicator (if present) shows a full draw within 5–10 minutes. Store jars in a cool, dark location; check them at 3-month intervals for webbing, tiny holes, or off smells, and rotate stock using first-in-first-out within 6 months for powders and 12 months for whole grains.
If you find a contaminated jar, isolate it immediately and discard contents; wash the jar in hot water and let it dry fully for 24 hours before reuse. For long-term bulk storage, consider storing a sealed quart jar inside a second rigid container with a silicone gasket as a secondary barrier.
Frequently Asked Questions
Further reading: When Have Pantry Spices Lost Their Potency? · How to Keep Cheese Fresh Without Plastic Waste
Sources: FoodSafety.gov


One response