 Field & Home
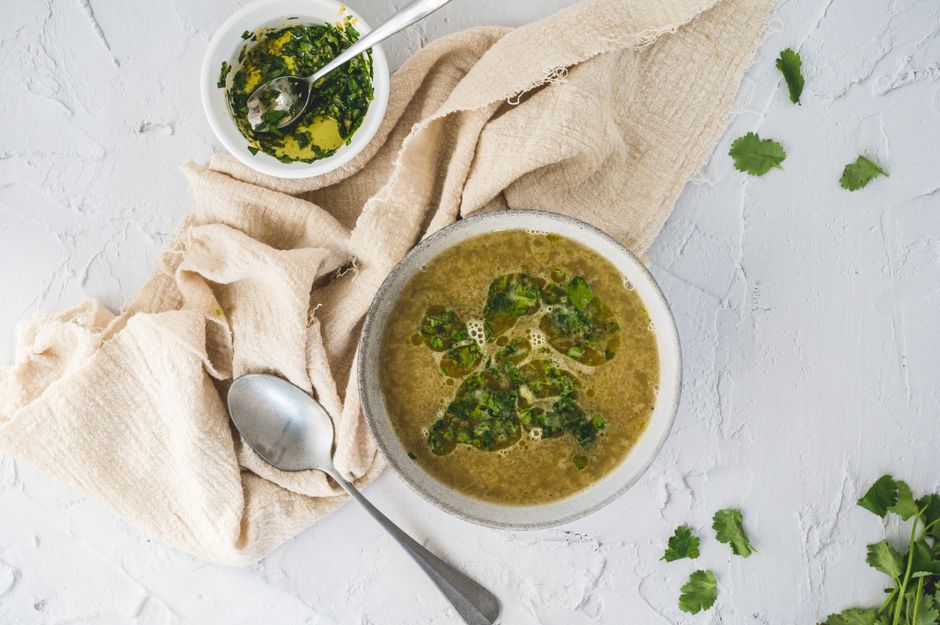
The short answer: Preserve summer herbs by freezing them in oil so you have ready-to-use seasoning cubes through the winter.
Prep and Herb Selection
Choose hardy, aromatic herbs that hold flavor when frozen: basil, parsley, cilantro, chives, oregano, thyme, and rosemary. Tender herbs like basil and cilantro will darken but remain flavorful when combined with oil; woody herbs such as rosemary and thyme keep shape and release flavor slowly when heated. Plan by bunch size: one medium bunch (about 40–60 g of leaves) yields roughly 6 to 8 tablespoons chopped, depending on leaf density.
Wash herbs in cool water to remove grit, then spin dry in a salad spinner or pat with clean kitchen towels. Drying is crucial: excess water turns to ice crystals that dilute flavor and can cause splatter when cooking. Aim for under 5% surface moisture—if leaves still bead water, air-dry on a paper towel for 10–20 minutes before proceeding.
Chop herbs to the size you will use in recipes. For sauces and sautés, chop to 3–6 mm pieces; for finishing herbs, keep larger 8–12 mm bits. Measure a standard ratio for blending: use 1 part packed chopped herbs to 1 part neutral oil by volume for a spreadable paste, or 1 part herbs to 2 parts oil for looser cubes that pour and melt easily.
Pick an oil with a neutral flavor and a suitable freezing behavior. Extra-virgin olive oil solidifies differently than vegetable or canola oil and can become cloudy but still performs well for most uses; choose light olive, sunflower, or grapeseed oil if you prefer clearer-looking cubes. For a garlicky compound, add 1 small clove of minced garlic per 2 tablespoons of chopped herbs at the blending stage, but only if you plan to cook the cube rather than use it raw.
Sanitize your workspace and tools: blanch metal trays in hot water and allow to cool, and wash any scoops or spoons in hot, soapy water. Use standard ice-cube trays (1 tablespoon per cube) or silicone mini-muffin pans (1 to 2 tablespoons per cup). Labeling supplies are helpful: use freezer-safe masking tape and a permanent marker to note herb type and freezing date.
“”A tablespoon-size cube gives the right hit of fresh herb when you add it to a pan of beans or a soup—no measuring required.””
—
Freezing, Storage, and Use
There are two common techniques: raw-chop-and-oil, and purée-then-freeze. For raw-chop-and-oil, tightly pack chopped herbs into each tray cell and drizzle oil until the herbs are submerged; this method keeps more texture and gives a chunky cube that melts quickly in hot liquids. For purée-then-freeze, combine chopped herbs and oil in a blender at a ratio of 1 cup packed herbs to 1/2 to 1 cup oil and blitz to a coarse paste; spoon 1 tablespoon portions into trays.
Fill trays so cubes measure about 1 tablespoon (15 ml) each, or choose 2-tablespoon (30 ml) portions for larger recipes. A standard 12-cube tray holds about 180 ml total when using 15 ml cubes. Cover trays loosely with plastic wrap or a reusable silicone lid to avoid freezer odors and to keep cubes flat during the first 2–4 hours of freezing.
Freeze on a level shelf for 4–6 hours until solid. After that initial hardening, pop cubes out and transfer them to airtight, freezer-safe bags or rigid containers to save shelf space; remove as much air as possible. If you leave cubes in trays for long-term storage, they can pick up freezer burn more easily. Label each bag with the herb type and the date; include the oil type if you use several oils.
Store cubes flat in the back of the freezer where temperatures stay most consistent. Use within 6–12 months for best flavor: most herbs retain good flavor for at least 6 months, and many are still usable up to 12 months. Thawing is usually unnecessary; toss a frozen 1-tablespoon cube directly into a hot skillet, soup pot, or sauce. If a recipe calls for raw herbs, thaw a cube in the refrigerator for 30–60 minutes and stir to reincorporate moisture before using.
When cooking from frozen, adjust salt and acid late in the process: frozen herb cubes can carry slightly diluted flavor from ice crystals, so taste and add an extra 1/4 teaspoon salt or 1 teaspoon lemon juice per 2 cups of finished dish if needed. For sautés, add a cube to hot oil and cook for 30–60 seconds to release volatile aromatics, then continue with vegetables or protein.
Scaling up for preserving: plan about 1 packed cup of herbs per 12 to 16 cubes (1-tablespoon each). If you harvest a large batch, work in 15–20 minute sessions to prevent wilting; keep chopped herbs on ice or refrigerated until blended with oil. For commercial-scale saving, consider vacuum-sealed pouches after initial freezing to reduce oxidation and extend best quality toward the 12-month mark.
Frequently Asked Questions
Further reading: How to Rotate Stored Food So Nothing Expires Unnoticed · How to Arrange Canned Goods for Maximum Shelf Visibility
Sources: FoodSafety.gov


