Field & Home
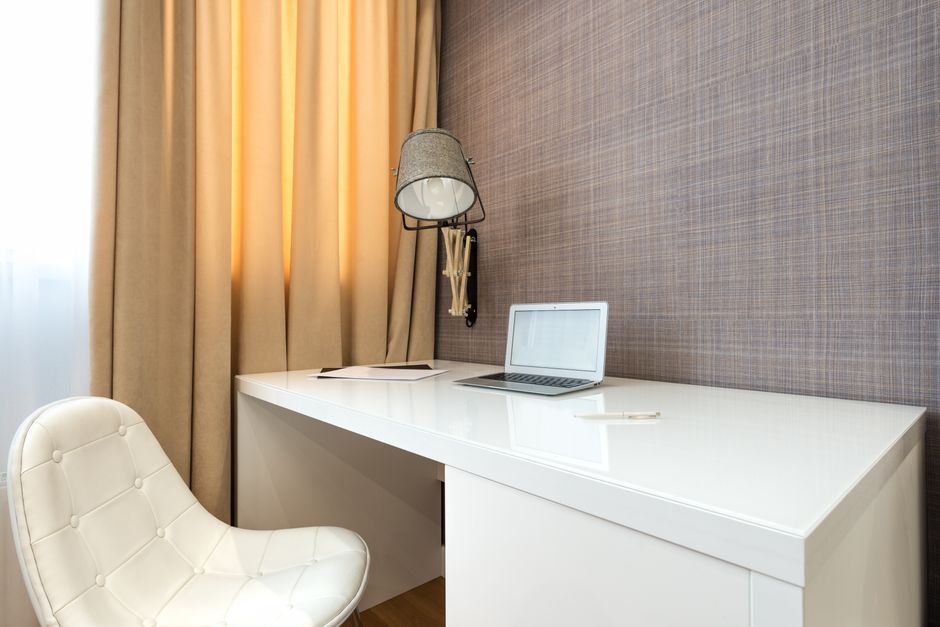
The short answer: Convert a narrow hallway into a usable home office by planning for at least 36 inches of clear width, choosing a desk 24–30 inches deep, and stacking storage vertically to reclaim floor space.
Plan the nook
Start by measuring the available corridor: note clear width between doorways or stair rails, length from wall to wall, and the distance to the nearest electrical outlet. Record three numbers: clear width, run length, and outlet offset in inches so you can shop for a desk and place power exactly 6–12 inches from the desktop edge if possible.
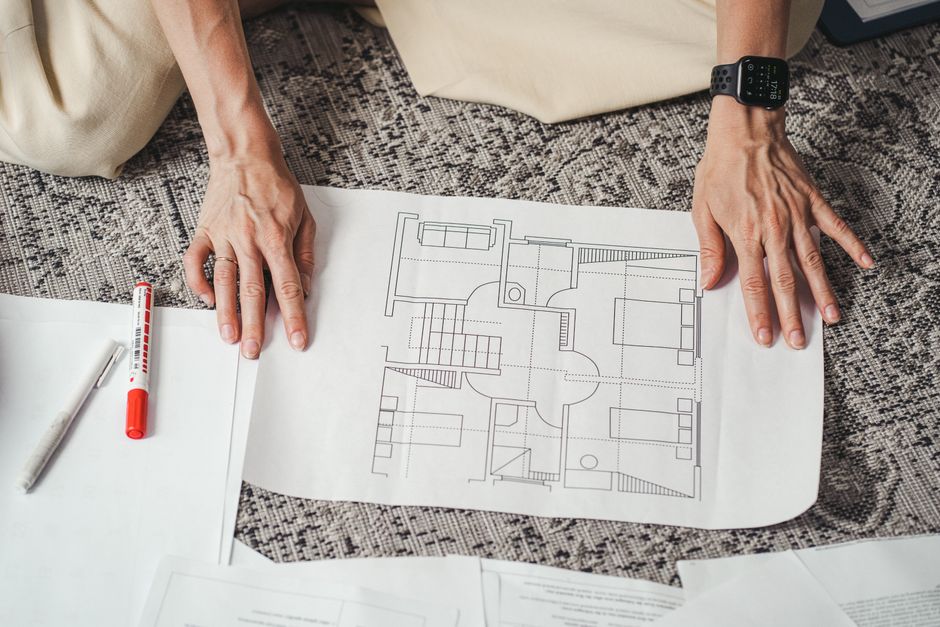
A workable hallway nook needs a minimum clear width of 36 inches (3 ft) to allow a folding chair and basic circulation; 40–48 inches is more comfortable for a permanent chair and a slim file cabinet. For depth, choose a desktop 24–30 inches for laptop plus single monitor work; 30–36 inches supports dual monitors or a small printer. Use graph paper with 1 square = 6 inches to sketch the layout and mark door swings and any radiators or vents.
Lighting matters: measure lumen output of existing fixtures (many LEDs list lumen values on the bulb). Add a task lamp rated 400–800 lumens at the desk plane for reading; if the nearest outlet is more than 4–6 feet away, plan for a plug-in floor outlet or hire an electrician to install a recessed baseboard outlet. A pro can normally add a single circuit outlet in 2–4 hours; budget that time into your project day.
Quick sizing
Widths, depths, and light for hallway desks.
Power 6 to 12 in off edge
Outlets 6 to 12 inches from desktop edge or a 2 to 4 hour pro run for recessed base.
Sketch 1 square to 6 in
Graph-paper swings, vents, and returns before brackets every 16 inches on studs.
Built-in
- Three brackets past 48 in spans
- Best for: permanent dual-screen nooks
- Three-quarter ply plus 3 in screws
Floating
- Ledger plus 2.5 in lags across studs
- Best for: renters and light laptops
- Twelve to 16 in deep keeps halls clear
Fit furniture, build, and organize
Choose the desk type based on permanence and the dimensions you recorded. For a floating shelf-desk, select a 24–30 inch deep tabletop and three heavy-duty brackets for spans over 48 inches; bracket centers should be 16 inches apart when possible to align with studs. If you prefer a shallow cabinet, build it 12–16 inches deep and 30–36 inches tall to provide drawers while keeping under the desktop height of 28–30 inches.
Materials and hardware: for a sturdy floating desk use a 3/4-inch plywood top or a 1–1.25-inch butcher block countertop cut to length. Use 3-inch exterior wood screws into studs for brackets, or 2.5-inch structural lag bolts for a ledger board fastened across studs. If you need to span studs, screw a 3/4-inch plywood ledger that is the full length of the desk into at least three studs with 3-inch screws spaced every 12 inches; then attach the desktop to that ledger with 1.5-inch screws.
Four-step build plan (times are estimates): Step 1 — Measure and mark stud locations, outlet, and desk height; allow 20–30 minutes. Step 2 — Cut and finish the desktop or countertop (30–60 minutes if pre-finished, 2–3 hours including sanding and two coats of finish if raw). Step 3 — Fasten the ledger or brackets (30–60 minutes including locating studs and pre-drilling). Step 4 — Attach desktop, mount shelves, and install cable management (45–90 minutes). A DIYer with a drill and level can typically finish a floating-desk and two shelves in one afternoon (3–6 hours); a custom cabinet may take two weekend days (12–16 hours) including drying time for finish coats.
When installing, pre-drill holes in the desktop and ledger to avoid splitting; use clamps to hold pieces during fastening. Space shelf supports 10–14 inches apart vertically for books and baskets; screw shelf cleats into studs or the same ledger used for the desk to ensure a combined load rating of at least 50–75 pounds per shelf for typical home use.
Seating and ergonomics: pick a stool or armless chair with seat height adjustable 16–21 inches so your elbows rest at roughly a 90-degree angle at the desk. Ensure at least 24 inches of knee clearance under the desktop; if you install a shallow cabinet base, plan drawer face heights of 6–9 inches and at least one 12–15 inch deep drawer for office supplies.
Organize as you go: install a 12–18 inch cable raceway under the desk and mount a flat power strip to the underside of the desktop. Use Velcro straps to group cords and label each cable with a small tag; keep one small tray (about 12 inches wide) on the desktop for daily items, and reserve two to four labeled baskets on upper shelves for categories like ‘bills’ or ‘school’ each about 10–12 inches wide.
Acoustics and privacy: add a 24–36 inch fabric panel or 2-inch thick corkboard behind the desk to reduce echo and provide a neutral video-call backdrop. A felt-lined hinged privacy panel 24–30 inches wide can flip up for meetings and fold flat when not in use; mounting hardware takes about 20–30 minutes.
“A well-built hallway nook gives you a dedicated work zone without stealing living room real estate.”
—
Frequently Asked Questions
Further reading: How to Arrange a 300 Square Foot Studio for Sleeping and Working · Foldable vs Drop-Leaf Dining Tables for Tiny Kitchens
Sources: EPA Safer Choice