 Field & Home

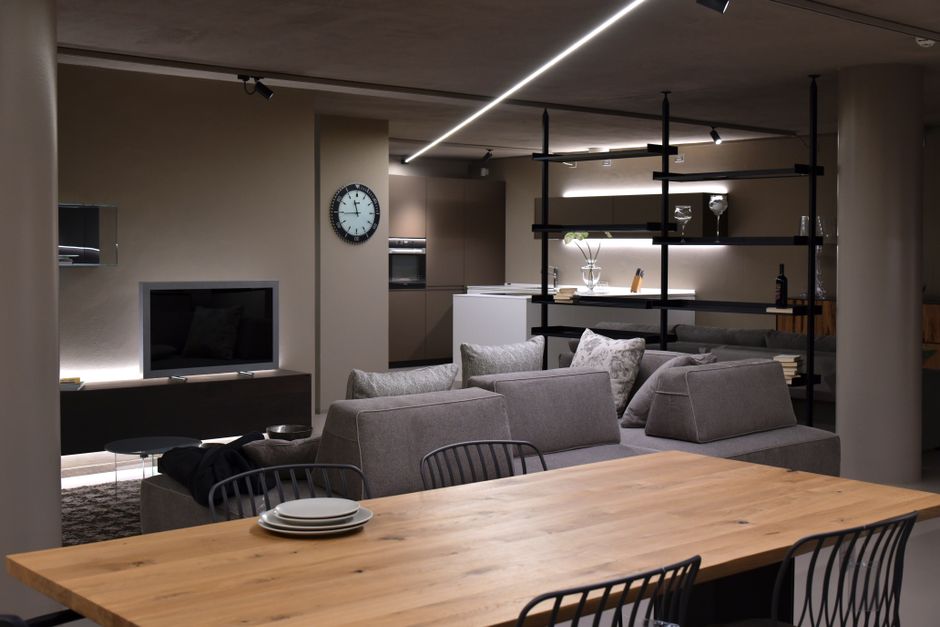
The short answer: Open shelving dividers create light, storage, and visual separation in a single footprint; plan for shelf depth 10–14 in, anchor every 16 in stud, and allow 2–6 hours for a basic freestanding unit.
Layout basics and planning
Start by measuring the room and defining the function of the divider: circulation, privacy, storage, or display. Measure the room width and height and mark the intended divider line; a typical dividing shelf is 6–12 ft long and 72–84 in tall for partial privacy. Record exact dimensions on graph paper or a phone photo so you can plan shelf spacing and load capacity. Note door swing, HVAC returns, and light sources within 3 ft of the divider line so you don’t block essential features.
Choose shelf depth by function: 10–12 in deep shelves are perfect for books and decor, 12–16 in for baskets or plants, and 6–8 in for narrow display only. For stability, plan vertical supports every 32–48 in (two studs if wall-anchored, or additional uprights for freestanding). If you need more privacy, increase height to 78–84 in and stagger open and closed sections to break sight lines while keeping airflow.
Materials that balance cost and strength: 3/4 in plywood or 5/8 in MDF for shelves, 2×2 or 2×4 hardwood posts for uprights, 1/8 in metal bracket supports for longer spans, and 3-in wood screws with 3/8 in lag bolts for anchors. Expect to spend 2–6 hours on a basic freestanding unit and 4–10 hours for a built-in anchored divider depending on finish time. Gather a stud finder, level, drill with 3/8 in masonry bit for anchors, and a circular saw or have plywood cut to size at the store.
Quick planning rules
Lengths, depths, and hours for one-room-into-two.
Supports every 32 to 48 in
Studs or uprights every 32 to 48 in carry 3/4 in plywood; keep returns and swings 3 ft clear.
Privacy at 78 to 84 in
Stagger open and closed bays at 78 to 84 inches to break sight lines without killing airflow.
“Open shelving dividers are as much about sight lines as storage; stagger shelves and use taller plants on the far side to soften the separation.”
—
Six layouts and how to build them
Layout 1: Single freestanding shelf row. Use a 72 in tall open bookcase, 12 in deep, anchored to a 1×4 base of 48 in length for stability. Build steps: cut two uprights from 2×4 to 72 in, attach four 12 in deep shelves at 12 in vertical spacing with pocket screws or metal brackets, and add a 1×4 base glued and screwed across the floor edge. Time: 2–4 hours for a single person with pre-cut boards.
Layout 2: Double-sided anchored unit. This is a 78 in tall, 36 in wide, 96 in long island of shelves open both sides. Use 3/4 in plywood shelves, 2×4 uprights every 32 in, and metal L-brackets spaced every 16 in along each shelf. Step-by-step: construct two identical shelf faces, fasten them back-to-back with 2×4 cross-braces, then anchor at the top into studs with 3-in lag bolts spaced every 24 in. Allow 6–10 hours with two people for alignment and anchoring.
Layout 3: Low credenza divider (privacy at hip height). Build a 36 in tall unit, 14–16 in deep, with closed-back lower cabinets and open upper shelves if needed. Use 3/4 in plywood for cabinet boxes and 1/2 in pegboard or slatted wood for the open section above to diffuse sight lines. This layout is great for visual balance and provides 2–3 ft of countertop for plants and lamps.
Layout 4: Ladder-style angled shelving. A 72 in tall, 20 in deep at the base tapering to 10 in at the top creates an airy screen. Cut side rails at a 10–15 degree angle, attach shelves that step up by 10–12 in vertically, and bolt a rear stabilizer to prevent tipping. Use a wall anchor every 48 in for extra safety. Construction time: 3–5 hours for measured cuts and assembly.
Layout 5: Grid of cube cubbies. Create a 6×2 grid of 12 in cubes (72 in wide x 24 in tall) for baskets and storage bins. Use 3/4 in plywood, dado or biscuit joints every 12 in, and glue with 1 1/4 in screws. This layout holds weight well because each cube shares load at multiple points; plan for 20–30 lb per cube if using medium-density shelving materials.
Layout 6: Partial wall with staggered openings. Build a 60–72 in tall partition with alternating open shelves and closed panels—shelves 10–12 in deep, panels 14 in wide. Attach to floor and ceiling plates: fasten a 2×4 plate to the ceiling joists with 3-in screws every 16 in, then raise the partition and secure to the plate. Finishing time including sanding and paint: allow 24–48 hours for paint drying between coats.
Frequently Asked Questions
Further reading: What to Check Before Buying a Sleeper Sofa for a Small Living Room · How to Arrange a 300 Square Foot Studio for Sleeping and Working
Sources: EPA Safer Choice