 Field & Home

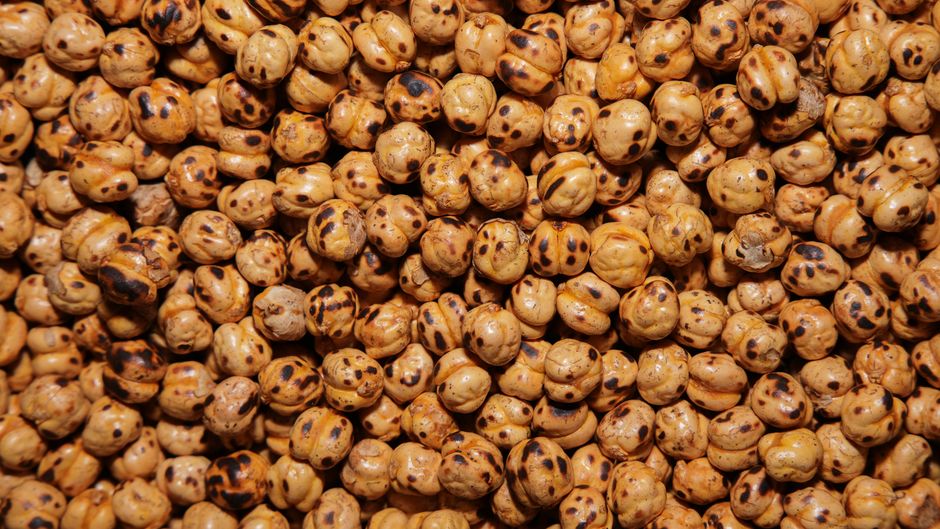
The short answer: Dried beans: soak 8–12 hours (or quick-soak 1 hour) and simmer 45–120 minutes depending on variety; use a 3:1 water-to-beans ratio and expect 1 cup dried to yield about 2 to 2.5 cups cooked.
Soak and schedule basics
Start by sorting and rinsing: spread 1 cup (about 180 g) dried beans on a tray and remove stones or shriveled pieces, then rinse under cold running water for 20–30 seconds. Measuring beans dry gives reliable yields—1 cup dried typically yields about 2 to 2.5 cups cooked, which helps plan portions and storage.
Standard overnight soak: place 1 cup dried beans in a bowl and cover with 3 cups cool water (a 3:1 water-to-beans ratio). Leave loosely covered at room temperature for 8–12 hours; at cooler room temperatures you can extend soaking to 12 hours, or refrigerate to slow fermentation and soak up to 24 hours. Drain and rinse before cooking to remove oligosaccharides and any loosened skins.
Quick-soak method when short on time: put 1 cup rinsed beans in a 2.5 to 3 quart pot with 3 cups water, bring to a rolling boil for 2 minutes, then remove from heat and let them sit, covered, for 1 hour. Drain, rinse, and proceed to cook. The quick-soak cuts an overnight soak down to roughly 1 hour of inactive waiting plus a 2-minute boil.
Soak containers and volumes: use a nonreactive container (glass, ceramic, stainless) and allow at least 2 inches of headspace above the soaking liquid to accommodate swelling. For a larger batch, scale the same 3:1 water ratio (for example, 2 cups dried beans to 6 cups water) and use a 3- to 4-quart bowl for 2 cups dried.
Tip on stubborn beans and hard water: if beans remain leathery after a proper soak, add about 1/8 teaspoon baking soda per cup dried to the soaking water to speed softening; drain and rinse thoroughly before cooking. Hard water can slow softening—if your tap has high mineral content, use filtered water for soaking and cooking when possible.
Ratios, soaks, and yields without pressure.
Quick-soak in 1 hour
Two-minute rolling boil plus 1 hour covered rest replaces the overnight whenever time runs short.
Leave 2 in headspace
Nonreactive bowls with 2 inches above liquid fit the swell; rinse 20 to 30 seconds first.
“A gentle simmer and patience produce the creamiest beans—fast boiling will split skins before the centers soften.”
—

Stovetop cooking and storage steps
Choose your pot: use a heavy-bottomed saucepan or Dutch oven at least 2 inches taller than the beans when covered with water—for 2 cups dried, a 4- to 5-quart pot is ideal. After draining a soaked batch, add fresh water at the 3:1 ratio (3 cups water per 1 cup dried beans) so the finished beans cook in clean liquid and won’t be over-concentrated with soaking salts.
Bring to a boil uncovered, skim any foam with a fine-mesh skimmer or spoon during the first 5 minutes, then reduce to a gentle simmer and cover partially—tilt the lid so steam can escape. Maintain a gentle simmer with small, steady bubbles rather than a hard boil to prevent skins splitting; check doneness after the minimum time for that bean type, then every 10–20 minutes.
Common simmer times after soaking: black beans 45–75 minutes, pinto beans 60–90 minutes, navy (small white) beans 45–90 minutes, kidney beans 75–120 minutes, chickpeas (garbanzo) 75–120 minutes. If you skipped soaking, add roughly 50–100% more cooking time—plan for 1.5 to 3 hours on the stove depending on the variety and bean size.
Altitude adjustment: at elevations above about 3,000 feet, water boils at a lower temperature, so plan on adding roughly 20–30% more simmer time; for example, a 60-minute simmer at sea level may take 72–78 minutes at higher altitude. Keep the lid slightly ajar to maintain a moist environment while allowing for steady simmering.
Salt and flavoring: add 1 to 1.5 teaspoons kosher salt per 2 cups dried beans after the first 20–30 minutes of simmering so salt dissolves without toughening skins. Add aromatics—one medium onion quartered, 2 whole garlic cloves, and 1 bay leaf per 2 cups dried—at the start of simmering for depth; remove solids before storing if you prefer plain beans.
How to test doneness: scoop 3–4 beans and mash between two teaspoons; they should mash easily with no chalky center. If beans are tender but cooking liquid is still thin, simmer uncovered for 5–15 minutes to reduce, or reserve 1/2 to 1 cup of cooking liquid per 2 cups beans as brothy stock for soups and stews.
Reducing foam and froth: add 1 tablespoon oil per 4 cups of cooking liquid at the start to help control foaming, or skim regularly with a small strainer. If the pot threatens to boil over, lift the lid briefly and lower heat until the simmer settles to small bubbles.
Cooling and storage: cool beans quickly by spreading them in a shallow 9×13-inch pan for 20–30 minutes, then transfer to airtight containers. Refrigerate cooked beans for 3–5 days, or portion 1-cup servings and freeze flat in labeled freezer bags for up to 6 months; lay bags flat to freeze to save space. Thaw overnight in the refrigerator or reheat directly from frozen over low heat on the stove for 8–12 minutes until warmed through, or microwave on medium for 2–4 minutes, stirring halfway.
Batch notes for meal planning: one typical batch (2 cups dried) cooks to about 4 to 5 cups finished, which makes 4 to 6 servings as a main element or up to 8 servings as a side; scale soaking and water by the same 3:1 ratio. For meal prep, prepare up to 6 cups cooked at once and portion into 1-cup servings so each frozen pack is ready for a single meal.
Frequently Asked Questions
Further reading: Grain-Bowl Formulas from Leftover Odds and Ends · Cast Iron vs Nonstick for Crispy Chicken Thighs
Sources: FoodSafety.gov