Field & Home
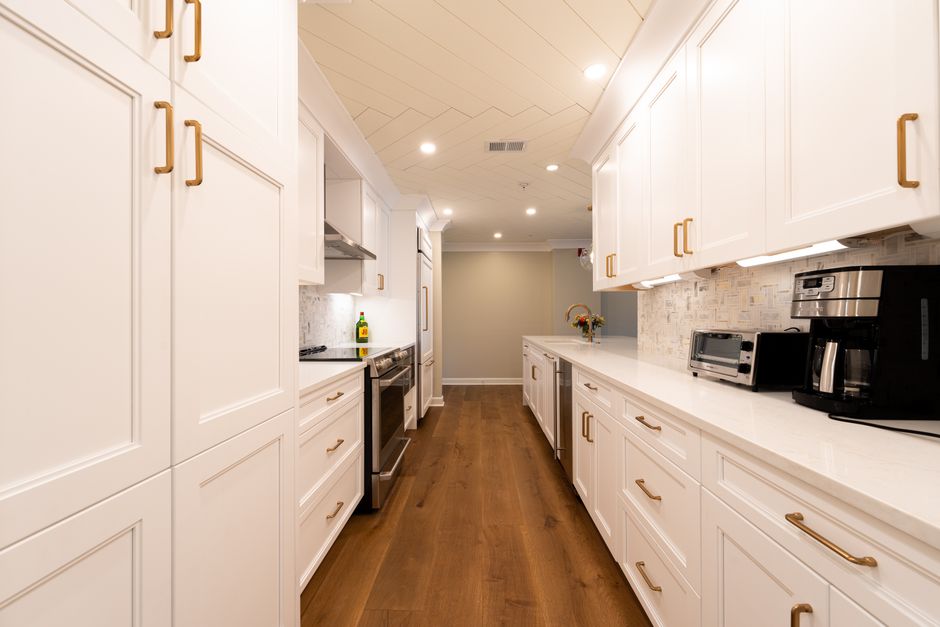
The short answer: Maximize every inch of a galley kitchen by measuring first, creating clear work zones, and choosing slim, vertical solutions. With two focused weekend sessions you can add pull-outs, rails, and drawer organizers that save visible counter space and cut retrieval time by 20–40%.
Plan and measure your layout
Start by measuring the full run of both walls: note wall-to-wall length, cabinet face widths, cabinet depth, and the clear center walkway. Typical base cabinet depth is 24 inches; counters usually extend 25 to 26 inches from the wall. For a comfortable two-cook galley, plan a 42-inch minimum walkway; a single-cook layout can work at 36 inches.
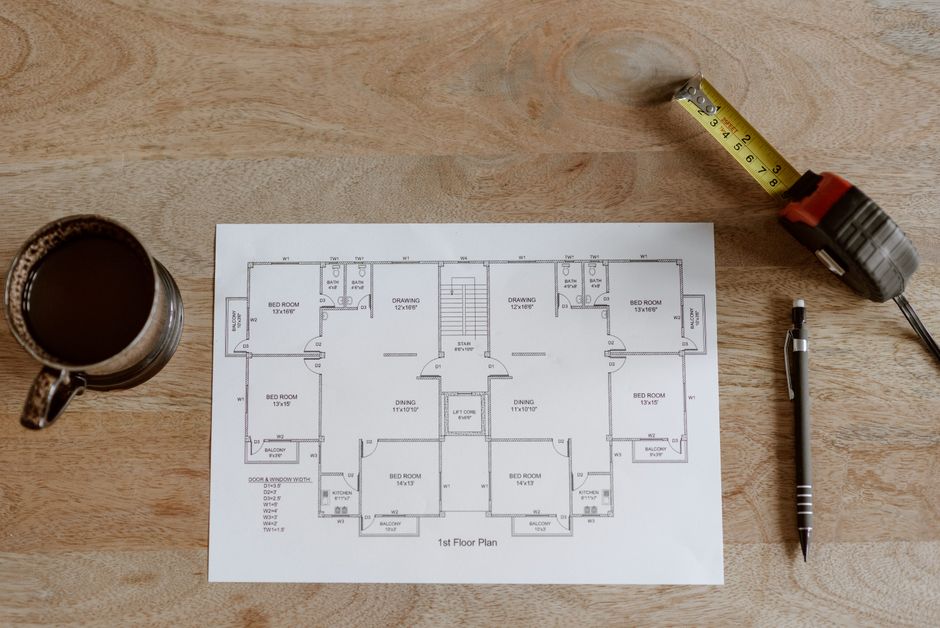
Record these exact numbers on a simple sketch: label left and right runs, existing appliance widths (fridge, stove at 30 inches, dishwasher 24 inches), and any fixed obstructions like a gas line or window sill. This takes 30–60 minutes for most kitchens. Use a tape measure with a locking blade and a clipboard so you do not lose measurements.
Create zones on your sketch: prep (near sink, 24–30 inches counter space), cooking (near range), and storage (pots, pans, dishes). Assign at least one shelf or drawer to each zone and mark typical item dimensions—for example, place pots in a 12–15-inch high pull-out drawer and cutting boards in a 2-inch vertical divider slot.
Next, audit what you own. Pull everything out of one cabinet at a time and sort into keep, donate, and relocate piles. Time this step: set a 30-minute timer per cabinet to keep momentum; a full galley audit typically takes 2–3 hours.
Pull-out shelves
- Full-extension slides, 23-7/8 in decks
- Best for: dead 24 in lower depth
- Vertical 8 to 12 in dividers inside
Upper rails and hooks
- Rail 4 to 6 in under uppers
- Best for: daily tools at eye level
- Keeps counters truly clear
Walkways, zones, and audit hours for galleys.
Sketch both runs first
Map 24 in bases and 30/24 appliances in 30 to 60 minutes before buying a single slide.
Zone prep-cook-store
Prep 24 to 30 in by the sink, pots in tall pull-outs, boards in 2-inch vertical slots.
Forty-two inches lets two cooks pass; single-cook galleys survive at 36.
Cabinet minus an eighth fills 24-inch boxes exactly on full-extension slides.
Thirty minutes a cabinet keeps a full galley audit inside 2 to 3 hours.
Install smart storage and hardware
Install shallow pull-out shelves in lower cabinets to convert dead depth into usable space. Choose full-extension slides and set interior shelf depth to match cabinet interior minus 1/8 inch; for a 24-inch cabinet, the pull-out platform should be 23 7/8 inches deep. Mount the slide rail at the cabinet side height recommended by the slide manufacturer, usually 1/4 inch from the front face.
Use vertical dividers for cutting boards and baking sheets: cut 3/4-inch plywood dividers 8–12 inches tall and space them 1/2 to 1 inch apart to hold items upright. Screw the divider base into the cabinet floor with 3/4-inch wood screws through pre-drilled 1/8-inch pilot holes.
For upper storage, install a 3/4-inch deep hanging rail 4–6 inches below the underside of the upper cabinet to hold hooks for mugs and small tools. Use toggle anchors when no stud is present; each anchor rated for at least 20 lb. Place rails in runs of 24–36 inches to distribute weight and keep items within a 12–18 inch reach.
Magnetic strips for knives and metal tools save counter space. Mount the strip 48–54 inches from the floor for typical users, centered above a 12–18 inch clear counter zone. Secure with the provided screws into studs or with heavy-duty anchors; check hold by placing a 2 lb cast-iron skillet on the strip after installation.
Labeling speeds retrieval: use 1-inch vinyl labels on the face of pull-out shelves and drawer dividers and include the item category and quantity, for example: Pots 6 pcs, Baking Sheets 3 pcs. A labelling session for a galley typically takes 30–45 minutes.
Lighting makes shallow shelves usable. Install 12–18 inch LED puck lights or 12-volt strip lights under upper cabinets with adhesive mounts; allow 1–2 hours to wire a run, or use plug-in versions to avoid hardwiring.
“”Measure twice, cut once; in a narrow galley, every fraction of an inch matters.” — practical field note”
—
Small changes often make the biggest difference: swap a lower door cabinet for three shallow drawers (each 8–10 inches high) to store plates, utensils, and small appliances more efficiently. Standard drawer heights of 4, 6, and 10 inches cover cutlery, utensils, and cookware respectively. When planning drawer stacks, leave 1/8 inch clearance between drawer boxes for smooth operation.
Keep a running toolkit: tape measure, cordless drill with 1/8- to 1/2-inch bits, 2-inch wood screws, toggle anchors, a level, and a set of screwdrivers. A single afternoon (3–5 hours) is often enough to swap in a single pull-out shelf and install a rail; plan 6–10 hours across two days to complete multiple cabinets and drawer conversions.
Maintenance: once installed, declutter quarterly. Spend 30 minutes every 3 months removing items you have not used and reassigning spaces. This habit preserves the improved efficiency you built during the installation weekend.

Frequently Asked Questions
Further reading: How to Arrange a 300 Square Foot Studio for Sleeping and Working · 9 Hallway Nook Offices That Actually Work
Sources: EPA Safer Choice