Field & Home

The short answer: Deep, stone-free soil loosened at least 12 inches and amended with 2 to 4 inches of compost gives carrots room to root, reduces forks, and concentrates sugars for sweeter, straighter roots.
Why soil depth matters
Carrot roots grow from the tip of the seed downward, so they need an uninterrupted column of friable soil to form a single, tapered root. In compacted or shallow soil, roots meet resistance and split, fork, or stay stunted; those stressed roots often store less sugar and taste woody. Aim for a loosened depth of 12 to 18 inches for most varieties; longer-rooted cultivars like Danvers or Nantes will benefit from the full 18 inches.
Deep loose soil also improves drainage and aeration. Carrots do poorly in waterlogged conditions because saturated pores limit oxygen and promote rot. A well-structured bed with 1 to 3 percent slope for surface runoff and a friable tilth helps maintain oxygen around roots and supports steady, even growth that favors sugar accumulation.
Texture matters: a loamy, crumbly mix of roughly 40 percent sand, 40 percent silt, and 20 percent clay gives the best balance of water retention and drainage. Heavy clay compresses and creates hard pans; coarse sand alone drains too quickly and can leach nutrients. On compacted sites, creating a deep, loosened planting zone is more effective than simply adding material on top.
Remove stones and debris larger than 1/2 inch. Any rock or clod that deflects a growing carrot will create forks or shoulders. For garden beds, screen or sift topsoil for the top 6 to 8 inches to remove gravel, and for the deeper loosened zone, physically lift and break clods so the channel the root grows through remains clear.
Test your soil texture and pH before major renovation. Collect 4 to 6 samples from the bed at about 6 inches deep, mix them, and either run a simple jar test at home to estimate sand/silt/clay ratios or send 1 to 2 cups to a local extension lab. Carrots do best in slightly acidic to neutral soil; aim for pH 6.0 to 6.8 and correct with lime or sulfur according to lab recommendations over a 4 to 8 week period before planting.
Soil basics
Depths, textures, and pH that sweeten roots.
Sample 4 to 6 cores
Mix 4 to 6 cores from 6 inches deep or jar-test before rebuilding; clear stones over half inch.
Sun 6 to 8 hours
Uniform drainage plus 1 to 3 percent runoff slope keeps oxygen at the growing tip.
Deep loose beds
- 18 in friable for Danvers and Nantes
- Best for: straight sweet taproots
- Sift top 6 to 8 in stone-free
Shallow compacted ground
- Forks, shoulders, woody bite
- Best for: nothing but stubby rounds
- Lift and break clods first
Preparing a deep, loose bed
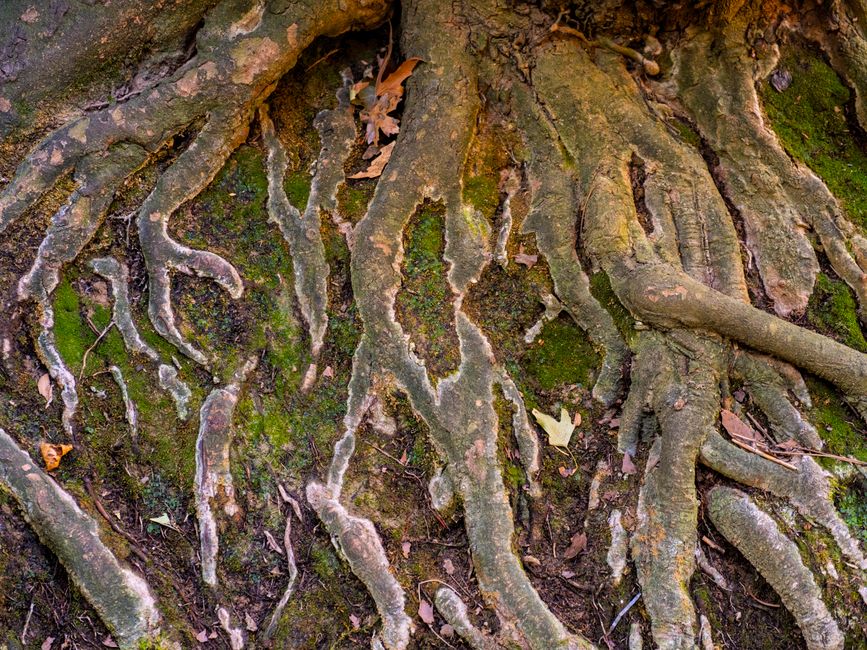
Pick a site that receives 6 to 8 hours of sun and has relatively uniform drainage. Mark a bed area and remove turf or annual weeds. For in-ground beds, loosen the soil to the target depth using one of three methods: digging by hand, using a broadfork, or installing a raised bed.
Method 1 — broadfork: Drive a broadfork tines into the bed along 12 inch spacing, then rock back to lift and fracture the soil without inverting layers. Repeat across the bed to a depth of 12 to 18 inches. This preserves soil structure and is quickest for larger beds; a 4-foot-wide bed takes about 30 to 45 minutes for a single person to broadfork thoroughly.
Method 2 — digging: For a new garden or small patch, dig out trenches 12 to 18 inches deep and break clods by hand or with a fork. Remove any stones larger than 1/2 inch into a bucket. When refilling, add 2 to 4 inches of well-rotted compost in the top 6 to 8 inches and mix thoroughly to create a friable upper layer. Screen the top 6 inches through a 1/4-inch mesh sieve if you find gravel; this can be done in about 20–40 minutes for a 10 square foot patch.
Method 3 — raised bed: If native soil is shallow or rocky, build a raised bed at least 12 inches tall, ideally 18 inches. Fill with a light mix: 50 percent screened topsoil, 30 percent compost, 20 percent coarse sand or grit for drainage. For very heavy clay, add coarse builder sand at 10 to 20 percent by volume to break compaction; mix layers thoroughly to avoid pockets of heavy material.
Sowing: Lightly firm the surface and sow carrot seeds 1/4 inch deep. Use a shallow drill or a thin stick to make a furrow and sprinkle seeds so they average 2 to 3 seeds per inch, then cover with fine soil and press gently. Space rows 12 to 18 inches apart. After germination, thin seedlings to 1 to 2 inches apart for small types and 2 to 3 inches for long-storage carrots; perform the first thinning at 2 to 3 weeks and a second light thinning at 4 to 6 weeks if needed.
Keep the seedbed evenly moist: aim for about 1 inch of water per week, applied in gentle, even amounts. Mulch with 1 to 2 inches of straw or shredded leaves after seedlings are 2 to 3 weeks old to stabilize soil moisture and reduce surface crusting that can impede tiny roots.
Watering and fertility: Avoid high nitrogen fertilizers after seedlings appear; a balanced feed with an NPK ratio near 5-10-10 applied at planting and again 4 weeks later supports root development without excessive leafy growth. If a soil test shows low phosphorus or potassium, correct according to test recommendations at least 2 weeks before sowing for best uptake.
Timing and varieties: Most carrots mature in 60 to 80 days, depending on variety. Shorter types like Chantenay finish closer to 60 days; long varieties like Imperator can take 75 to 90 days. Plant succession crops every 2 to 3 weeks for a continuous harvest through the season; plan 4 to 6 successions for late spring through fall production in temperate climates.
Post-harvest: Harvest when roots reach expected diameter for the variety listed on the seed packet—commonly 1/2 to 1 inch for baby types and 3/4 to 1.5 inches for full-size roots. Store carrots unwashed in a perforated plastic bag in the refrigerator for up to 8 to 12 weeks, or layer them in damp sand in a cellar at 32 to 40°F for 3 to 6 months.

Frequently Asked Questions
Further reading: How to Grow Tomato Plants in Containers · How to Grow Vegetables You Can Harvest in a Month or Less
Sources: UMN Extension