 Field & Home

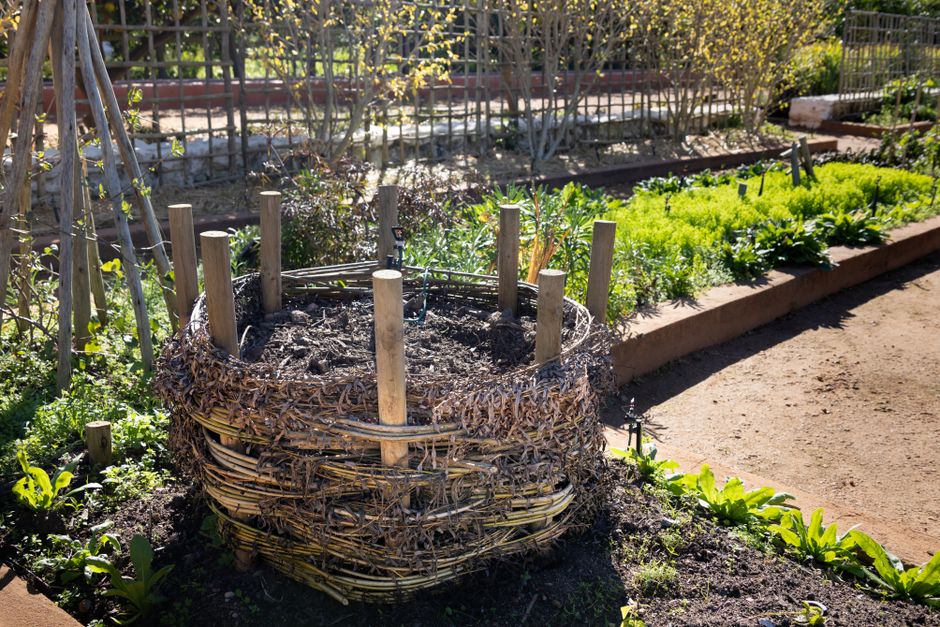
The short answer: A backyard compost bin sized 3×3 ft and managed with a 1:2 greens-to-browns ratio, damp-sponge moisture, and turning every 1 to 2 weeks will produce usable compost in roughly 3 to 6 months.
Setting Up Your Compost Bin
Pick a level spot that drains well and gets partial sun; a 3-foot square area (about 3 x 3 ft) works for most households and holds roughly 1 cubic yard of material. If space is tight, a 2 x 2 ft tumbler that holds 4 to 6 cubic feet also works. Allow at least 2 feet of clearance on one side for access when turning and harvesting.
Decide between a simple wooden bin, wire enclosure, or a sealed plastic tumbler. For a DIY 3×3 ft wood bin, cut four 3-ft lengths of 2 x 6 lumber for the sides and use 2 x 4 corner posts of 36 inches; add 2 to 3 cross slats on the bottom for drainage. If you buy a tumbler, choose one with a 4 to 8 cubic foot capacity and a turning mechanism rated for heavy loads.
Gather materials and tools: gloves, pitchfork or compost aerator, garden thermometer, measuring cup for small amendments, 1/2-inch hardware cloth for screening finished compost, and a 2 x 2 ft wire mesh screen for sifting. Have a bucket for kitchen scraps and a bin or pile for dry leaves and woody material.
Start with a 3- to 4-inch base layer of coarse brown material such as small branches or coarse straw to promote airflow. Add subsequent layers in a loose 1 part green to 2 parts brown ratio by volume: for example, 1 bucket (about 2 gallons) of fresh kitchen scraps to 2 buckets of dry leaves or shredded cardboard. Aim for a pile volume of at least 3 cubic feet to maintain heat.
Monitor moisture like a damp sponge: squeeze a handful and expect one or two drops to appear. If it is bone dry, add water with a hose for 2 to 4 minutes over the pile and then re-test; if soggy, add dry brown material in 1:1 volume increments until the squeeze test is correct. Insert a compost thermometer: a healthy hot pile will reach 120 to 160 degrees F within the first 2 to 6 weeks if sized and mixed properly.
Materials and Tools
Pile and tool checklist
Essential materials: brown carbon sources (dry leaves, shredded cardboard, sawdust), green nitrogen sources (vegetable scraps, coffee grounds, fresh grass clippings), and occasional bulky carbon (small branches) to aid aeration. Quantities: aim for a minimum pile of 3 cubic feet; keep a supply of 2 to 6 buckets of dry brown matter on hand.
Tools and small supplies: one garden fork or compost aerator for turning, a 12-inch compost thermometer to check internal temperatures, a 1/2-inch mesh screen for sifting finished compost, and a water source for moisture adjustments. For a DIY bin, use three 8-foot 2 x 4s (cut into 3-ft posts) and four 3-ft 2 x 6 boards for sides.
“Turn the pile every 1 to 2 weeks during active composting to speed breakdown and reach finished compost in months rather than a year.”
—
Maintenance and Harvesting
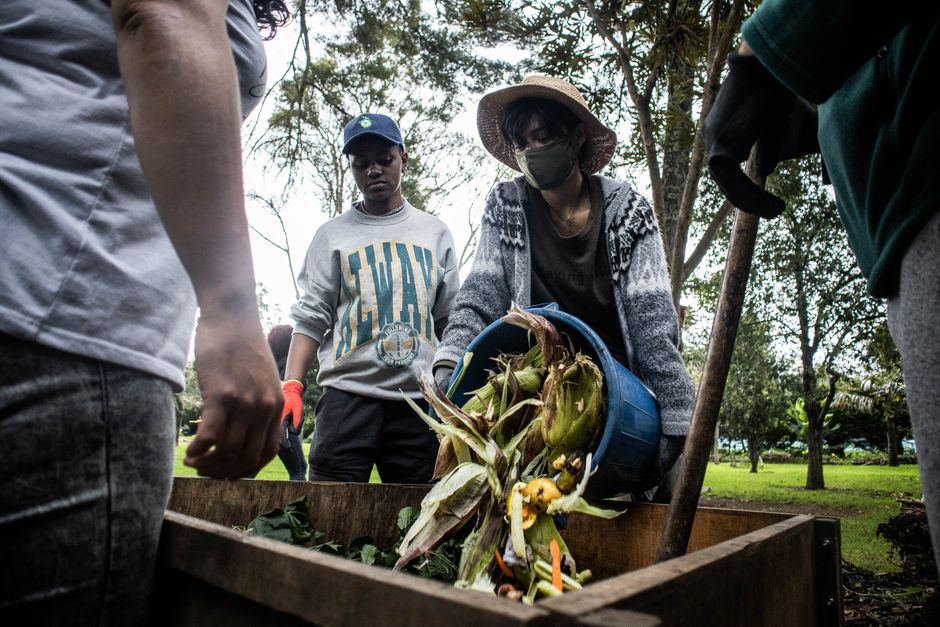
Turn schedule: in a hot, active pile, turn the pile every 1 to 2 weeks for the first 6 to 12 weeks to maintain oxygen and evenly distribute moisture and heat. For slower, cold-composting methods, turn every 3 to 8 weeks; expect finished material in 6 to 12 months with low-frequency turning. Use a pitchfork to lift and fold the pile from the outside into the center until you have mixed all layers.
Temperature checks: take internal readings with a thermometer pushed 12 to 18 inches into the center. If the pile exceeds 160 degrees F, open it and fold cooler outer material in to lower temperature by 10 to 20 degrees within a day or two. If temperatures stay below 100 degrees F after three weeks, add a 1:1 volume of chopped greens and turn to increase microbial activity.
Troubleshooting odors and pests: a rotten ammonia smell indicates too much green nitrogen—add dry brown material at a 2:1 brown-to-green ratio and turn. Fruit flies are reduced by burying kitchen scraps 6 to 8 inches into the pile or using a closed tumbler; rodents are deterred by avoiding whole food scraps like meat or large dairy items and by lining openings with 1/4-inch hardware cloth if needed.
Harvesting and screening: finished compost is dark, crumbly, and smells earthy. Stop adding fresh material to one bin and let it cure for 4 to 8 weeks; then sift through a 1/2-inch screen to separate fine compost from coarse pieces. Typical yield: a 3 x 3 x 3 ft bin (1 cubic yard) produces roughly 0.6 to 0.8 cubic yards of finished compost after shrinkage from decomposition.
Using compost: mix 1 to 2 inches of finished compost into the top 4 to 6 inches of garden soil before planting, or top-dress lawns with a 1/4- to 1/2-inch layer across the surface. For potted plants, use a mix of 1 part compost to 3 parts potting mix for lighter-weight blends that still supply nutrients.
Frequently Asked Questions
Further reading: Backyard Movie Nights: Projector vs TV Outdoors · Three-Zone Small Backyard Design
Sources: National Park Service