 Field & Home
The short answer: Clear, durable labels plus a two-step family rollout cut rummage time in half and keep kids and partners following the system.
Why labels make storage work
Labels reduce decision friction: when a bin clearly says “LEGOS” or “SUMMER HATS,” family members make the right choice in under 3 seconds. Start by auditing your storage: count bins, note bin types (plastic tote, lidded box, open basket), and measure typical label placement on 1 representative bin. Use a tape measure to get the visible face height and width; common small tote faces are 3 inches tall by 6 inches wide, while medium bins often have 2.5 inch by 8 inch panels. Record those three sizes and buy labels that match the smallest face so labels sit flat and readable.
Set a simple rule everyone can follow: one label on the front center of the bin, plus a repeat on the lid for stackable containers. Make two physical labels per bin so guests or kids unloading a stack see a label from either angle. A good work session for a typical garage or closet of about 20 bins takes 90 to 120 minutes: 20 minutes to measure and plan, 30 minutes to print/cut, and 40–70 minutes to apply labels and walk-through with the family.
Choose materials for the environment. Indoors and dry: matte printable sticker paper or a label maker tape is fine. For basements, garages, or toy bins that get wet, use laminated labels or waterproof vinyl stickers. For a durable option, print on 3/16 inch label stock or use a 2 mil clear packing tape laminate over a printed label; that combination typically resists wear for 2–5 years under regular use.
Fonts and contrast matter: pick a sans-serif at 16–22 point size for main words and keep character count under 18 per label so text remains readable at arm’s length. Use high contrast—black text on a white or pastel background is easiest for kids and adults with glasses. Color-code by person or room: assign a distinct color for each family member (red, blue, green, yellow) and keep a master legend on the closet door.
Quick label facts
Sizes, minutes, and fonts the family obeys.
Twenty bins in 90 to 120
Twenty measure, 30 print-cut, 40 to 70 apply plus family walk-through per session.
Two labels per bin
Front-center plus lid repeats read from every stack angle in under 3 seconds.
Sticker and tape labels
- Matte paper indoors, 2 mil tape over
- Best for: dry closets and pantries
- Lasts 2 to 5 years inside
Vinyl and laminated labels
- Waterproof for garages and toys
- Best for: wet basements and bins
- Photo strips 1 by 2.5 at 300 dpi
12 label ideas and how-to
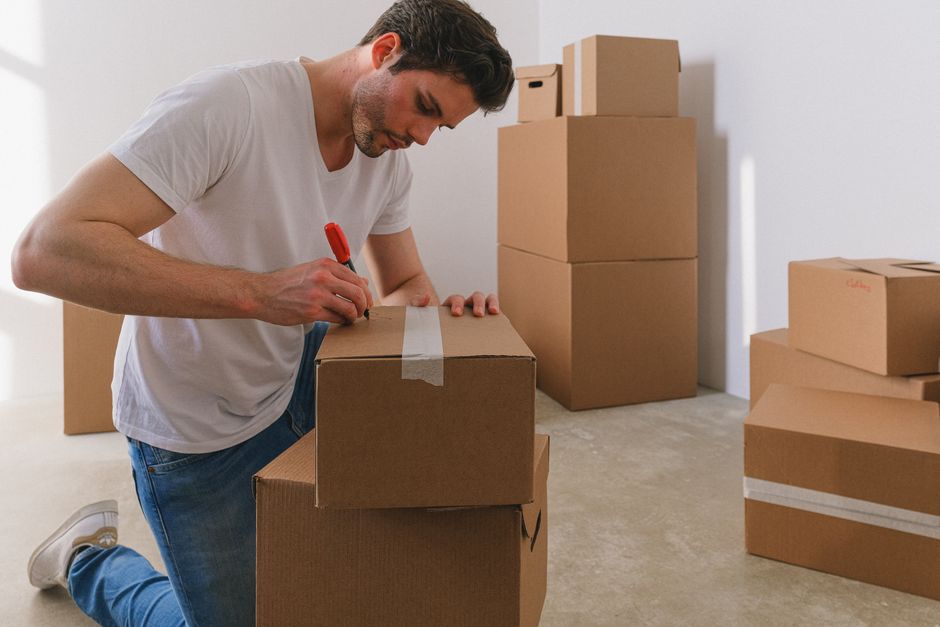
1) Category + photo: for mixed toy bins, print a 1-inch by 2.5-inch photo strip with the word beneath. Use a 300 dpi image and print on sticker paper; trim to 1″x2.5″ and cover with clear packing tape to waterproof. Photos help non-readers identify bins in under 2 seconds.
2) Person name + color stripe: for shared closets, make labels 2″ x 6″ with a 1/2″ color stripe on the left and the person’s name in 18-point type. Use one color per person and apply labels at arm height per owner.
3) Season + year: for off-season clothes bins, print “SUMMER 2026″ on 2″x4” labels and tape one inside the lid as well. Rotate and update labels yearly so you know what’s current.
4) Contents list: for bins with varied items, use a 2″x8″ label listing 3–5 contents separated by bullets. Keep lines short; the visual scan time drops from 6 seconds to 1–2 seconds with a clear list.
5) Usage frequency strip: add a small badge that says “DAILY,” “WEEKLY,” or “SEASONAL.” Make the badge 0.75″ round and place it at the right edge. This cue reduces overstuffing by signaling how often to access the bin.
6) Open/Closed instructions: for tool bins, label “TOOLS – RETURN AFTER 72 HOURS” to set an expectation. Concrete timeframes help households track loaned items and reduce permanent borrowing.
7) Size callout: include dimensions like “LINEN – 18×24 in” for folded towels so you store items in the correct bin without unfolding. Use 10-point type for the dimension line below the main title.
8) Transparent window + short title: when using clear bins, place a 1″x3″ title label at the center top and leave the face visible. This balances identification and visual inspection without over-labeling.
9) Aisle/shelf coordinates: in pantries, use “A3″ style coordinates: Shelf A, Row 3. Make each coordinate 0.75″ x 1.5” so family members can put groceries back in under 4 seconds.
10) QR quick inventory: for 30+ bins used for crafts or seasonal gear, attach a small QR sticker (0.8″ diameter) that links to a shared inventory list. Each scan should show counts and last restock date; maintaining the list takes 5–10 minutes per month for an average home.
11) Kid-friendly icons: for preschoolers, pair nouns with simple icons—shoe, ball, doll—printed at 1″ square. Laminate these and apply at 36″ height so a 4–6 year old can match and return items independently.
12) Repair/Donate tag: stick a narrow red strip on one short edge for “REPAIR” or orange for “DONATE.” Keep a 2″x6″ bin by the door and empty these strips into it once a month; a monthly sweep of 10–15 minutes prevents clutter buildup.
Application tips: align labels with a small 12-inch level or ruler for a tidy row; use double-sided tape for instant placement and 1″ clear packing tape over paper labels when waterproofing. For 20 bins, cut labels in batches of 5 to reduce setup time and avoid fatigue.

Frequently Asked Questions
Further reading: How to Build a Family Command Center · How to Use Shared Family Calendars Without Double-Booking
Sources: This Old House

4 responses