 Field & Home

The short answer: A small, well-planned command center by the door saves 10 to 20 minutes of daily scrambling and reduces lost items by roughly 50 percent.
Plan and pick a spot
Choose a high-traffic wall or the space immediately inside one main entry; a 24- to 36-inch-wide area beside the door is ideal. Measure a vertical zone of 48 to 72 inches so the command center serves adults and children: hang most items between 36 and 60 inches off the floor, with lower hooks at 36 to 42 inches for kids. Mark studs when possible; if studs are 16 inches on center, plan shelf or board attachments to hit those spacing points.
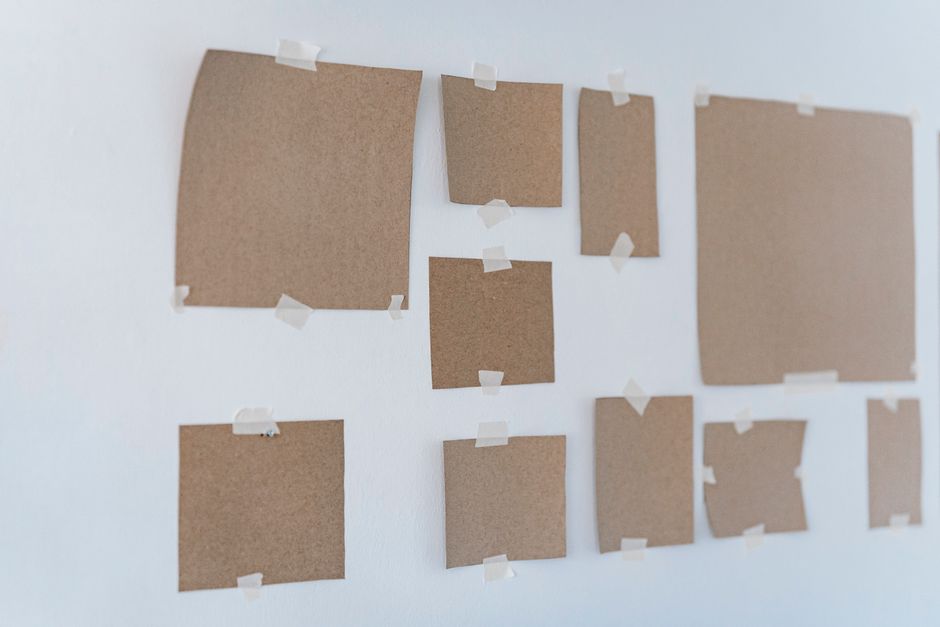
Decide whether you want a slim wall setup (pegboard plus shelf) or a small built-in bench with cubbies. A pegboard or 24 x 36 inch plywood backer gives a compact footprint; a bench adds a 14 to 18 inch seat depth and can hide two 12 x 12 inch cubbies for shoes. Sketch a 1:10 layout on paper: section for incoming mail, family calendar, keys/chargers, and a daily drop zone for backpacks or jackets. Draw exact placements in inches so drill points align to studs and fixture holes.
Consider traffic flow: allow 18 to 24 inches of clearance in front of the area so people can pause to unclip keys or sit on a bench. If the entry opens inward, avoid mounting items on the swing path; if space is tight, mount a 6 to 8 inch deep shelf and use vertical file baskets to keep the footprint under 9 inches from the wall. Choose finishes and colors that hide scuff marks if the area will get heavy use.
Quick snapshot
Heights, widths, and loads for a door-side wall.
Hit 16 in studs
Mark 16-inch studs for shelves; a 24 by 36 in backer lands screws on wood, not hope.
Keep 18 to 24 in clear
Hold 18 to 24 inches of standing room and dodge the door swing with a 6 to 8 in shelf.
“A tidy landing spot by the door turns morning chaos into a five-minute routine.”
—

Materials, layout, and installation
Gather tools and fasteners before you start: cordless drill with Phillips and square bits, 1/8 and 3/16 inch pilot drill bits, stud finder, 24-inch level, tape measure, pencil, 2 inch wood screws for framing, 1-1/4 inch screws for trim, and drywall anchors rated 50 lb each if you cannot hit studs. For a heavier shelf or bench use metal stud toggles rated for 100 lb. Buy a 24 x 36 inch pegboard or cut a 3/4 inch plywood backer to that size; prefinish the plywood with paint or clear coat to resist stains.
Materials list (example): one 24 x 36 inch pegboard or 3/4 inch plywood backer, one 1 x 4 pine trim board cut to your width for a top ledge, two L-brackets rated 40 lb for a shelf, three 6 x 8 inch wall baskets or mail slots, six utility hooks per adult suggested, two hooks per child, one 6-outlet USB charging strip, and a 2 x 2 inch cable channel. For a bench add two 8-foot 2 x 4s, one 4 x 8 foot sheet of 3/4 inch plywood, and a pair of 12 x 12 x 14 inch baskets for cubbies.
Layout the functional zones on the board before drilling. On a 36-inch-wide layout consider these placements: left column for mail slots each 9 x 4 inches stacked with 1 inch gap, center for an 11 x 17 inch family calendar mounted with its center at 48 inches high, and right column for key hooks spaced 4 to 6 inches apart starting at 48 inches high. Reserve a 6-inch vertical strip at the bottom for small shelves or a charging station so cords stay below eye level.
Installation steps in order: (1) Use the level to mark the outer edges of the 24 to 36 inch board area and draw a horizontal eye-level reference line at 48 inches. (2) If using a plywood backer, position it and screw into studs with 2 inch screws every 16 inches along top and bottom; pilot holes with a 1/8 inch bit. (3) Secure the 1 x 4 trim as a top ledge using 1-1/4 inch screws and countersink holes; allow a 3/4 inch reveal so small items sit securely. (4) Mount pegboard or attach hooks: place three key hooks and three utility hooks per adult, two per child, spacing 4 to 6 inches; mark each hole, drill pilot holes, and fasten with screws or anchors as appropriate. (5) Install a small shelf 6 inches below the calendar with two L-brackets rated 40 lb and 1-1/4 inch screws into the backer. (6) Mount the charging strip behind or beneath the shelf, secure with cable ties, and run cords through a 2 x 2 inch cable channel; cut the channel to length with a utility knife and screw it to the backer every 8 inches.
If you plan a bench: build a 36-inch-wide box frame with 14 to 16 inch depth and 18 inch seat height. Cut seat to 36 x 14 inches from 3/4 inch plywood, assemble frame with 3 inch wood screws into 2 x 4 rails spaced at 16 inches on center, and attach the seat with 1-1/4 inch screws. Divide interior into two cubbies approximately 12 x 12 x 14 inches each; add front trim of 1 x 2 for a finished edge and sand all edges with 120-grit before painting.
Finishing touches and organization: label each hook or cubby with a family member initial using 1.5 inch vinyl letters, add a 6 x 9 inch chalkboard or dry-erase section for quick messages, and put a small bowl or tray (4 to 6 inches wide) on the shelf for loose change and transit cards. Use baskets sized 10 x 8 x 6 inches for school papers and label them by child to keep incoming mail organized. For cable management, coil each device cable to 6 to 8 inches, secure with Velcro straps, and route them through the channel so a 1 inch gap remains for ventilation.
Maintenance plan: schedule a weekly 10-minute reset every Sunday to remove non-essential items, empty the mail slots, and fully charge devices; do a monthly purge of 15 to 30 minutes to discard or file papers and rotate seasonal items. Keep a small bin for items to be returned to vehicles and clear it every 7 days to avoid overflow.
Thirty-six to 60 inches serves adults while 36 to 42 keeps keys reachable for kids.
Sixteen-inch centers decide bracket points for pegboard, bench, and cubbies.
Fifty-pound drywall anchors for trim, 100-pound toggles for loaded shelves and benches.
Frequently Asked Questions
Further reading: 12 Storage Bin Labels the Whole Family Will Follow · How to Build a Linen Closet Inventory System That Lasts
Sources: This Old House



One response