Field & Home
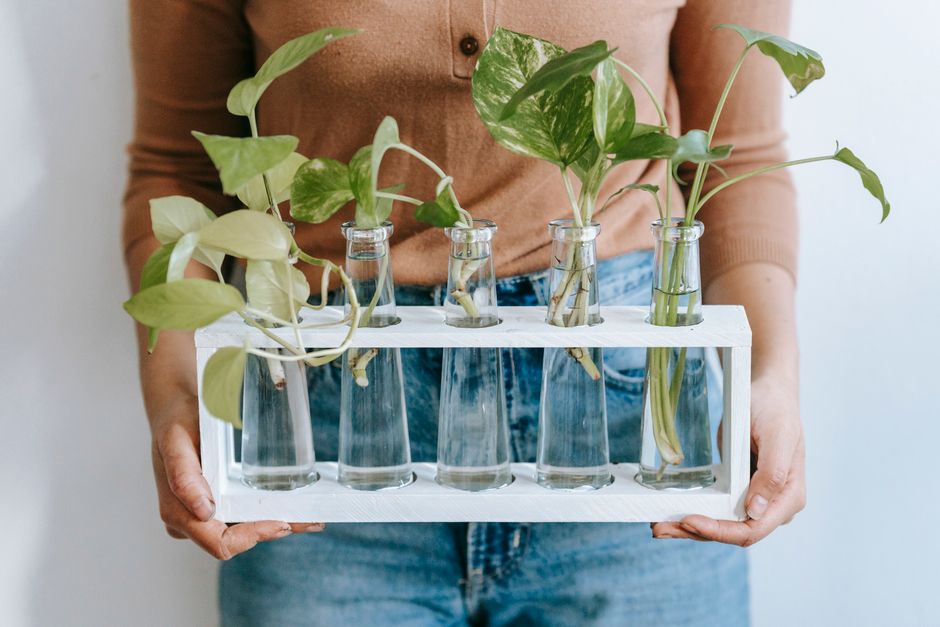
The short answer: Water propagation is a fast, low-fuss way to root pothos cuttings and watch roots develop in clear jars within 2–6 weeks. Keep nodes submerged, change water regularly, and pot when roots reach 1–2 inches for best success.
Why Water Propagation Works
Water gives pothos cuttings a steady supply of moisture while you watch root formation, which reduces the chance of the node drying out. In water, roots often appear faster than in soil—typical timing is 2–6 weeks depending on temperature and light—and you can discard or replace individual cuttings without disturbing others. Expect initial root hairs at about 7–14 days in warm, bright conditions and thicker roots by week 3 to week 6.
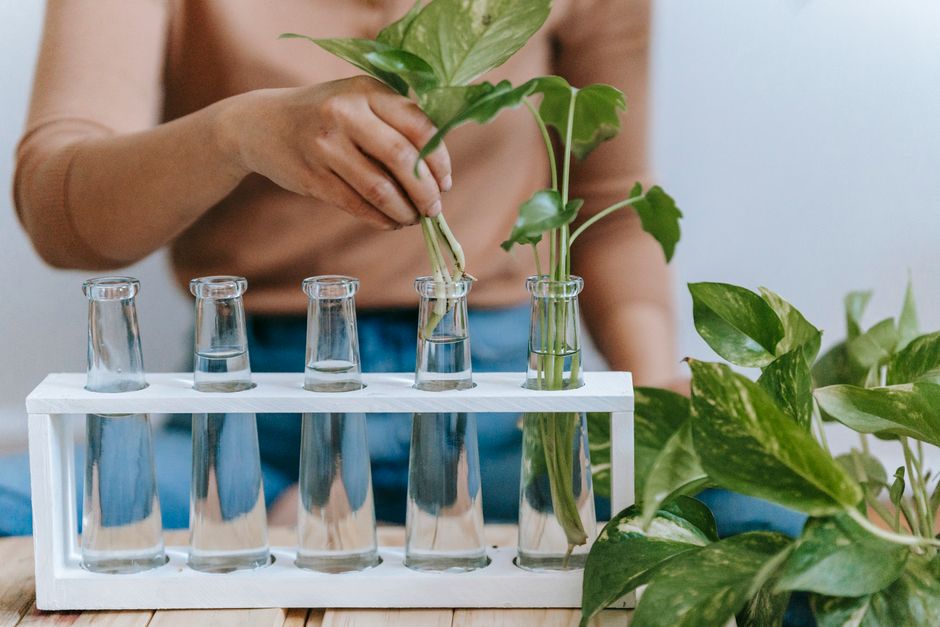
Choose a clear glass or BPA-free clear plastic jar 4–8 inches (10–20 cm) tall so you can monitor root progress. A mouth diameter of 2–4 inches (5–10 cm) keeps stems upright without squeezing them. For a single cutting a 4-inch (10 cm) jar is often ideal; for 3–4 cuttings use a 6–8 inch (15–20 cm) jar so stems have 1–2 inches (2.5–5 cm) spacing.
Sanitation speeds success: wipe scissors or shears with 70% isopropyl alcohol and rinse the jar in hot water before use. Label jars with a piece of masking tape and the start date so you can track days; write dates in MM/DD format if you propagate multiple batches. If you want to reduce microbes, add a single drop of 3% hydrogen peroxide per 8 ounces (240 ml) of water when first filling, then skip additives on weekly changes.
Water type matters. Use room-temperature tap water left uncovered for 24 hours to vent chlorine, or filtered water straight from the filter. Maintain a water depth that covers at least one full node—about 1–2 inches (2.5–5 cm) of water above the node—and avoid submerging the lowest living leaf. Place jars where they receive bright, indirect light for about 6–8 hours daily and keep ambient temperatures between 65–85°F (18–29°C).
Why water works
Jar, water, and light numbers for steady roots.
Cover one full node
Keep 1 to 2 inches of water over a bare node and never submerge the lowest living leaf.
Cut 4 to 6 in at 45 degrees
Sterilized 45-degree cuts with 2 nodes each root fastest in 24-hour rested tap water.
Soil
- Forgiving moisture, slower visible roots
- Best for: hands-off cuttings left alone
- Disturbing one risks the neighbors
Water
- Roots in 2 to 6 weeks, watchable daily
- Best for: learning nodes and timing
- Swap singles without touching others
Warm bright jars show hairs at 7 to 14 days and thick roots by week 3 to 6.
One to 2 inches above the node keeps it wet while the leaf stays dry.
A single drop of 3 percent per 8 oz at fill cuts microbes; skip it on weekly changes.
Step-by-Step Pothos Cuttings
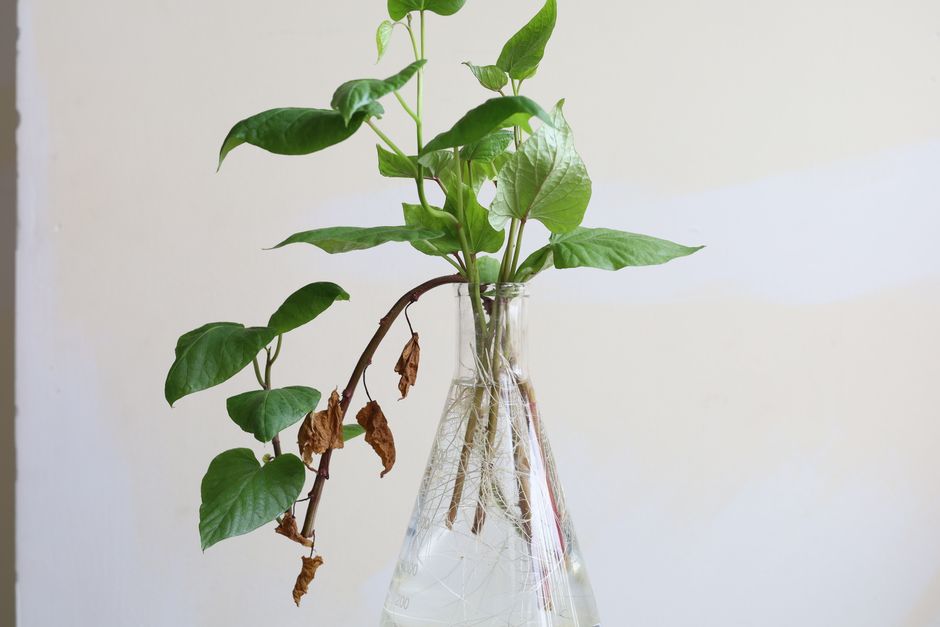
Step 1: Select healthy stems and cut 4–6 inches (10–15 cm) below a leaf node with sterilized shears at a 45-degree angle to increase area for root emergence. Each cutting should include at least 2 nodes and 1–2 leaves above the top node; remove lower leaves so at least one node is fully exposed to the water. For variegated varieties, choose stems with visible variegation and keep them in brighter indirect light—about 8 hours daily—to maintain color during rooting.
Step 2: Position cuttings so nodes are submerged but leaves remain above water. Use jars with a 2–4 inch (5–10 cm) mouth diameter so stems sit upright; if stems flop, support them with a chopstick or wrap a small strip of paper towel around the neck to hold stems in place. For multiple cuttings in one jar, space stems roughly 1–2 inches (2.5–5 cm) apart to reduce tangling and allow air circulation.
Step 3: Light and temperature: place jars in bright, indirect light and avoid direct afternoon sun that can overheat glass; aim for a temperature band of 65–80°F (18–27°C). In lower light (below 6 hours/day) expect rooting to slow to 4–8 weeks; in warm, bright spots (70–80°F / 21–27°C) roots often appear in 1–3 weeks. Keep relative humidity near 50–70% if possible—bathrooms and kitchens often provide higher humidity that speeds rooting.
Step 4: Water care and changes. Top off water daily to keep nodes submerged and do a full water change once per week for clear conditions. If water becomes cloudy or develops a smell, perform a full change every 2–3 days and wipe any slimy residue from stems; cloudy water at 70–80°F (21–27°C) often signals bacterial growth and requires immediate attention. When changing water, rinse roots gently in fresh room-temperature water to avoid shocking developing root tips.
Step 5: Watching root development and troubleshooting. Look for thin white root hairs at 7–14 days and thicker, finger-like roots by weeks 3–6. If roots look brown or slimy, trim the damaged section with sterile scissors and refresh the water; if leaves yellow quickly, check that at least one healthy node is submerged and that the cutting received 6–8 hours of indirect light. If a cutting shows no progress after 8 weeks, discard and try a fresh cutting from a different stem.
Step 6: Potting: choose a 2–4 inch (5–10 cm) nursery pot for single cuttings or a 4–6 inch (10–15 cm) pot for two to three cuttings. Use a well-draining potting mix—blend standard potting soil with perlite at a 3:1 ratio (three parts potting mix to one part perlite). Plant so at least one node is buried and roots are fanned gently; firm the mix around the stem and water until water begins to drain, then allow the top 1–2 inches (2.5–5 cm) of soil to dry between waterings for the first 2 weeks to prevent rot.
Aftercare: Keep newly potted cuttings in bright, indirect light and avoid fertilizing for the first 2–4 weeks to allow roots to adjust. After 4 weeks, begin a balanced liquid fertilizer at one-quarter strength applied every 4 weeks during the growing season. If stems begin to flop after 6–8 weeks, pinch back the top 1 inch (2.5 cm) to encourage branching and fuller growth.
Batch propagation tips: stagger cuttings every 2–4 weeks to maintain a continuous supply of young plants. Label each jar with the start date and variety, and note any additives used (for example, “1 drop H2O2 per 8 oz”) so you can repeat successful batches with the same routine.
Frequently Asked Questions
Further reading: How to Water Indoor Plants by the Finger Test and Schedule · Why Do Container Plants Dry Out Every Afternoon?
Sources: UMN Extension