Field & Home
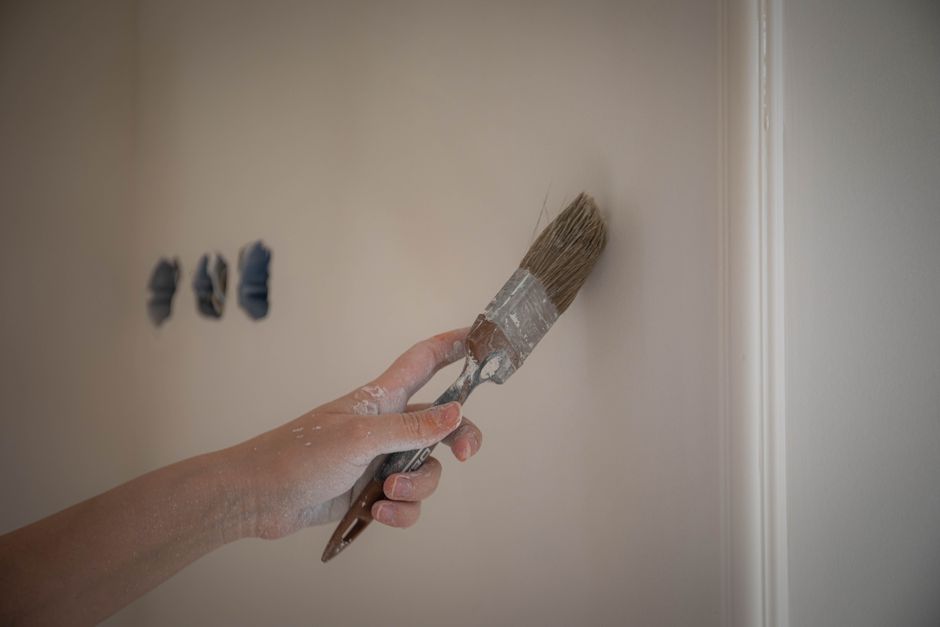
The short answer: Small nail holes can be made invisible with one lightweight spackle, a 1-inch putty knife, 220-grit sandpaper, and two timed passes: fill, sand, then paint. Expect 30-60 minutes dry time for thin fills at 70°F.
Prep and materials
Good results start with the right tools. Gather lightweight spackling or premixed joint compound (a pea-sized amount covers a 1/4-inch hole), a 1-inch flexible putty knife, a utility knife or pin to clear loose paint, 120-grit and 220-grit sandpaper, a small artist brush or 1-inch angled trim brush, a 2-inch mini foam roller with 1/8-inch nap for larger areas, a clean rag, and the original wall paint or an accurately mixed sample in a 2-ounce jar.
Work area prep matters: lay down a 2-foot square drop cloth or cardboard under the repair, and keep a damp rag at hand to wipe dust. If the wall surface is glossy or has texture, note the sheen and pattern; flat finishes hide touch-ups more easily, while satin and semi-gloss need lighter feathering and a small roller to match texture.
Surface condition: scrape away any loose paint or protruding fibers from the hole until the edge is firm. For nail holes larger than 1/4 inch in diameter, plan for a backing or a small tapered plug; this guide focuses on holes up to 1/4 inch wide, which most lightweight spackles will fill cleanly in one pass.
Hole sizes and fixes
Match the repair to the diameter before you start.
Test paint match first
Dab test paint somewhere hidden and let it dry 2 hours; wet paint lies about its final color.
Sand between coats
Let each coat dry 1 hour, scuff with 120 grit sandpaper so the next layer grips.
Holes 1/8 inch and under usually need only filler pressed flush.
Beyond 1/4 inch in diameter, add a backing plug for the filler to grip.
Two thin coats shrink less and hide better than one thick coat.
“Feather the edges thinly with the spine of the knife; thick ridges are the main reason touch-ups show.”
—
Step-by-step repair
Step 1 — Clear and size the hole: Use a utility knife or a pin to remove loose fibers and to slightly widen the entrance to a clean round edge if needed. For a 1/8-inch or smaller hole, press a toothpick in and trim flush if an anchor is required, or skip straight to spackling for pin-sized holes.
Step 2 — Apply spackle: Squeeze a pea-sized amount of premixed lightweight spackle onto the putty knife for a 1/4-inch hole. Press the spackle into the hole with the knife at a 30-degree angle, forcing material into the cavity and then scrape across the surface so the fill is level or just 1-2 mm above the wall plane. Avoid overfilling beyond 2 mm; deeper bulks require a two-pass method with a brief dry time between passes.
Step 3 — Tool the edges: Use the edge of the putty knife to feather the spackle outward 10-20 mm so there is a smooth transition to the existing paint. The feathered radius should be roughly the width of the putty knife for best blending. Wipe the knife blade on a rag between passes to keep edges clean and avoid dragging dried bits into the repair.
Step 4 — Drying: Let lightweight spackle set for 30-60 minutes at room temperature (70°F / 21°C). Thicker fills and colder rooms extend dry time — expect up to 24 hours for 3-4 mm deep fills. Check dryness by gently touching the center; it should be firm and not tacky before sanding.
Step 5 — Sanding: Start with 120-grit only if there is a high ridge; otherwise go straight to 220-grit. Sand with light, even strokes until the area is level with the wall and the feathered edges are indistinguishable. Remove dust with a slightly damp rag and let the surface dry for 5-10 minutes before painting.
Step 6 — Paint match and application: If you have leftover original paint, stir it and use an angled 1-inch brush to lay a small amount directly over the repair, extending 25-50 mm beyond the patch in a thin feathered coat. For larger patched spots or textured walls, use a 2-inch mini foam roller with a 1/8-inch nap and roll from the center outward in one direction to blend sheen. If you must mix a sample, bring a 2-inch square trim piece of paint to a hardware store or use a 2-ounce tintable jar; small jars typically have handling and dry times of 1-2 hours between coats.
Step 7 — Second coat and inspection: After the first coat dries for 1-2 hours, inspect from 4-6 feet away under normal room lighting. Add a second thin coat if the patch shows through; most single-hole fills need one or two light coats of original paint to become invisible. Allow final drying for 24 hours before heavy cleaning or touching the area.
Tips for tricky surfaces: For eggshell or satin sheens, make smaller brush strokes and use less paint per pass to avoid lap marks. On textured walls, replicate the texture by stippling with a stiff-bristled brush or using a small piece of matching texture material pressed into the wet paint within 30 minutes of application. For semi-gloss trims, keep brush strokes parallel and feather a 25-50 mm radius to blend.
Cleanup and storage: Clean brushes and rollers with warm water within 2-5 minutes when using acrylic premixed spackle or latex paint; dried material must be removed mechanically. Store leftover spackle at room temperature (50-80°F / 10-27°C) with the cap tightened and a small piece of plastic pushed into the nozzle to keep the tube usable for 6-12 months.
Multiple holes and small runs: When repairing a cluster of holes within a 6-inch area, fill and sand them all and paint the whole 6-12 inch patch in one session to match sheen. Plan 30-90 minutes for filling and sanding a group of up to 10 holes and allow 1-2 hours between light coats; paint larger swaths in a single continuous pass to avoid lap marks.

Frequently Asked Questions
Further reading: How to Soundproof a Thin-Walled Rental Bedroom · Planter-Bench Combos: A Simple Woodworking Weekend
Sources: This Old House