Field & Home
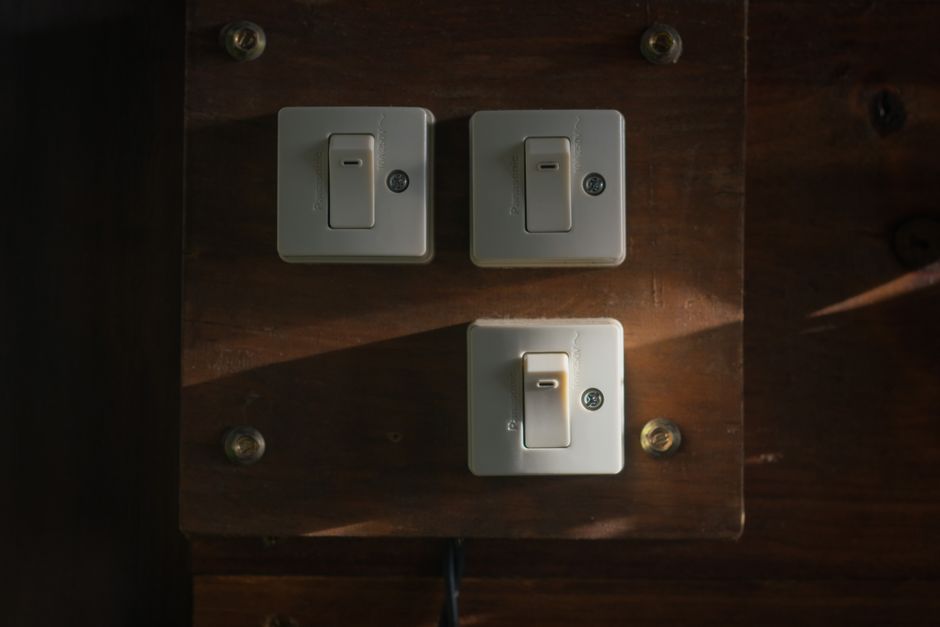
The short answer: Replacing a faulty light switch is a 20–30 minute job if you cut power, test carefully, and match the replacement switch to the existing wiring.
Prep and Safety
Before you touch wiring, shut off the correct circuit breaker and label it with tape so no one turns it back on. Work should begin with the breaker in the OFF position; don’t rely on the light switch in the off position alone. Allow 1–2 minutes to clear a safe workspace, remove the wall plate with a #2 Phillips screwdriver, and set the faceplate and screws aside in a small container so you don’t lose them.
Use a non-contact voltage tester across the switch terminals to confirm the circuit is dead; a reliable tester will give a visual or audible indication at the screw terminals. Test both terminals and the box for voltage; if the tester reads at or above 50 V at any terminal, keep the breaker off and re-check labeling. A good practice is to test the tester on a known live outlet before and after testing the switch to ensure it works.
Gather tools and parts: one flathead and one Phillips screwdriver, needle-nose pliers, wire stripper, non-contact voltage tester, replacement switch matching the amperage and pole configuration (15 A or 20 A, single-pole or three-way), and 6 inches of 14- or 12-gauge solid copper wire if you need to add a pigtail. Plan for the job to take 20–30 minutes for a single switch and 30–45 minutes for a three-way or older wiring.
Take a clear photo of the existing wiring before you disconnect anything. Photograph each terminal and the bundle of ground wires for reference. Photos reduce guesswork when reconnecting wires and can save 5–10 minutes when reassembling the switch.
Tools and parts
Everything for a 30-minute swap.
Photo first
Photograph every terminal and ground bundle before disconnecting a single wire; photos prevent 30-minute guessing sessions.
Test dead twice
Verify zero voltage at each terminal, wait 1 to 2 minutes, and test again — mislabeled breakers fool hurried DIYers.
Single-pole
- Two terminals plus ground
- Best for: lights with one switch
- Simplest 30-minute swap
Three-way
- Three terminals plus ground
- Best for: stairs and hallways
- Photograph wiring before touching a wire
“Always confirm power is OFF with a tester at both the switch screws and the fixture feed; visual isolation is not enough.”
—

Remove and Replace
Step 1 — Turn the breaker OFF and test: Switch the circuit breaker off, put tape on the breaker handle, and verify with a non-contact tester at each screw terminal. If you wait 1–2 minutes after shutdown, capacitive devices in the circuit will discharge and readings will stabilize.
Step 2 — Remove the old switch: Unscrew the mounting screws holding the switch to the electrical box, pull the switch straight out about 1–2 inches so you can see the terminal screws and wire connections. If wires are looped under screws, photograph or sketch which wire is on which screw: typically the hot (black) is on the common screw and the neutral is not attached to the switch for a simple light circuit.
Step 3 — Disconnect wires: Loosen each terminal screw and free the wire; if the switch uses backstabbed wires, cut and strip 3/8 inch of insulation off the end and use the stripped end for the new connection. If you need a pigtail, cut a 6-inch length of matching gauge wire, strip 3/8 inch, and join it to the hot bundle with a wire nut rated for the conductor count in the box.
Step 4 — Prepare the replacement switch: Confirm the replacement matches the original in amperage (marked 15 A or 20 A) and configuration (single-pole or three-way). Bend the stripped wire ends into a small hook that wraps clockwise under the terminal screw so tightening the screw pulls the hook tighter, and slide each hook under the correct screw.
Step 5 — Tighten and secure: Tighten each terminal screw until snug, then give an additional 1/8 to 1/4 turn so connections are secure. Tug each wire gently to confirm it won’t pull out. Attach the ground to the green screw; if the box is metal and has a grounding screw, bond the ground to the box as well.
Step 6 — Test before closing: Carefully push the wired switch back into the box, leaving the switch toggled to the OFF position, and restore the breaker. Use the voltage tester on the switch toggle and terminals to confirm expected behavior, then flip the switch to verify the light operates. If the light does not operate or you see unexpected voltage readings, turn the breaker off immediately and re-check connections for swapped wires.
Step 7 — Finalize and tidy: With the switch working, turn the breaker off again, push the switch fully into the box, realign the mounting screws and tighten them so the switch is square in the opening, then reinstall the faceplate. Allow about 5 minutes for cleanup and tool put-away.
Troubleshooting notes: If the replacement buzzes or trips the breaker, you likely installed the wrong type of switch (a three-way in a single-pole circuit or vice versa) or a wire is loose. Replace the breaker label and record the date of the repair in your home maintenance log for future reference—write the date on the breaker with a permanent marker.
Frequently Asked Questions
Further reading: How to Soundproof a Thin-Walled Rental Bedroom · Planter-Bench Combos: A Simple Woodworking Weekend
Sources: This Old House