Field & Home
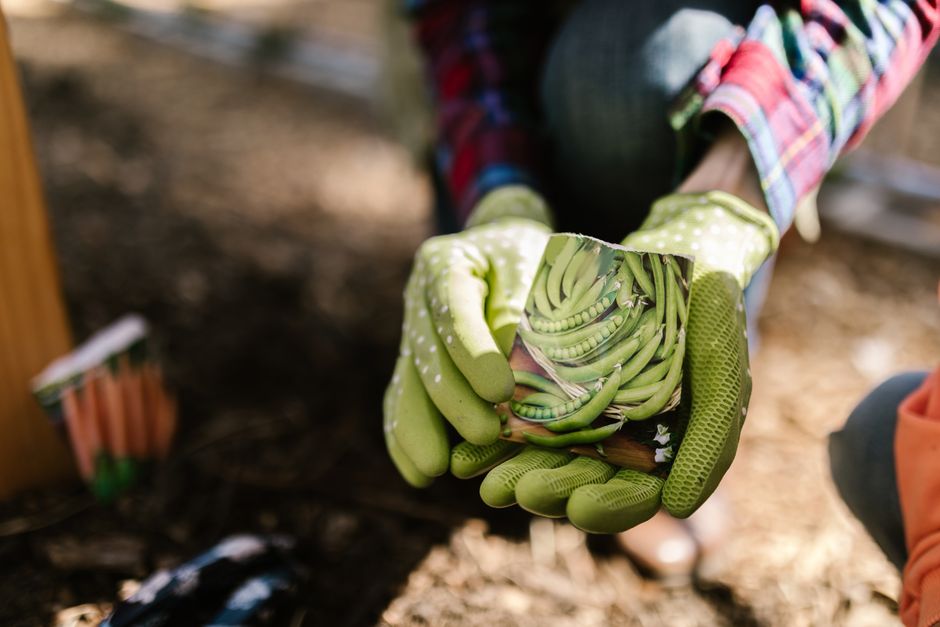
The short answer: Read the top-line facts first: variety name, days to maturity, and seeding depth. Those three numbers tell you when to plant, how to plant, and how long until harvest.
Reading packet basics
Start every packet by reading the cultivar name, market class, and whether it is hybrid or open-pollinated. That single line tells you whether saved seed will breed true, and it gives a quick clue to size and habit so you can match the plant to your bed or container.
Locate “days to maturity” and any separate “days to germinate” information. Days to maturity is the expected time from sowing or transplant until harvest, commonly printed as a number or a small range (for example 60-70 days). For planning, use the higher number in a range when you are scheduling a target harvest date from transplant or direct sowing.
Check the germination percentage and the test date. Reputable packets list a percent (for example 85%) and the year of testing; seeds tested within the past 1 to 3 years usually retain good viability. Use the percent to calculate how many seeds to sow: if you need 12 plants and germination is 75%, sow 16 seeds (12 divided by 0.75 equals 16) to reach your target allowance for failures.
Find seeding depth, spacing, and row information and treat those numbers as prescriptive. A packet that reads “sow 1/4 in. deep, thin to 6 in., rows 18 in. apart” gives three concrete measurements you should follow. When given ranges, choose the deeper depth and wider spacing for heavier soils or larger varieties, and the shallower/tighter settings for small-seeded crops and lightweight soils.
Note any seed treatments, coatings, or special requirements printed on the packet. Treated seed will warn you not to eat it and often list the active ingredient; coated seed may be larger and require different depth; and some native or perennial seeds will specify cold stratification periods with temperatures and days.
Practical packet-reading steps: 1) Circle the days-to-maturity range and decide which end you will assume for scheduling, 2) write down the recommended seeding depth and spacing in inches, and 3) calculate seed needs using the germination percent and row length before you open the packet. For example, if you need 30 plants and seeds test at 80% germination, divide 30 by 0.8 and sow 38 seeds to allow a small margin.
Packet essentials
Dates, depths, and math printed on every packet.
Circle three numbers first
Days range, depth plus spacing, and germination percent before the packet even opens.
Sow 16 for 12 at 75 pct
Twelve plants at 75 percent germination means 16 seeds; 30 at 80 means 38 in rows.
Sixty to 70 day prints schedule harvest from sowing; always plan off the high end.
Eighty-five percent tested lately sows near count; old seed pads the math.
Quarter-inch depths with 6-inch thins and 18-inch rows suit most small seeds.
Days to maturity
- Printed days steer sowing order
- Best for: sequencing spring beds
- High end never misses harvest
Use for timing
- Germination percent sets seed count
- Best for: buying exactly enough
- Fresh tests beat old packets

Planting, thinning, and scheduling
Translate packet spacing into practical bed layouts. For example, a packet recommending 2 in. spacing and 12 in. rows yields roughly 6 plants per linear foot (12 in. divided by 2 in. equals 6). For a 4 ft by 8 ft bed with four 8-ft rows, estimate total plants by multiplying plants per foot by row length and number of rows: at 6 plants/ft and four 8-ft rows you would plan for about 192 plants if the crop fits that density.
Follow seeding depth precisely and use the two-times-diameter rule when a packet is vague: plant seeds at approximately 2 times the seed diameter. For small seeds like lettuce or celery, press them onto the surface and cover with 1/16 to 1/8 in. of fine soil or vermiculite; for medium seeds like carrots use 1/4 in.; for large beans and peas use 1/2 to 1 in. depth. When using seed trays, cells about 1.5 in. wide and a potting mix depth of 2 to 3 in. are suitable for most garden-started seedlings.
Steps for direct sowing: 1) prepare a fine, firm seedbed and mark rows with a string to keep spacing straight; 2) sow seeds in groups or at intervals matching the packet’s spacing; 3) cover to the recommended depth and water gently with a fine spray; 4) label with date and variety. For succession planting, follow the packet’s suggested interval—common intervals are every 7, 10, or 14 days depending on the crop—to extend harvest over 4 to 8 weeks or longer.
Thinning improves yield: if a packet says “sow 3 seeds per hole and thin to 1,” thin when seedlings have 2 true leaves, typically 10 to 21 days after emergence. Remove weaker seedlings by snipping at soil level or transplanting small thinned seedlings within 24 hours if you plan to relocate them; avoid pulling if roots are entangled.
Indoor start timing and conditions: sow seeds indoors 4 to 6 weeks before the average last frost for cool-season crops and 6 to 8 weeks early for warm-season crops that need extra root growth. Maintain germination temperatures specified on the packet—many vegetables like 65 to 75 F for best results—and move seedlings outdoors after hardening off for 7 to 10 days before transplanting.
Follow pre-sowing treatments exactly when listed: soak large, hard seeds for 6 to 12 hours to speed germination; cold-stratify certain perennials at 35 to 40 F for 30 to 90 days; scarify seeds by nicking or sanding thicker-coated varieties once if the packet advises. Precise times and temperatures given on the packet improve uniformity and reduce wasted seed.

Frequently Asked Questions
Further reading: Five First-Year Garden Mistakes and How to Avoid Them · Soil Drainage: The One-Hole Test Every Beginner Should Know
Sources: UMN Extension