 Field & Home

The short answer: Start with soil, scale your beds to 4 by 8 feet or less, follow a 2-week watering ramp when transplanting, and space seedlings using the plant tag spacing to avoid most first-year failures.
Plan Before You Plant
First-year gardeners often rush into planting and then struggle with poor yields or wasted effort. The single best investment is 2 to 4 hours of site assessment and sketching a simple layout before buying plants. Measure a sunny spot for at least 6 hours of direct sun; mark a rectangle 4 by 8 feet or create two 3 by 6 foot beds if you want narrow beds for easy reach. Smaller, rectangular beds reduce bending and make watering and weed control manageable.
Soil preparation is the next priority. For a 4 by 8 bed to a depth of 8 inches, loosen soil and add 2 to 4 cubic feet of compost and 1 cup of balanced granular fertilizer (10-10-10) per 10 square feet, then mix to a uniform depth. If your existing topsoil is less than 6 inches deep, consider building a raised bed 10 to 12 inches high and filling it with a 60:40 mix of screened topsoil to compost for faster establishment. Take a basic soil test kit and expect pH adjustments: add 1 cup of lime per 100 square feet to raise pH by about 0.5 units in sandy soil, or sulfur at 1 tablespoon per 10 square feet to lower pH if necessary after test results.
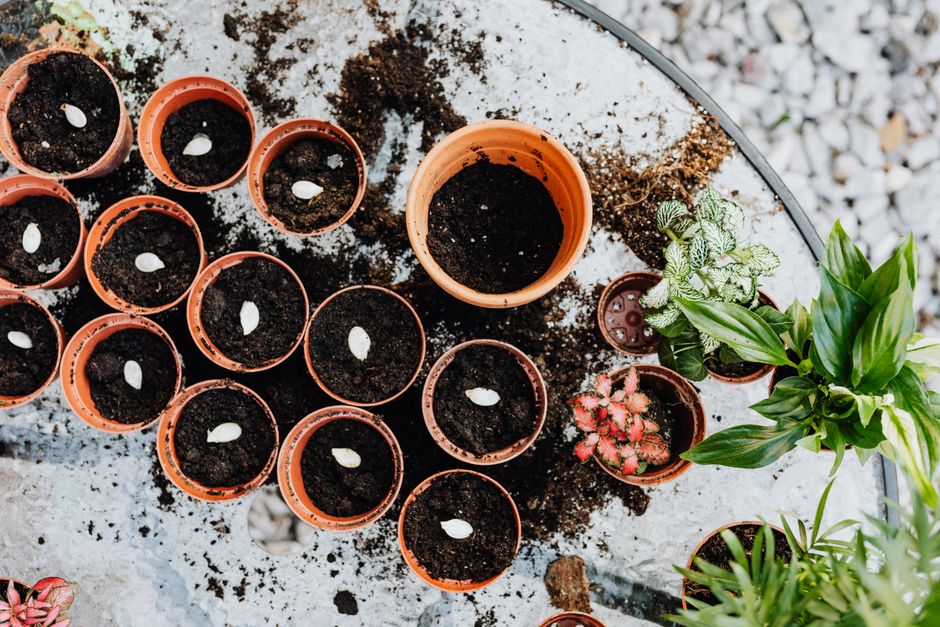
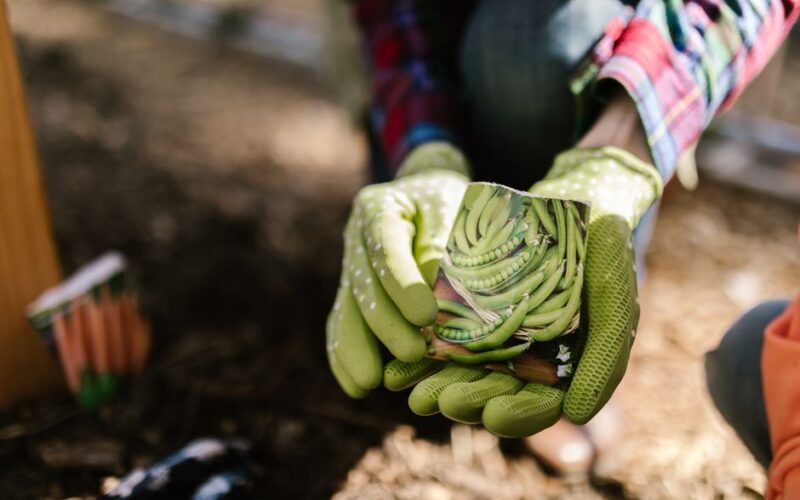
Avoid overplanting, a very common first-year mistake. Seed packets and plant tags give final spacing; follow that spacing rather than crowding. For example, if tomatoes say 24 inches apart, mark planting points on a grid with a 2-foot spacing; that prevents early competition and reduces disease spread. Start with 8 to 12 tomato plants for a family of four if you plan to preserve some harvests, but scale down for your first year: try 2 to 4 staked plants plus 6 to 8 seasonals like lettuce or radishes in the same bed to learn crop cycles without overwhelming maintenance.
Soil pH and texture
Hours, feet, and quarts that save year one.
Test pH, feed 1 cup
Cup of lime per 100 sq ft lifts sandy pH half a point; cup 10-10-10 per 10 sq ft feeds beds.
Space tomatoes 24 in
Grid-mark 2-foot tomato gaps with 2 to 4 staked plus 6 to 8 quick crops to learn cycles.
Raised beds
- 10 to 12 in tall, 60:40 fill fast
- Best for: thin topsoil under 6 in
- Narrow 3 by 6 reaches easy
In-ground beds
- Loosen 8 in with 2 to 4 ft compost
- Best for: deep native topsoil
- Sketch 4 by 8 before digging
Care and Timing
Watering is another area where first-year gardeners make avoidable mistakes. Newly transplanted seedlings need a steady but not excessive supply: water at transplant time with 1 pint (about 0.5 L) per small seedling, then move to 1 to 2 quarts (1 to 2 L) every 2 to 3 days depending on soil and weather. Use a soil probe or your finger to check the top 2 inches; if that layer is dry, it’s time to water. For most vegetable beds, aim for about 1 inch of water per week total—measure with a simple rain gauge or a flat-bottomed container. In hot weather, increase to 1.5 inches per week and water early morning to reduce evaporation.
Mulching reduces weeds and evaporation. Apply 2 to 3 inches of organic mulch like straw or shredded leaves after soil has warmed in late spring. Keep mulch a 2-inch gap from plant stems to prevent rot. For rows and containers, use drip irrigation or soaker hoses run on a simple timer for 20 to 40 minutes per session; start with 20 minutes for small beds and increase by 5-minute increments while monitoring soil moisture with a probe.
Pest and disease control in year one is mostly preventative. Space plants for airflow, remove lower leaves on indeterminate tomatoes so the first cluster sits 18 inches above ground, and rotate plant families between beds each season. If insect damage appears, use a 1% insecticidal soap spray covering both sides of leaves and reapply every 7 to 10 days until control is achieved, watching beneficial insects like ladybugs as a guide to stop treatment.
Timing of planting matters. Follow local last frost dates: sow cold-tolerant greens 4 to 6 weeks before the last frost and heat-loving crops like peppers and tomatoes 2 to 3 weeks after the last frost when soil temperatures are above 60°F (15°C). Keep a planting journal with dates and varieties; by autumn you will have 6 to 12 dated entries that show what succeeded and what failed so you can adjust next year.
Tools and Ongoing Maintenance
Pick three core tools and learn them: a 6-inch hand trowel, a 24- to 36-inch long-handled hoe, and a sharp pair of bypass pruners. Store them clean and dry and sharpen pruners once a month during the season to keep cuts healthy. Set aside 30 to 60 minutes twice a week for weeding and quick inspections; short, regular sessions prevent weeds from seeding and let you spot irrigation or pest problems before they escalate.
Record keeping saves time. Use a sheet with columns for date planted, variety, spacing, harvest start and yield estimate; aim to weigh or count harvests at least three times during the season to get metrics like pounds per plant or weeks to maturity. These numbers—2 pounds per tomato plant, 6 weeks to baby leaf harvest for lettuce, for example—help you scale next year and eliminate guesswork.
Scale and Succession Planting
Start small in year one and plan for succession plantings. For fast crops like radishes and leaf lettuce, sow every 10 to 14 days in a 4 by 8 bed to maintain continuous harvest rather than a single glut. For longer-season crops, stagger plantings so that you have 25 to 50 percent of the crop maturing each week during peak season, which makes harvesting and processing manageable for a household.
Save seeds or mark successful varieties for year two. If you find a tomato that produced reliably, note the plant name and save three ripe fruits at the end of the season for seed extraction and drying. Store labeled seeds in a cool, dry jar with silica gel and expect viability for 1 to 5 years depending on species.

Frequently Asked Questions
Further reading: Soil Drainage: The One-Hole Test Every Beginner Should Know · How to Read a Seed Packet Like an Experienced Gardener
Sources: UMN Extension
One response