Field & Home
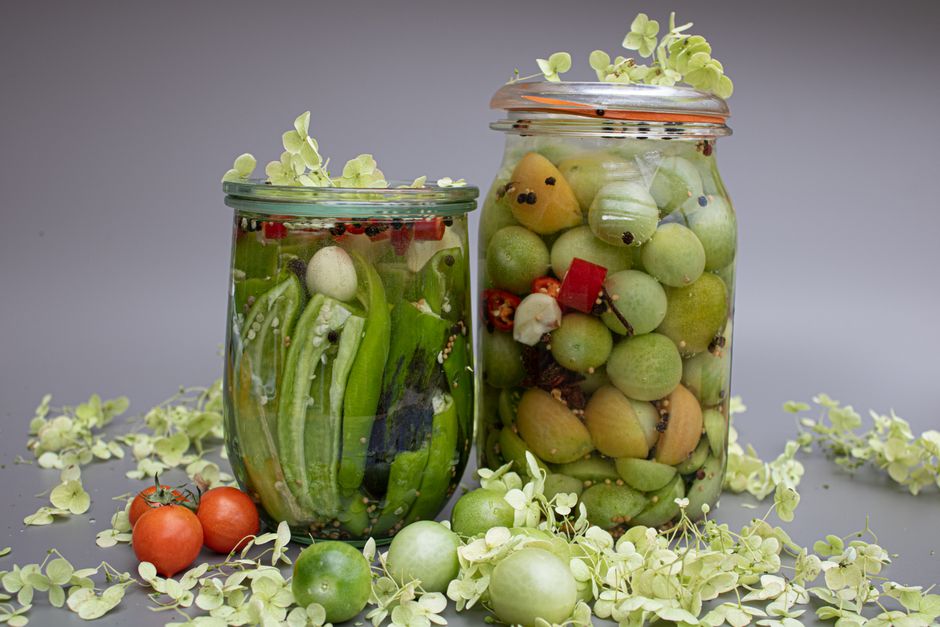
The short answer: Save healthy tomato varieties by fermenting seeds for 48–72 hours, rinsing thoroughly, and drying them flat for 4–7 days to reach under 8% moisture before airtight, cool storage.
Harvest and Prepare Seeds
Select fully ripe tomatoes from plants that show the traits you want to preserve: flavor, size, disease resistance, or color. For open-pollinated varieties save from 3–5 fruits to capture useful genetic variability; for maintaining a single-line selection you can use 1–2 fruits but expect narrower diversity. Avoid fruits with obvious disease lesions or odd mutations; pick firm-ripe fruit that yields slightly to pressure and shows full color for the variety.
Work over a clean surface and use a small paring knife to slice each tomato across the equator. Scoop the seed pulp into a clean glass jar or ceramic bowl—use a 250–500 ml jar for each batch. Typical seed pulp from one medium tomato yields about 1–2 teaspoons of cleaned seeds (roughly 150–300 seeds). Keep batches separated by variety and label each jar immediately with variety name, harvest date, and plant source.
Sanitize tools and containers before use. Wash jars and spoons in hot soapy water and rinse; run through a dishwasher cycle or pour boiling water over glass to warm and reduce microbes. Use separate spoons and a separate jar for each variety to avoid cross-contamination; do not mix pulp from different varieties unless you intentionally want a cross.
Taking isolation into account: tomatoes are mostly self-pollinating, but if you need varietal purity consider spatial isolation of at least 20 feet (6 m) from other varieties or time flowering by 2–3 weeks. For strict seed-saving programs use hand-pollination and bagging to guarantee identity, especially with cherry types that may set more open-pollinated crosses.
Why ferment tomato seeds
Fruits, jars, and hours that clean seeds right.
Stir a 1:1 to 2:1 bath
Cover pulp with equal to double water in a wide jar and stir to break clumps daily.
Isolate 20 feet
Keep 20 feet or 2 to 3 weeks between varieties, bagging cherries that cross easiest.
“Fermenting is not rotting the seeds; it’s loosening the gel and letting good seeds settle so you can rinse them clean.”
—
Ferment, Rinse, and Dry
Step 1: Add water to the pulp. For the pulp you collected, add clean tap water to just cover the pulp—aim for a 1:1 to 2:1 water-to-pulp volume ratio. Use a jar wide enough to stir easily; a 250–500 ml jar is typical for pulp from 1–4 medium tomatoes. Stir to break up clumps and cover the jar with a breathable cloth or loose lid so gas can escape while keeping insects out. Label the jar with variety and start date.
Step 2: Ferment at room temperature. Place the jar on a countertop away from direct sun at about 20–25 C (68–77 F). Check after 24 hours; a thin film of mold or small bubbles is normal. The usual window is 48–72 hours—stop when the surface film darkens and seeds begin to sink. Do not exceed 5 days, because prolonged fermentation increases the risk of reduced viability. If the smell becomes strongly putrid or the film is black and thick, pour off and discard, and start with new fruit.
Step 3: Decant and coarse-separate. Carefully pour off the floating pulp, mold, and liquid into the sink, leaving the heavier seeds and some sediment. Add fresh water, swirl, and pour through a fine mesh sieve (0.5–1.0 mm mesh or a nylon kitchen strainer). Rinse under gentle running water while rubbing seeds lightly with fingers to remove remaining gel. Repeat until the rinse water runs clear and most seeds feel hard when pressed between thumb and forefinger.
Step 4: Drain well. Let seeds sit in the sieve to drain for 5–15 minutes; excess water makes drying slower and can promote clumping. Transfer seeds to your chosen drying surface in a single layer no more than 2–3 mm thick; suitable surfaces include uncoated coffee filters, a clean ceramic plate, a sheet of heavyweight paper towel over a rigid tray, or a nonstick silicone mat.
Step 5: Dry with airflow and patience. Place the trays in a well-ventilated room at 18–22 C (65–72 F) with low relative humidity—ideally under 40%. A small fan on low can keep air moving but do not aim strong, direct airflow at the seeds. Stir or rotate the seeds gently once per day to prevent clumps and encourage even drying. Expect 4–7 days of drying in typical indoor conditions; in damp weather allow up to 10 days and move trays inside near a dehumidifier if available.
Step 6: Know when seeds are dry. Properly dry tomato seeds rattle when shaken and snap cleanly with a toothpick; they should feel brittle, not leathery. Target a final moisture content under 8% for multi-year storage. If you have a moisture meter, shoot for 6–8% moisture; without a meter rely on texture and a simple oven-dry check (place a measured portion at 60 C for 2 hours and compare weight) for precise work.
Step 7: Test and store. Run a small germination test: place 10 seeds on a damp paper towel, fold, seal in a clear plastic bag, and keep at 21–25 C. Check after 7 days and record the number germinated; that percent gives you a baseline for expected field performance. Transfer fully dry seeds into small glass vials or airtight jars (5–15 ml vials or 30–60 ml jars work well for household amounts). Add a 1–3 g silica gel packet per 10–20 g of seeds for extra dryness. Label each container with variety, harvest year, and germination percent if tested.
Storage: keep jars cool and dark at 3–10 C (a refrigerator drawer is common) and maintain relative humidity under 35% for best longevity. Properly dried and stored tomato seeds commonly remain viable 3–6 years; check germination every 2–3 years and replace seed stock when viability drops below about 70% for critical crops.
Frequently Asked Questions
Further reading: How to Grow Tomato Plants in Containers · How to Grow Vegetables You Can Harvest in a Month or Less
Sources: UMN Extension