 Field & Home


The short answer: Mulching is the simplest long-term weed control: 2 to 4 inches of organic mulch over prepared soil blocks light to weed seeds, reduces evaporation by up to 20%, and adds organic matter as it decomposes.
Mulch Basics
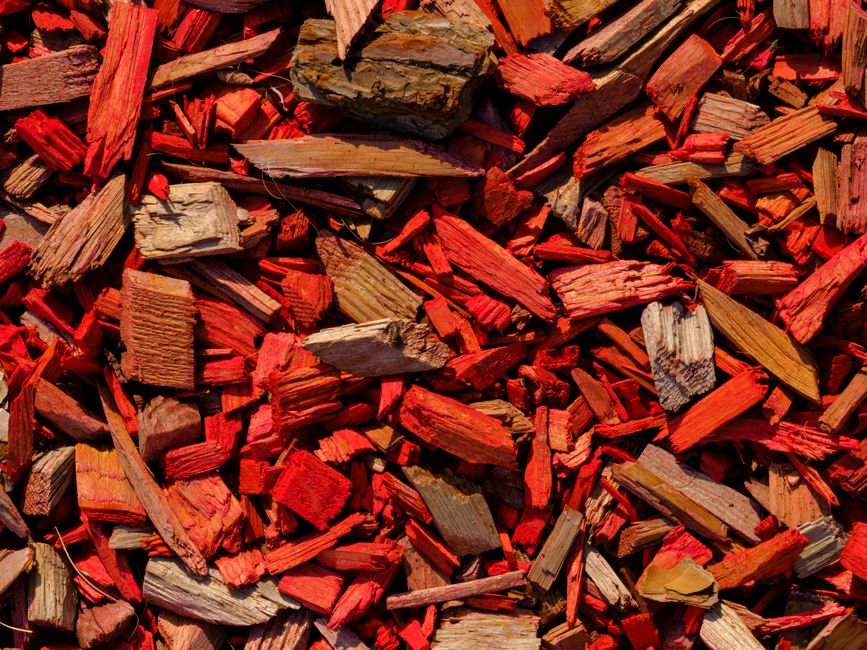
Mulch is a protective cover applied to soil surfaces to conserve moisture, moderate temperature swings, and suppress weed emergence. Organic mulches—shredded bark, wood chips, straw, finished compost, and leaf mulch—feed soil biology as they break down. Inorganic mulches like gravel or rubber are useful in specialized beds where decomposition or drainage is a concern.
Depth matters: use 2 inches for fine-textured mulches such as compost or shredded leaves, 3 to 4 inches for coarse materials like bark chips or whole wood. Too little material allows germination; too much can impede oxygen exchange. Measure depth with a ruler or stick in three places; adjust until you consistently read the target depth.
Longevity varies by material. Straw or grass clippings typically decompose in 3 to 6 months and may need two applications per year in active vegetable plots. Shredded bark and larger wood chips can persist 2 to 3 years before major replenishment. Finished compost applied as a thin 0.5 to 1 inch starter layer will supply nutrients immediately without smothering plants.
Calculate quantities using a simple formula: cubic feet = area (sq ft) × depth (in) / 12. Example: a 100 sq ft bed at 3 inches requires 25 cubic feet, or about 0.93 cubic yards (25 / 27). If a typical wheelbarrow holds 3 cubic feet, that 100 sq ft job is roughly 8 to 9 wheelbarrow loads (25 / 3 ≈ 8.3).
Sourcing tips: buy bagged mulch for small jobs and bulk by the cubic yard for areas over 100 sq ft. A standard landscape delivery is usually sold by the cubic yard; ask the supplier how many truckloads you need based on your calculated cubic yards. For small quantities, 2 cu ft bags are common—divide required cubic feet by 2 to estimate bag count.
“When applied correctly, a 3-inch layer of mulch can reduce visible weed emergence by 70 to 90 percent in the first year.”
—

How to Apply and Maintain Mulch
Preparation is key. Remove existing weeds by hand-pulling or with a hoe, working when soil is moist so roots come out more completely. For heavy perennial infestations, dig or fork out roots and rhizomes; plan 1 to 2 days of work for a 100 to 200 sq ft heavily weeded bed if you remove roots by hand.
For a no-dig approach or to smother existing weeds, use cardboard or 6-mil clear plastic solarization. Overlap cardboard panels by 6 to 12 inches and wet thoroughly; leave in place for 6 to 12 months under a mulch layer for decomposition, or for solarization use clear plastic for 4 to 6 weeks in full sun during summer to kill shallow seedbank growth.
Step-by-step application:
Step 1: Rake the bed smooth and level; remove large rocks and debris. Step 2: Spread a starter layer of finished compost 0.5 to 1 inch deep and mix lightly into the top 1 to 2 inches of soil for planting beds. Step 3: Lay down any cardboard or landscape fabric where you need extra suppression, overlapping seams by 6 to 12 inches and cutting holes for plants. Step 4: Spread mulch evenly to the target depth, checking with a ruler at 3 or more points to ensure consistency.
Avoid volcano mulching: keep mulch pulled back 2 to 3 inches from tree trunks and plant crowns to prevent bark rot and rodent damage. For trees, form a donut-shaped ring that extends to the tree dripline but leaves a 2-inch gap at the trunk base. For shrubs, leave a 1 to 2 inch gap at the crown.
Water after applying mulch so it settles and makes contact with the soil; this also reduces float and drift during heavy rain. If irrigating with drip tubing, check that emitters remain uncovered and that water reaches the soil—mulch should not create a barrier to moisture beneath drip lines.
Maintenance schedule and troubleshooting: inspect beds every 3 months. Replenish about 1 inch of most organic mulches per year as they break down; coarse bark may only need a light top-up every 18 to 36 months. In wet climates, check in early spring and remove any compressed or matted areas—replace 1 to 2 inches where material has compacted. When weeds appear, pull them promptly before seed set; for persistent perennials, remove a 2 to 3 inch band of mulch, extract roots, then replace with fresh mulch and 1 inch of compost worked into the topsoil.
Special finishes: around succulents and cacti use 1 to 2 inches of gravel for drainage. In woodland or shade gardens, a 2 inch leaf layer mimics natural duff and fosters mycorrhizal networks. Avoid using uncomposted fresh wood chips directly in vegetable planting holes—either compost them for 6 to 12 months or blend at a 3:1 ratio with finished compost to reduce temporary nitrogen tie-up.
Tools and timing: a wheelbarrow, rake, measuring stick, gloves, and a sharp pruner are typically all you need. For a 200 sq ft bed, a single person can usually prep and apply 3 inches of mulch in 2 to 4 hours depending on material and distance from the pile. Best seasons are spring after soils warm or late fall after the last hard frost; both timing windows minimize stress to plants and help mulch settle before extreme heat or winter.
Frequently Asked Questions
Further reading: The Complete Guide to Starting a Backyard Compost Bin · Why Do Lawn Games Flop? Picking Games All Ages Play
Sources: National Park Service