Field & Home
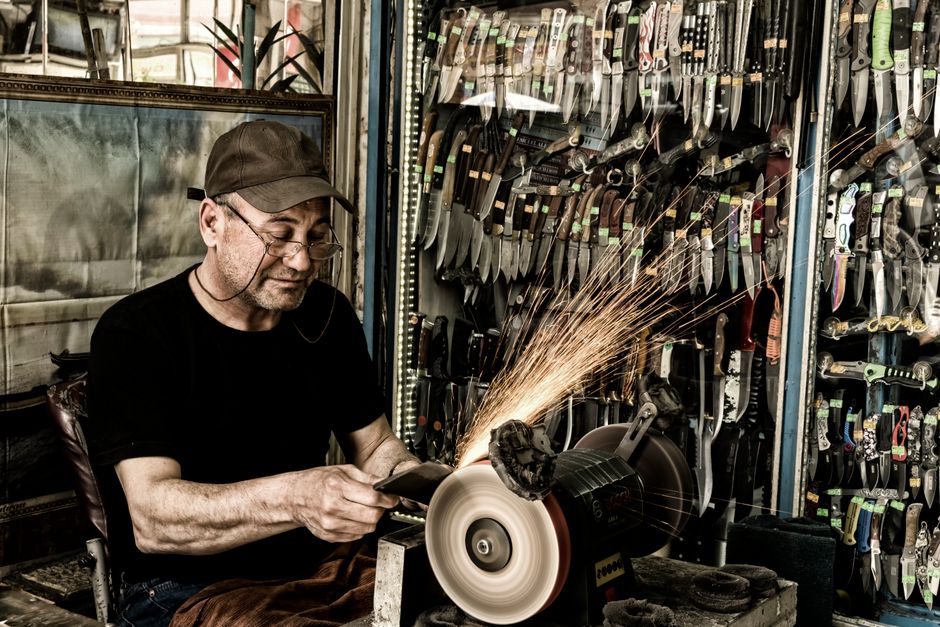
The short answer: Set and hold a consistent angle between 15 and 20 degrees per side for most Western chef knives; use a 1000/4000 grit progression and 10–20 light strokes per side, then finish with a strop for a polished, durable edge.
Choose the Right Angle
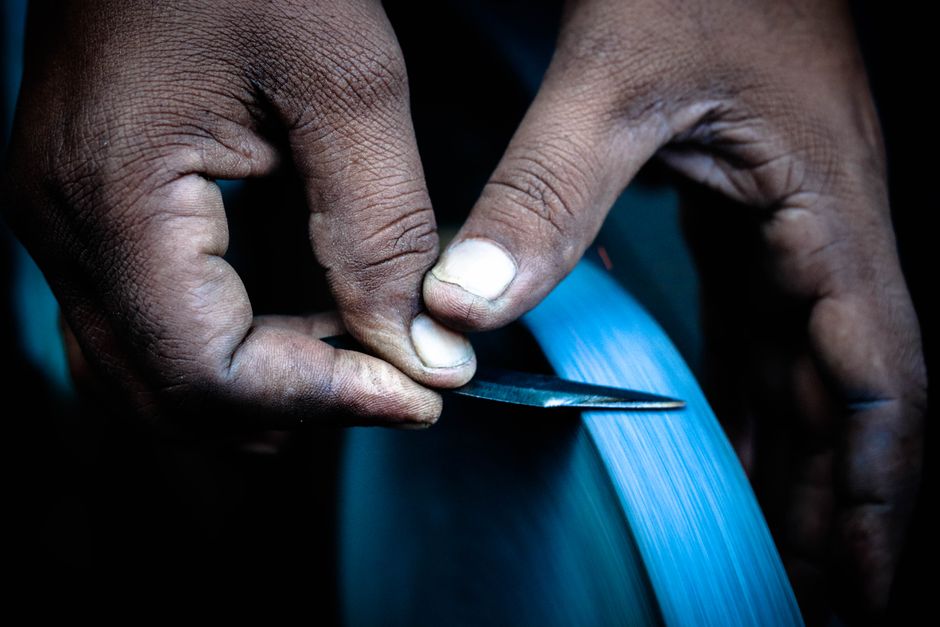
The cutting angle you create with a whetstone controls a knife’s sharpness, durability, and how it slices food. Angle is measured per side: a 15 degree per side profile produces a total included angle of about 30 degrees, while 20 degrees per side gives about 40 degrees. Lower angles cut more crisply but can chip if the steel is soft or you use the blade roughly; higher angles resist damage but require more force to slice.
Before you lift a stone, identify the knife type and your use case. A thin, hard-waffled Japanese gyuto often benefits from 10–15 degrees per side; a heavy European chef’s knife commonly sits between 15 and 20 degrees per side. If you cook professionally and prefer fine slicing, choose 15 degrees; if you frequently cut bones, frozen food, or hard squash, move toward 20 degrees.
To visualize the angle without tools, fold your hand so the two middle fingers meet and estimate the angle between your thumb and index finger: roughly 20 degrees per side is the thickness of two stacked business cards at an angle. For repeatable results, use a simple angle guide, a cheap plastic jig set to 15 or 20 degrees, or learn to eyeball the set by practicing on a scrap blade.
Angle basics
Two angles cover nearly every kitchen knife.
Hand-angle trick
Fold your middle fingers to meet and estimate thumb-to-index: roughly 20 degrees per side, the thickness of two stacked coins.
Soak and time
Soak the stone 10 minutes, then plan 20 to 40 minutes per knife including stropping.
15 degrees per side
- Thinner edge bites tomatoes effortlessly
- Best for: Asian-style knives
- Dulls faster on cutting boards
20 degrees per side
- Tougher edge survives daily chopping
- Best for: Western chef knives
- Needs steeling every few uses
“Consistency matters more than an exact number: holding 15 degrees every time produces better edges than switching randomly between 12 and 18 degrees.”
—

Sharpening Step-by-Step
Gather materials: a two- or three-sided whetstone (for example 1000/4000 or 1000/3000/8000 grit), a non-slip stone holder, a spray bottle or trough of water, a towel, and a leather strop. Plan 20–40 minutes for a full refresh on a dull knife; routine touch-ups take 5–15 minutes.
Soak or prep the stone per manufacturer instructions. Many water stones require 5–10 minutes immersion until bubbles stop rising; synthetic stones often just need a splash. Place the stone in its holder on a stable surface so it cannot slide during sharpening.
Step 1: Coarse grit to reestablish the bevel. Hold the knife at the target angle—use a small angle guide or rest the heel at the angle between the stone and your knuckle—and push the blade forward and across the stone in a single controlled motion, leading with the tip on the far edge. Count strokes: for most knives, 8–15 strokes per side on 1000 grit establishes a consistent bevel; if the blade is very dull or has nicks, increase to 20–30 strokes until you feel a burr.
Step 2: Check for a burr. After equal strokes on both sides, run your finger gently perpendicular to the edge (not along it) to feel a tiny burr—metal that has folded over. A burr on the opposite side shows you’ve reached the apex. If you cannot feel a burr after 30 strokes, repeat the coarse stage with firm, even pressure for another 10 strokes per side.
Step 3: Medium to fine grit refinement. Move to a 3000–4000 grit stone and use lighter pressure. Perform 8–20 strokes per side with the same angle, focusing on smooth, identical strokes. This reduces the burr and polishes the bevel. For a mirror finish, work up to 6000–8000 grit with 10–30 strokes per side depending on desired polish.
Step 4: Deburr and polish on a strop. Finish by pulling the blade away from the leather strop spine-first for 10–20 passes per side to remove the final burr and align the edge. Maintain the same angle during stropping; light pressure is sufficient. A stropping compound such as green chromium oxide speeds polishing, but plain leather works too.
Pressure and motion: use heavier, steady pressure on the coarse stone only—about 3–5 pounds of force, roughly the weight of a full water bottle. On finer grits and the strop reduce to light pressure, around 1–2 pounds, to avoid rolling the edge. Keep stroke lengths consistent: full-length passes from heel to tip give even wear; avoid sharpening only the center.
Maintenance tips: hone with a ceramic rod for 5–10 strokes per side between sharpenings to realign an edge and delay full regrinding. For most home cooks who use their knives daily, a medium sharpening session every 6–12 months and a quick hone weekly is a practical schedule.
Testing the edge: use a paper test—slice a sheet held vertically; a properly sharpened 15–20 degree per side chef knife should slice cleanly with minimal tearing. Alternatively test on a tomato: the blade should pierce the skin and slice through the flesh with one clean motion.
Frequently Asked Questions
Further reading: Five First-Year Garden Mistakes and How to Avoid Them · Soil Drainage: The One-Hole Test Every Beginner Should Know
Sources: UMN Extension