Field & Home

The short answer: Use studs whenever possible for mirrors over 40 lbs; for lighter mirrors, pick anchors rated at least 1.5 times the mirror weight and follow spacing and pilot-hole measurements.
Assess and plan the hang
Start by weighing the mirror or checking the manufacturer label. If the mirror has no tag, use a bathroom or kitchen scale; for mirrors over 40 pounds, plan to anchor into studs or use multiple heavy-duty anchors rated 50+ lbs each. Record the mirror weight in pounds and kilograms so you can choose hardware rated well above that load.
Measure the hanging points on the mirror back-to-back: distance between D-rings, cleat width, or bracket centers. Write down the horizontal spacing in inches; typical D-ring spacing is 12 to 36 inches. That spacing determines whether you can hit one or two studs or must rely on anchors across drywall only.
Locate studs with a quality electronic stud finder, scanning vertically across the wall. Mark stud centers with a pencil and note their spacing; most studs are 16 inches on center, sometimes 24 inches. If your mirror’s hang points are 16, 32, or 48 inches apart horizontally, you can often secure both hang points to studs.
Decide on hardware based on weight and wall type. Use wood screws or 3/8-inch lag bolts into studs for loads over 50 lbs, with screw length penetrating at least 1.5 inches into the stud. For hollow-wall anchors, choose toggle bolts or molly bolts rated per-anchor at or above 1.5 times the mirror weight divided by number of anchors.
Plan for two people for mirrors heavier than 25 lbs. Allocate 30 to 90 minutes for the complete job: 15 to 30 minutes for measuring and marking, 10 to 30 minutes for drilling and hardware installation, and 5 to 30 minutes for lifting, leveling, and final adjustments.
Drywall anchors
- Hold 25 to 75 lbs depending on type
- Best for: hollow walls with no stud
- Can loosen over years in soft drywall
Studs
- Hold 100 lbs or more per lag bolt
- Best for: heavy mirrors over 25 lbs
- Limited to 16-inch stud spacing
Key measurement rules
Measure twice, drill once.
Find studs first
Sweep a stud finder slowly across the wall and mark both edges; anchors are plan B for heavy mirrors, never plan A.
Level before drilling
Tape the bracket outline on the wall and check level twice; patching a misplaced half-inch hole outlasts the whole hang.
“A mirror rated 60 lbs should have mounting hardware rated for at least 90 lbs total when possible.”
—
Install hardware and hang the mirror
Gather tools and materials: tape measure, pencil, level, stud finder, drill with drill bits in sizes 3/16, 1/4, and 1/2 inch, screwdriver, 2.5-inch wood screws or 3/8-inch lag bolts with corresponding pilot bits, toggle bolts (1/4-inch or 3/8-inch), and safety glasses. Have a helper ready if the item exceeds 25 lbs.
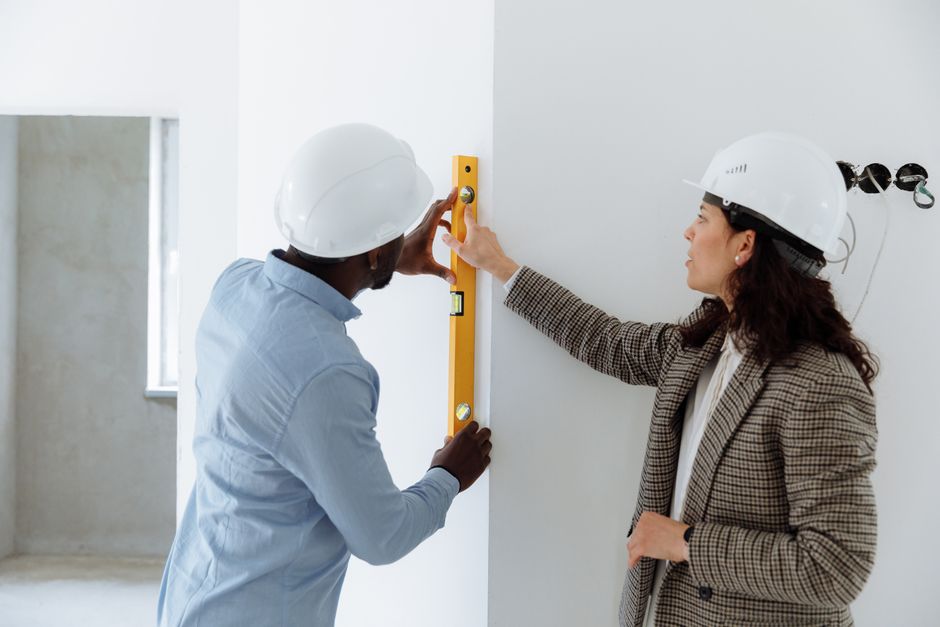
Mark wall heights using a tape measure and level. Decide the mirror top height by subtracting mirror height from desired top clearance; common guide is top of mirror at 72 inches from floor for full-length placement or centered over vanities at 60 inches. Transfer the mirror’s hanger locations to the wall using a level; draw pencil marks for each hanger center.
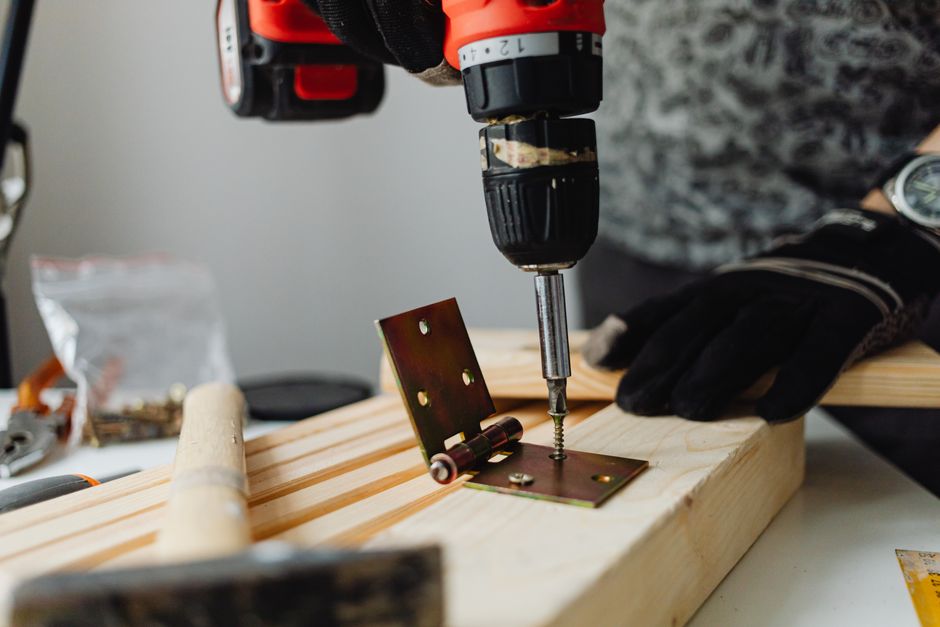
If a hanger mark aligns with a stud center, drill a pilot hole 1/8 to 3/16 inch smaller than the screw shank. For a 3/8-inch lag screw, use a 5/16-inch pilot into the stud. Drive the screw or lag bolt so the head sits flush or leaves a small gap for the hanger to slide under; ensure at least 1.5 inches of screw or bolt threads go into the stud.
When hang points miss studs, choose anchors rated appropriately. For mirrors under 40 lbs you can use nylon screw anchors rated 10 to 25 lbs each, but prefer toggles or molly bolts for more strength. For a 60-lb mirror using two anchors, pick two toggles each rated 50+ lbs, giving a combined rated capacity of at least 100 lbs before applying the 1.5 safety multiplier.
To install a toggle bolt, drill the hole size recommended (often 1/2 inch for a 1/4-inch toggle), fold the toggle, push through the drywall, and tighten until the anchor bears against the inside of the wall. Leave the bolt head set so the hanging bracket can engage without being overly tightened; over-tightening can crush drywall.
Consider a French cleat for very heavy mirrors or when moving is likely. Cut a 3 to 4 inch wide cleat from 3/4-inch plywood, attach the top half to the wall into at least two studs with 2.5-inch screws spaced at least 12 inches apart, and mount the mirror half to the mirror backing. This spreads load across studs and provides easy leveling and removal.
Hang the mirror with two people: lift, engage hangers on screws or cleat, and fine-tune level. Use a small 4-inch level and allow 1 to 2 minutes to adjust until perfectly plumb. For mirrors over 70 lbs, check fasteners after 24 hours and again after 1 month to ensure no slip or loosening.
If wall material is plaster or lath over lathe, treat anchors differently: use toggle bolts through plaster and into the cavity or install a plywood backing behind the plaster and strap to studs. For concrete or masonry, use concrete anchors sized for the load and drill with a hammer drill and masonry bit; choose sleeve anchors or wedge anchors sized 3/8 inch or larger for heavy loads.
Frequently Asked Questions
Further reading:
Sources: This Old House