Field & Home
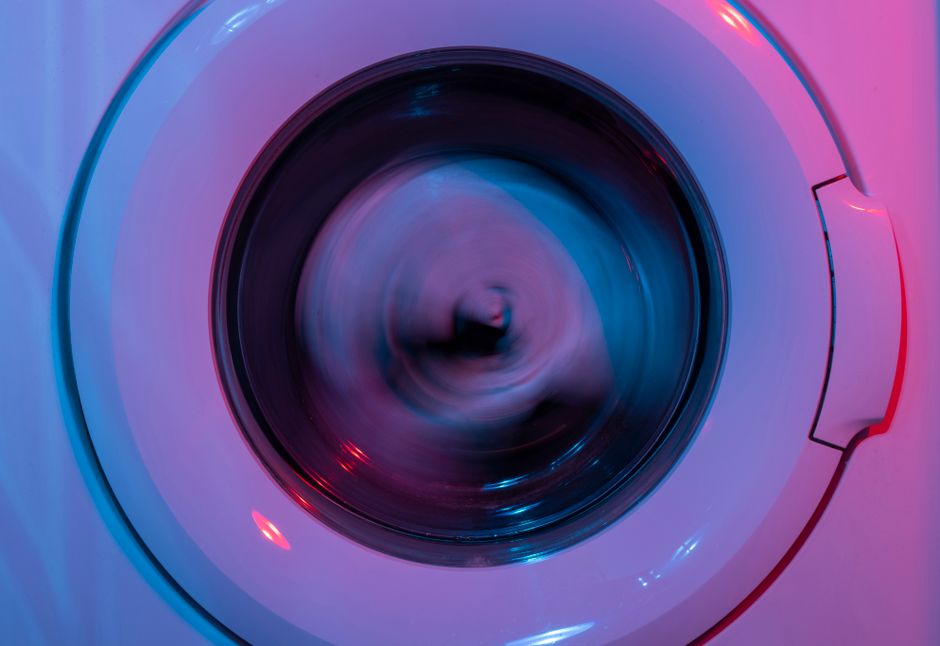
The short answer: Run a single hottest-available cycle with 2 cups white vinegar, follow with a 1/2 cup baking soda short rinse, then wipe the gasket and leave the door open 1 to 2 hours to eliminate most front-loader odors.
Why Front-Loaders Stink
Front-loading washing machines trap water in the door seal, detergent drawer, and bottom drain path. That trapped moisture plus residual soap creates a habitat for mildew and bacteria, which produce the sour, musty smell people notice after a few weeks of normal use.
Low-temperature cycles and overdosing HE detergent accelerate buildup: soap molecules that do not fully rinse will film the drum and gasket. That film can form a biofilm layer in as few as 3 to 6 wash cycles if temperatures stay below 60 degrees Celsius (140 degrees Fahrenheit) and loads are unbalanced or very small.
Blocked or infrequently cleaned drain pump filters also hold lint and grime. A partially clogged pump can leave 50 to 200 mL of standing water in the sump after each spin, which contributes to odor over 2 to 8 weeks if not emptied and cleaned every 1 to 3 months.
Hard-water minerals and concentrated fabric softeners add to residue. If you use more than the manufacturer recommendation—typically 20 to 40 mL of HE detergent per 5 kg (11 lb) load—residue accumulates faster. Reducing dose by 10 to 30% for small or lightly soiled loads cuts film buildup and lowers odor risk.
Quick facts
Doses, temps, and traps behind the sour smell.
Cut dose 10 to 30 pct
Small loads need 10 to 30 percent less than label; standing 50 to 200 mL in the sump feeds odor for weeks.
Filter every 1 to 3 months
Empty the pump filter every 1 to 3 months and rinse chemistries fully between vinegar and bleach.
Twenty to 40 mL per 11 lb load; overdosing films drums and gaskets within weeks.
Cycles under 60 C leave soap unrinsed; hot washes melt the film hot spots.
Clogged pumps hold 50 to 200 mL after spins; clear filters every 1 to 3 months.
One-Cycle Deodorizing Fix: Step-by-Step
Materials you need: 2 cups (480 mL) distilled white vinegar, 1/2 cup (120 g) baking soda, a microfiber cloth, an old soft toothbrush, a small bowl, and optionally 1 tablespoon liquid dish soap for localized gasket cleaning. Do not mix bleach and vinegar; choose one oxidizer method at a time and allow a full rinse between chemistries.
Step 1 — Empty and inspect. Remove all clothing. Check the gasket folds by peeling back the rubber and looking for trapped coins, hair, and lint; remove items with gloved fingers or long tweezers. Open the drain pump access panel (consult your manual); if you find 50 to 200 mL of standing water, capture it with a shallow container and remove debris by hand before replacing the filter.
Step 2 — Remove and clean the detergent drawer. Pull the drawer fully out and press the release tab; soak removable trays in warm water mixed 1:10 with vinegar for 10 to 15 minutes, then scrub with the toothbrush for 1 to 3 minutes to dislodge caked powder. Rinse and dry for 5 minutes before reinstalling.
Step 3 — Hot vinegar cycle. Pour 2 cups (480 mL) white vinegar into the detergent drawer or directly into the drum if your manual permits. Select the hottest, longest cycle available (typically 60 to 90 minutes). Run the machine empty; the acidity helps break down soap scum and reduces many odor-causing microbes. For machines with a steam option, enable steam to boost effectiveness for an additional 10 to 20 minutes of elevated temperature.
Step 4 — Baking soda rinse. Immediately after the vinegar wash finishes, sprinkle 1/2 cup (120 g) baking soda evenly across the drum and run a 15 to 30 minute hot rinse. The baking soda neutralizes residual odors and helps lift softened residues so the pump can flush them out. If your washer has a short rinse or clean cycle, choose that on hot setting.
Step 5 — Gasket and drawer wipe. While the second cycle runs, mix 1 part white vinegar to 10 parts water in a bowl for spot cleaning, or prepare a 0.5% to 1% bleach solution (5 to 10 mL household bleach per liter) only if the manual allows bleach. Dip the microfiber cloth and toothbrush and scrub the rubber gasket folds for 2 to 5 minutes, pulling out trapped hair and lint. Wipe the detergent compartment for 1 to 2 minutes, removing any caked powder or fabric softener residue.
Step 6 — Final spin and dry. After the rinse completes, run a 5 to 10 minute high-spin or drain-and-spin to evacuate residual water. Use a dry microfiber cloth to wipe the gasket and the inside of the door within 10 minutes of cycle end to reduce re-soiling. Leave the door open and prop it ajar for at least 1 to 2 hours so the drum and gasket dry; for best results leave it open overnight after heavy use.
Step 7 — Check the pump and run a verification load. After cleaning, run a short 15 minute hot rinse empty to confirm water now drains fully and the pump filter is clear. If the washer still leaves 1 to 3 cm of water or drains slowly (spin time extended by 5 to 10 minutes), repeat filter cleaning or consult a technician for a possible blockage in the drain hose.
Preventive follow-up. Repeat this maintenance cycle every 4 to 6 weeks for typical household use, or every 2 to 3 weeks if you do mostly low-temperature washes. Clean the pump filter every 1 to 3 months depending on lint accumulation. Wipe the gasket weekly for 30 to 60 seconds and leave the door cracked after washes to lower interior humidity.
Timing and safety notes: a full maintenance routine takes about 2 to 3 hours including cycles and drying time, but active hands-on time is usually 10 to 30 minutes. Never pour bleach into the drum immediately after vinegar; allow one full rinse cycle between different chemistries to avoid toxic chlorine gas. Wear gloves when handling standing water and debris, and ventilate the laundry room for 10 to 30 minutes if you use bleach.
“Keeping the door cracked for at least 1 hour after a load and wiping the gasket weekly prevents most odor returns.”
—

Frequently Asked Questions
Further reading: How to Deep-Clean a Small Bathroom in Under Ninety Minutes · How to Reset Kitchen Counters in an Afternoon
Sources: EPA Safer Choice