Field & Home
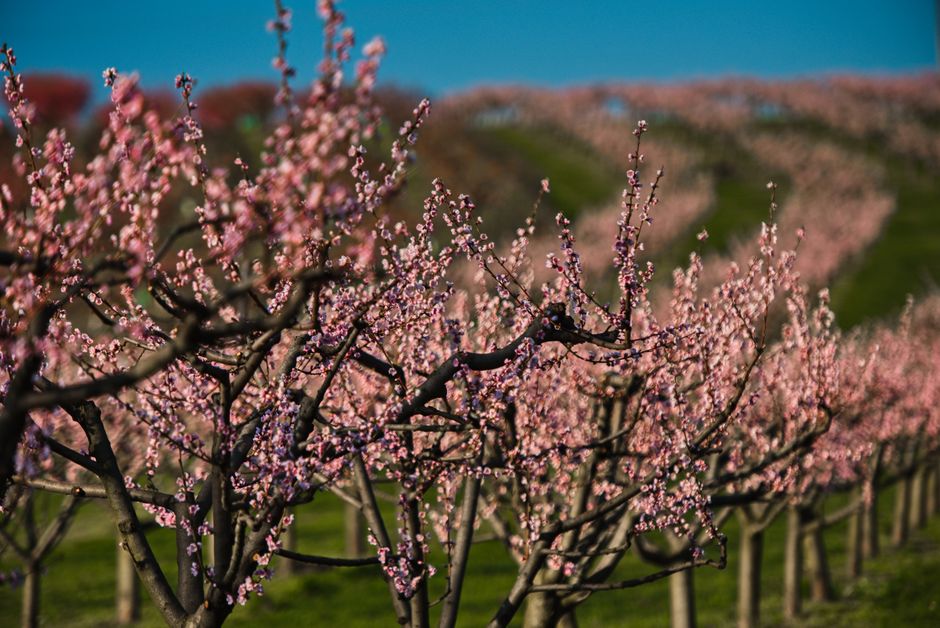
The short answer: Protect blossoms before the first hard freeze; use covers, irrigation, heat, airflow, or site tactics based on scale and a 24 to 48 hour forecast.
Frost basics for peaches
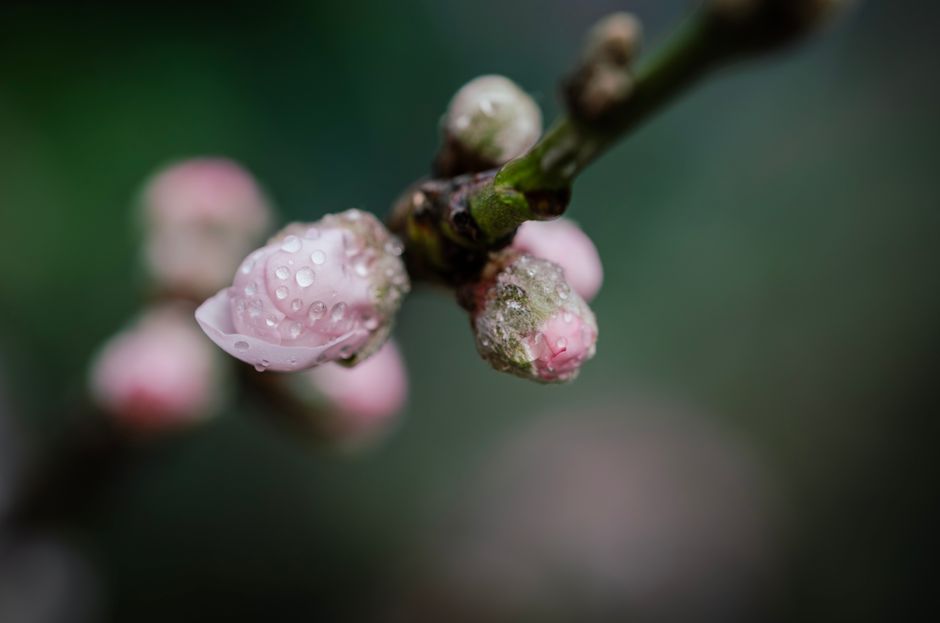
Peach blossoms are vulnerable during bloom and the stage before bloom. The danger window opens when overnight lows fall to about 32 to 34 degrees Fahrenheit; flower tissue begins to suffer below 32 F and brown damage increases rapidly as temperatures drop to 28 F or lower. Use local forecasts and a simple analog thermometer placed at blossom height to decide whether to act. A useful rule is to prepare the night before an expected dip below 34 F within 24 to 48 hours.
Know your bud stages. Tight bud, half-inch green, shuck split, first bloom, and full bloom are common labels; damage thresholds change with each stage. At shuck split and first bloom, blossoms lose hardiness fast: a 4 degree swing from 36 F to 32 F can be the difference between full crop and heavy loss. Track the stage by checking five random shoots across the tree crown each morning for consistent assessment.
Microclimates matter. Cold air sinks into low spots and frost pockets; a planting 10 to 20 feet higher than a nearby hollow can stay several degrees warmer. Wind, humidity, and ground cover change radiational cooling. Before investing in equipment, map your yard or orchard with temperature readings over 10 nights in spring to find the 1 to 6 degree differences that determine where to deploy protections.
Key temperatures
Thresholds, stages, and maps that trigger covers.
Read at blossom height
Analog gauge at bloom level beats apps; check five shoots each morning for stage drift.
Map 10 spring nights
Log 10 nights to find frost pockets 10 to 20 feet below warm ridges before buying gear.
Forecasts under 34 F within 24 to 48 hours mean covers on before sunset.
At 28 F or lower brown damage climbs fast from shuck split through full bloom.
Pull covers after air tops 40 F two straight morning hours to vent heat and humidity.
Protecting blossoms step-by-step
Method 1: Floating row covers and tarps. Use lightweight horticultural fabric rated at 0.9 to 1.5 ounces per square yard for single trees or 1.5 to 2.5 ounces for longer protection. Drape material so it touches the bud wood, anchoring edges with soil, sandbags, or staples every 2 to 3 feet to trap radiated ground heat. Covers should be put on before sunset if frost is expected overnight and removed after the air temperature exceeds 40 F for two consecutive hours in the morning to avoid overheating and humidity build up.
Method 2: Overhead sprinkler irrigation and controlled icing. This method uses a continuous flow of water to maintain a thin layer of ice that releases latent heat as it freezes, keeping tissue at 32 F. Install full coverage sprinklers and start irrigation as temperatures approach freezing, running continuously until the air temperature rises above 32 F and ice stops accumulating, often for 4 to 8 hours. Aim for uniform application; uneven wetting allows pockets to drop below 32 F and cause damage.
Method 3: Fuel heaters and orchard smudge pots. Small portable propane heaters can be placed under tree canopies in backyard settings. For larger blocks, commercial orchard heaters are spaced based on fuel output; a commonly used guideline is one heater per 0.5 to 1 acre for small orchards in light wind. Run heaters from dusk until after sunrise or until temperatures climb above 34 F, monitoring fuel so a single heater runs 6 to 12 hours depending on conditions.
Method 4: Wind machines and helicopter mixing. Wind machines move warmer air down from the inversion layer to the canopy, reducing frost when a temperature inversion exists. One machine can cover roughly 10 to 25 acres depending on machine size and orchard topography. Use this only when calm nights produce an inversion; if steady wind exceeds about 10 miles per hour, mixing is ineffective and other methods are preferable.
Method 5: Site selection and cultural choices. Long term protection starts with micro-siting and variety selection. Plant on a gentle slope with at least a 2 percent grade to avoid frost pockets, place trees 3 to 6 feet higher than low points where possible, and choose later-blooming cultivars that delay bloom by 7 to 14 days compared with early varieties. In existing plantings, train trees to a 2 to 3 foot lower canopy height to reduce exposure and make temporary covers easier to secure.
Practical deployment order for a single night: 1) Monitor forecast and bud stage 24 to 48 hours out. 2) Prepare materials and test equipment in daylight. 3) Install covers or start sprinklers before temperature reaches 34 F. 4) If using heaters, light them 1 to 2 hours before predicted low for stable heat output. 5) Remove covers after the morning air is above 40 F for 2 hours and when blossoms are dry to prevent disease.
Materials checklist for backyard growers: light row cover fabric, 4 to 6 sandbags or 20 to 30 ground staples per tree, a quality outdoor thermometer, and a small propane heater or a portable sprinkler if irrigation is available. For irrigation systems expect to run pumps for 4 to 8 hours per event and to monitor flow to keep coverage uniform.
Frequently Asked Questions
Further reading: How to Plant Bare-Root Apple Trees in a Small Backyard · How to Prune Apple Trees
Sources: UMN Extension