 Field & Home
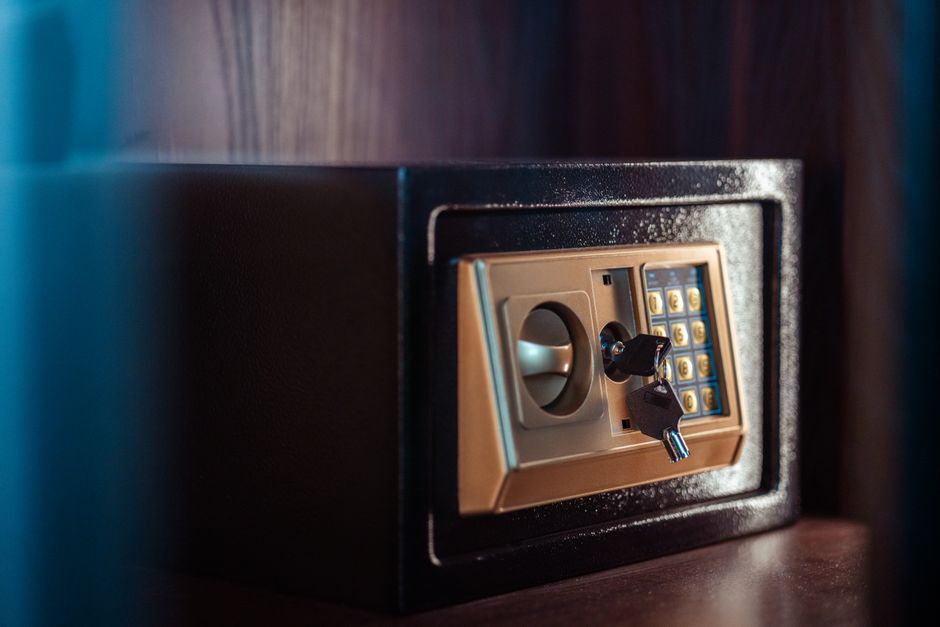
The short answer: Choose a fireproof home safe that fits your tallest folder plus 1 inch of clearance; for most household paperwork, a safe with at least 1.0 cubic foot (about 28 L) interior will hold a single standard file box and give practical access and protection.
Safe size basics for documents
Start by inventorying every item you plan to store: letter-size paper (8.5 x 11 in), legal-size paper (8.5 x 14 in), three-ring binders, passport booklets, and small digital backups like USB drives or a 2.5″ external hard drive. Lay items flat and measure the longest dimension and the stacked height for any group of like items. If you keep papers in hanging folders inside a box, measure the filled folder and the box rather than guessing from loose sheets.
A single standard letter-file box typically measures about 12″ long × 10″ wide × 10″ high. Think in cubic feet when comparing safes: multiply interior inches (L × W × H) and divide by 1728 to get cubic feet. One cubic foot is 1 ft × 1 ft × 1 ft or roughly 28.3 liters, so a 1.0 cu ft interior usually accommodates a single file box with room to spare for a small pouch of USB drives or a passport holder.
For legal-size documents, swap the 12″ length for about 15″ to 16″ to allow the extra 3″ length of legal paper and the folder lip. If you store binders, measure ring mechanism thickness and add 1/2″ per binder to your stack height calculation. For example, three half-inch binders stacked need at least 1.5″ plus the binder covers, so plan on roughly 4″ total height for three thin binders.
Allow clearance for insulation and ease of access: add 1″ to both length and width and 1–2″ to height. For a 12″×10″×10″ box, look for interior dimensions of at least 13″×11″×11″ (depth × width × height). That extra inch prevents papers from catching on the door gasket or shelf supports and absorbs the insulation thickness manufacturers add to meet fire ratings.
Quick sizing rule
Boxes, math, and ratings that size document safes.
Add 1 inch all round
Thirteen by 11 by 11 in interiors clear gaskets for a 12x10x10 box plus USB pouch.
Legal needs 15 to 16 in
Swap 12-inch length for 15 to 16 to fit legal folders plus binder half-inch stacks.
Small: 0.5–1.0 cu ft
- Single file box plus small pouch
- Best for: letters and passports only
- 30-min models trade margin
Medium: 1.0–3.0 cu ft
- Box plus binders 4 in tall stacks
- Best for: growing household files
- 90 to 120 min weighs and costs more

How to measure, choose, and install
Step 1: Gather the items and record three dimensions for the largest piece. If one filled folder measures 0.75″ thick and you have 20 folders, estimate the stack height as 20 × 0.75″ = 15″. Measure boxes or binders individually and note whether you will place them side-by-side or stacked; side-by-side doubles the required width, stacked doubles the height.
Step 2: Add clearance and compute cubic feet. Add 1″ to length and width and 1–2″ to height for padding and shelf hardware. Convert to cubic feet: for example, 13″ × 11″ × 11″ = 1573 in3 ÷ 1728 ≈ 0.91 cu ft, so choose a 1.0 cu ft or larger interior. If final need is 1.8 cu ft, pick a 2.0 cu ft model rather than squeezing into a 1.9 cu ft spec.
Step 3: Match capacity to fire rating and insulation type. Paper chars at roughly 350°F (177°C); safes advertise minutes they keep interior temp below that threshold. Common consumer ratings are 30, 60, 90, and 120 minutes—60 minutes is a practical baseline for household documents, but choose 90–120 minutes for irreplaceable records in higher-risk homes or for longer emergency response times.
Step 4: Plan layout and shelves. If storing two standard boxes side-by-side, allow about 24″ interior width; stacked boxes require interior height near 20–22″ depending on shelf thickness. Look for removable shelves or adjustable shelf slots spaced about 1″ apart to customize for binders, boxes, or electronics.
Step 5: Placement, weight, and anchoring. Many 2.0–3.0 cu ft safes weigh 60–120 lb (27–54 kg). Place the safe on a level, firm surface—concrete or a reinforced plywood pad over joists. If anchoring is recommended, use a kit rated for the safe weight. Typical wood anchoring uses 3/8″ lag bolts at least 2.5″ long into a floor joist; for concrete, use 3/8″ masonry anchors and pre-drill with a 3/8″ masonry bit. Follow the manufacturer’s instructions and allow glue or sealant to cure 24 hours if used during installation.
Step 6: Extra protective steps and recovery planning. Use archival polyester sleeves for irreplaceable documents; each sleeve adds about 0.02″ thickness per page. Store digital backups on at least two media types—one USB and one cloud backup—and rotate drives every 1–3 years. Keep a written inventory and photograph key documents; store the inventory in two places: one inside the safe and one off-site.
Step 7: Maintenance. Check door gaskets and locks every 6 months, replace desiccant packets every 12 months, and test electronic lock batteries annually. These small actions extend the useful life of your safe and improve the odds of document survival after an emergency.

Frequently Asked Questions
Further reading: How to Set Up 3-2-1 Backups for Important Documents · Why Are Mornings Chaotic? Taming Phone Notifications
Sources: This Old House


2 responses