 Field & Home
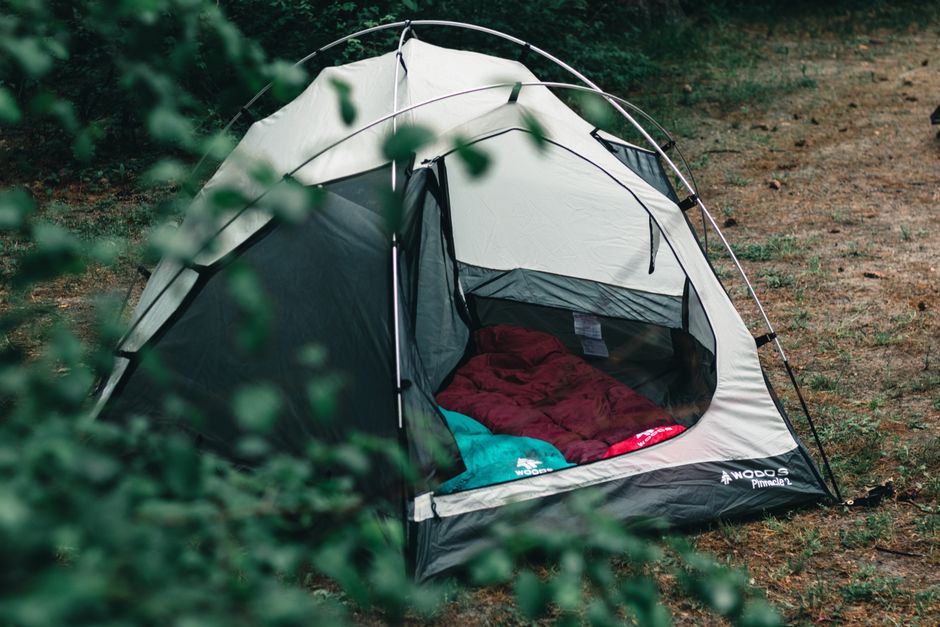
The short answer: Summer sleeping bag users can add 3 simple layers of insulation and a firm sleeping pad to raise warmth by 10 to 20 degrees, turning an uncomfortable night into a restful one.
Prepare your sleep system
Start by treating the summer bag as the inner layer of a 3-layer sleep system: base layer, bag, and exterior cover. Choose a base layer that wicks moisture, such as a synthetic shirt and leggings or a merino wool set; these dry in 1 to 3 hours and stop evaporative cooling. Move quickly—put the base layer on before removing outer garments to avoid losing body heat for more than 30 to 60 seconds.
Next add an insulating liner inside the bag. A fleece or thermal liner can add approximately 5 to 10 degrees of warmth. Cut-to-fit liners are typically 6 to 12 ounces and slide inside most mummy bags; if yours is a rectangular summer bag, fold the liner lengthwise so it covers your torso and legs with a 2-inch overlap to trap warm air.
Under the bag, place a closed-cell foam pad with an R-value of at least 3.0; if overnight lows are below 40°F, stack a 3/8-inch foam pad under a 2-inch inflatable pad for a combined R-value near 5. This prevents conductive heat loss to the ground, which accounts for the largest single heat drain when sleeping outdoors.
Step-by-step setup: 1) Lay the 3/8-inch closed-cell foam pad down first and center it so there is about a 1 to 2-inch edge clearance from the tent wall; 2) place your inflatable pad on top and inflate fully, then let it settle for 2 minutes and add 1 to 2 more breaths to reach a firm feel; 3) slide the liner into the bag and zip it closed with a 2-inch overlap at the collar; 4) stuff a rolled fleece or dry clothing into the footbox for extra insulation. Practicing this sequence at home until you can complete it in 5 to 8 minutes will save heat at camp.
Use a snug shelter. A three-season tent with a low-profile vestibule reduces wind exposure and drops radiative heat loss; orient the tent door away from prevailing wind and close vents when temperatures fall. Pitch low with at least 4 to 6 stakes and keep a 6 to 12-inch vestibule area to stash wet gear away from the bag. If you have a bivy sack or a lightweight tarp with a closed canopy, those add another 3 to 6 degrees of retention by trapping a small volume of warmer air around your bag.
How ratings and real warmth differ
Ratings assume ideal conditions; you do not camp in them.
Shrink your warm pocket
Sleep curled instead of sprawled; a smaller air pocket inside the bag warms in minutes.
Close the vents
Shut tent vents once temperatures drop; open mesh radiates your heat straight to the sky.
Sleep techniques and layering
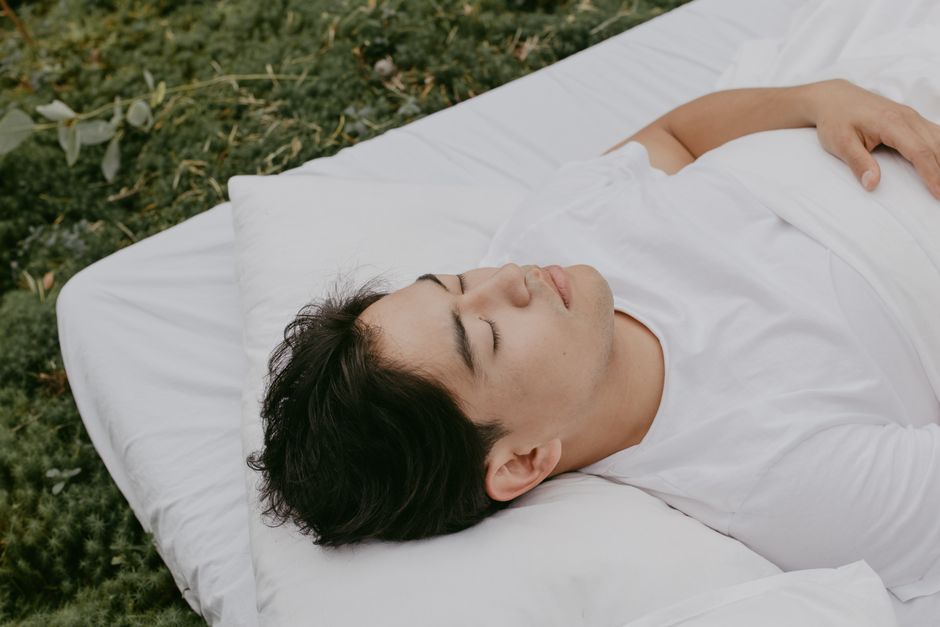
Position yourself to reduce exposed surface area. If you normally sleep sprawled, switch to a fetal or slightly curled position to reduce the bag’s internal volume; a smaller warm-air pocket is easier to heat. Tighten the drawcord on a mummy hood or fold the bag’s collar snugly around your neck; closing that 2 to 4-inch gap can stop significant convective losses.
Layering sequence: start with a dry base layer (150 to 250 grams merino or a synthetic equivalent), add a mid-layer fleece if temperatures are below 50°F, and finish with the sleeping bag and liner. Change into dry socks and a fresh base layer 10 to 15 minutes before getting into the bag to reduce moisture. For socks, choose midweight wool or synthetic blends; a 1:1 ratio of breathability to insulation helps avoid sweaty feet while preserving warmth.
Use a hot water bottle as a targeted, reusable heater. Boil 1 to 1.5 liters of water and pour it into a leakproof Nalgene or metal bottle; wrap it in a thin towel and place it against your core for 10 to 20 minutes before sleep, or tuck it in at your feet. One properly wrapped 1-liter bottle can radiate measurable warmth for 2 to 3 hours. For safety, fill containers only to about 80 percent capacity and check the cap for a secure seal before sleep.
Keep moisture out of the bag. If you get sweaty, ventilate for 2 to 5 minutes to reduce trapped dampness that lowers insulation efficiency by up to 30 percent. If you expect humidity, bring an extra dry shirt to change into right before bed; a dry fabric layer will restore loft and thermal performance faster than airing out the whole bag. Drying time for a damp synthetic base layer in a warm car or tent vestibule is typically 30 to 90 minutes depending on humidity.
Fill gaps methodically: stuff unused clothing into the footbox and around your neck if the bag is roomy. Even one fleece jacket rolled tight and tucked at your chest adds a small but meaningful insulating layer. Secure zippers and overlaps so drafts cannot enter; if your bag has a two-way zipper, close the foot end tightly and use a 6- to 12-inch overlap at the top to form a draft collar. For extra radiative retention, place a mylar emergency blanket (about 52 x 84 inches) loosely between your bag and the tent floor or draped over the outside of the bag; avoid direct contact with skin and remove in the morning.
Plan for wake windows. If you expect 6 to 8 hours of sleep, hydrate and eat a small snack with 150 to 250 calories 30 to 60 minutes before sleep to maintain metabolic heat through the night. Avoid alcohol, which causes vasodilation and can drop core temperature by 1 to 3°F in the first few hours after drinking. Keep a headlamp and a checklist handy so brief exits to the vestibule or trips to the loo take 2 to 5 minutes and minimize heat loss.
Pack and practice. In dry conditions, rehearse the liner and pad setup at home once; a timed practice of 5 to 8 minutes for fitting a liner and arranging pads will save time and heat at camp. Carry a small repair kit: patches for pads and a sewing needle for liners; a 2-ounce repair kit can avoid a cold night caused by a lost draft seal. On multi-night trips, inspect seals and zippers every morning and adjust padding placement if you feel drafts within 1 or 2 nights.
Frequently Asked Questions
Further reading: Stream Water Filtering Mistakes to Avoid · Hammock vs Tent for Weekend Campers
Sources: National Park Service


