Field & Home
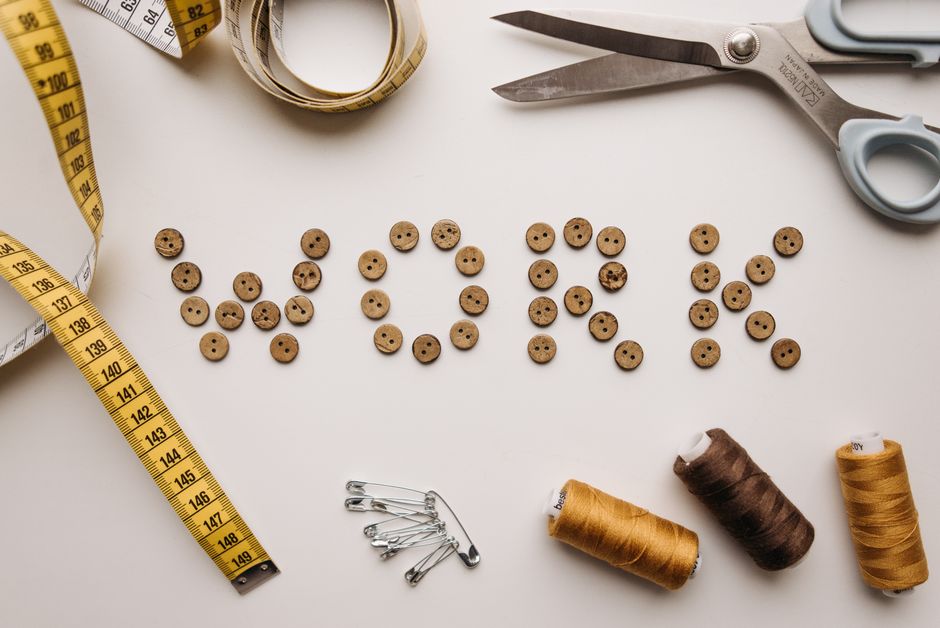
The short answer: Sew a missing or loose button securely in about 5 minutes using a threaded needle, 12-18 inches of doubled thread, and a simple 4-to-6 pass stitch pattern.
Tools and prep for repair
Start by gathering a sharp, short needle (size 7 to 10 for most shirts) and thread that matches the garment. Use a polyester or nylon thread for strength; cotton can break sooner. For most repairs, cut a 12- to 18-inch length of thread—longer threads tangle, shorter threads force re-threading. Fold the thread and knot the doubled end, or double the thread and finish with a surgeon’s knot to create a stronger anchor.
Choose the correct needle length so you can make 4 to 6 passes through the fabric and button without poking too far through the garment. If the button needs a shank (for thick fabrics like wool coats), have a toothpick or matchstick ready to act as a temporary spacer; you will remove it after the stitches are tied to leave a 2 to 4 mm gap under the button.
Work on a flat, well-lit surface. If the fabric is thin, place a scrap of interfacing or a small rectangle of fusible tape behind the button location to prevent the button from tearing the fabric; cut the patch to roughly 1 inch square. Keep a pair of small scissors and a lighter or lighter alternative (if you plan to slightly melt synthetic thread ends) within reach.
Tools and materials
A 5-minute kit that fits in a drawer.
Back thin fabric
Slip interfacing or fusible tape behind thin fabric so the button cannot tear through on the first tug.
Knot off four times
Pass the needle through the thread shank four times and pull snug; three is minimum, four survives the wash.
Step-by-step sewing instructions
Step 1 — Thread and knot: Thread the needle with 12 to 18 inches of polyester thread. Double the thread and pull the ends even, leaving a 6-inch tail for tying if you prefer a double thread. Tie a small overhand knot at the folded end (or tie two half-hitches to form a surgeon’s knot) so the knot will sit against the back of the fabric and not pull through. This setup takes about 30 to 45 seconds.
Step 2 — Position and anchor: Push the needle from the back side of the fabric at the exact button location so the knot sits snug on the underside. For a button with four holes, aim to start at the lower-left hole so your crossing threads form an X or a parallel pair depending on the original orientation. For a two-hole button, center your stitches along the button’s plane. If using a toothpick as a shank spacer, place it on top of the fabric where the button will sit before you start the final passes.
Step 3 — Stitch pattern and counts: Pass the needle up through the hole and down through the opposite or adjacent hole. Make 4 to 6 complete passes (8 to 12 thread crossings) for shirts, and 6 to 8 passes for heavy coats. Keep stitches snug but not overtight—aim for a 1.5 to 2 mm gap of thread between the button base and fabric when you remove the spacer to allow fabric movement. For decorative buttons that originally had a cross pattern, replicate the same X pattern by alternating holes.
Step 4 — Build the shank if needed: If the button must sit off the fabric (thick material or multiple layers), leave the toothpick between the button and fabric while making the final 4 passes. After the last pass, wrap the thread 3 to 6 times around the stitches between the button and fabric to form a small, sturdy shank. Pull tight to reduce wiggle but keep about 2 mm of space under the button for fabric thickness. Trim the toothpick and remove it; the wrapped thread becomes the permanent shank.
Step 5 — Secure and finish: Pass the needle to the back side and run 2 small locking stitches through the fabric only—stitch through the base fabric, not the button holes—to create a secure anchor. Tie a knot close to the fabric with two surgeon’s knots, and bury the knot by passing the needle through the fabric a short distance (about 5 mm) then cutting the thread close to the surface. Melt synthetic thread ends for an extra secure finish, using a lighter for 1 second and smoothing with a fingertip; do not melt natural fibers.
Troubleshooting: If the button sits crooked, loosen and redo with the toothpick spacer and check that you made consistent pass counts on each hole (equal passes left and right). Replace a cracked or worn button by measuring the hole diameter—use a replacement within 1 mm of the original button diameter so the buttonhole fits snugly. For very heavy duty uses like a work jacket, double the thread and increase to 8 to 10 passes for extra strength.
Timing and practice: The average repair takes 3 to 7 minutes once you have the tools at hand. Practice on a scrap garment to get comfortable with the shank wrap and stitch counts; after 3 to 5 practice repairs you’ll consistently finish under 5 minutes.

Frequently Asked Questions
Further reading: What Size Fireproof Home Safe Do Your Documents Actually Need? · Why Are Mornings Chaotic? Taming Phone Notifications
Sources: This Old House