 Field & Home

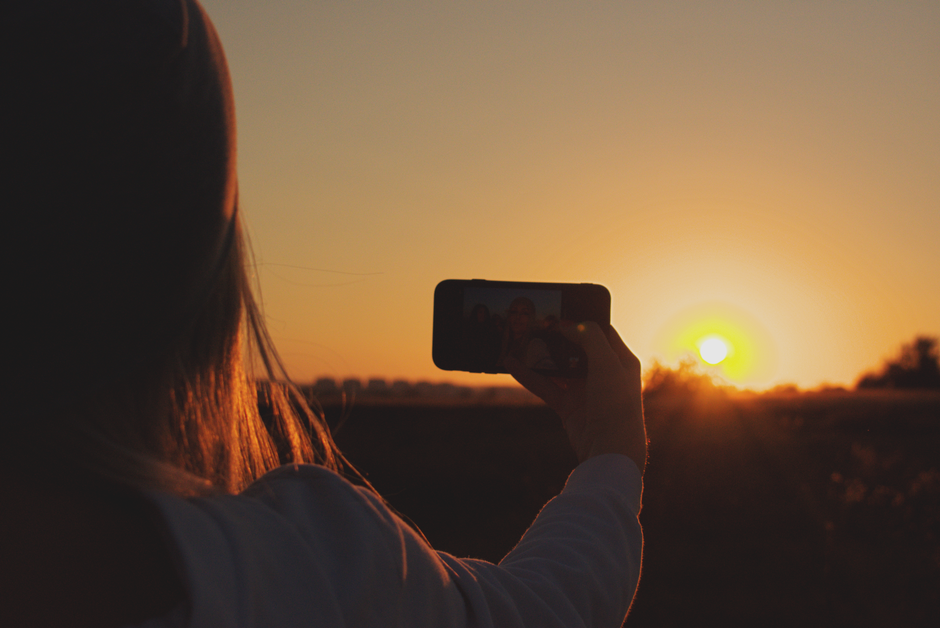
The short answer: Capture richer sunset photos by planning 30 to 60 minutes around sunset, locking exposure, and taking 3 bracketed frames; a steady phone and a short edit will turn a scene into a standout image.
Plan and Position
Start by timing your shoot. For sunsets, the most dramatic light is usually in a 60 minute window: roughly 30 minutes before and 30 minutes after the sun dips below the horizon. Scout the spot 10 to 15 minutes early so you can set up composition and test angles as the light shifts.
Check cloud cover: aim for 10 to 50 percent high clouds for color and texture. A completely clear sky often produces flat color, while 50 to 80 percent heavy clouds can hide the glow. Use a sun-position app or the built-in map to mark the azimuth of sunset so you can anticipate where the sun will touch the horizon within a 5 to 10 degree range.
Use the rule of thirds: enable your phone grid and place the horizon on the top or bottom third line. If the sky is the star, place the horizon on the lower third; if the foreground is interesting, raise the horizon to the top third. Grids are a 3 by 3 overlay on most cameras, giving you simple guides for a balanced frame.
Choose a strong foreground element to add depth: a silhouetted tree, a rock, or a person works well. Leave 1 to 3 meters of foreground space if possible so the scene reads from front to back on small screens. Foreground interest helps viewers connect with the image and gives the eye a path into the sunset.
Use reflections when available. Water, wet sand, or glass can double the color and extend the sky vertically; aim the camera so the reflected highlights occupy roughly 30 to 50 percent of the frame to keep balance between sky and reflection. For mirror-like reflections, shoot within 5 to 10 degrees of the horizontal plane and steady the phone to prevent motion blur.
If you plan a panorama, shoot 5 to 9 overlapping frames with about 20 to 30 percent horizontal overlap and keep the horizon level. Hold the phone vertically for taller panoramas and sweep at a steady speed of about 5 to 10 degrees per second to make stitching cleaner in software.
Light window, clouds, and frame numbers for sunsets.
Scout 10 to 15 early
Arrive 10 to 15 minutes early, mark azimuth within 5 to 10 degrees, and lock AE-AF for 1 to 2 seconds.
Thirds plus foreground
Put the horizon on a third line and keep 1 to 3 meters of foreground so the phone reads depth.
Sky-first framing
- Horizon on lower third for color
- Best for: dramatic 10 to 50 pct clouds
- Reflections fill 30 to 50 pct of frame
Foreground-first framing
- Horizon high for rocks and people
- Best for: interesting shores and silhouettes
- Shoot 5 to 10 degrees off horizontal

Shoot and Edit
Tap to focus and then use exposure lock if your phone supports it. After you tap, hold the focus point until the AE/AF lock appears (this usually takes 1 to 2 seconds). With exposure locked, slide the exposure slider up or down in 0.3 stop increments; try -0.7 to +0.7 EV to find richer sky colors without blowing highlights.
Use manual or Pro mode when available. Set ISO to the lowest native value (often ISO 50 to 200) to reduce noise, and choose a shutter speed that keeps you at or above the reciprocal of your effective focal length: for handheld shooting, keep shutter at 1/60 s or faster; if shutter drops below 1/30 s, mount on a tripod. If you must use slower shutters, use a 2 second timer or a Bluetooth remote to avoid camera shake.
Shoot bracketed frames: take at least 3 frames at -1, 0, and +1 EV to preserve highlights and shadow detail. If your phone allows quick bursts, capture 5 frames stepping by 0.5 EV for more flexibility. Bracketing increases your odds of a clean final image and takes only a few seconds per capture; hold composition steady and review frames on the camera roll immediately to confirm alignment.
Keep the phone steady: use a compact tripod or lean against a fixed surface. Most phone mounts attach to standard 1/4″-20 tripod screws; confirm your adapter fits that thread. For handheld shots, brace your elbows to your torso and exhale before pressing the shutter to minimize motion. If the scene is windy, lower the tripod height to under 1 meter to reduce sway.
If your phone can capture RAW or DNG, enable it. RAW files hold about 2 to 4 stops more recoverable data than JPEG, which gives you room to drop highlights by 20 to 60 points and raise shadows by 10 to 40 points in editing without artifacts. Expect RAW files to be 1.5 to 3 times larger than JPEGs; plan to offload within 24 to 48 hours to cloud or external storage to free phone space.
Editing workflow: crop first for composition (common ratios 3:2 or 16:9), then adjust exposure, highlights, and shadows. A solid starting sequence is reduce highlights by 30 to 60 points, raise shadows by 10 to 30, add +5 to +15 contrast, and nudge white balance between 5200K and 6500K depending on whether you want cooler or warmer tones. Use selective brushes to protect the sky or to brighten a foreground subject by 10 to 25 points, and keep clarity or sharpening modest, roughly +10 to +25.
Color and finishing: increase vibrance by +5 to +20 for more pop without oversaturating skin tones, and consider a slight split toning: add +10 to +20 warmth to highlights and -5 to -15 cool to shadows for a cinematic look. When sharpening, apply an output sharpening of around 25 with a low radius; if you plan to print, export a full-size TIFF or high-quality JPEG at 300 dpi for prints up to 8 x 10 inches.
Create two exported versions: one full-size for printing or 4:3 displays and one 1080 px wide JPEG for social sharing; exporting at 1080 px typically at 80 percent quality usually keeps file sizes under 1 MB while preserving visible detail on most feeds. Tag files with date and location in filenames and back up RAW files within 48 hours to a cloud service or external drive to keep a working archive.
Frequently Asked Questions
Further reading: Why Are Mornings Chaotic? Taming Phone Notifications · What Size Fireproof Home Safe Do Your Documents Actually Need?
Sources: This Old House