 Field & Home
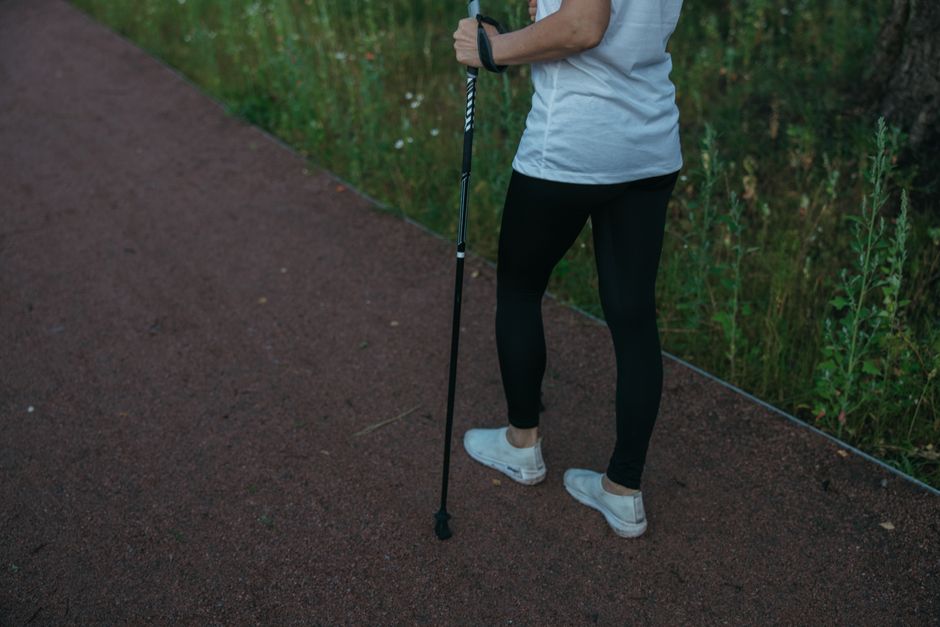
The short answer: Trekking poles can cut knee-joint load by roughly 25 to 30 percent on steep descents when sized and used correctly; set baseline length so your elbow is about 90 degrees, shorten by 5–10 cm for descents and lengthen by 2–5 cm for climbs, and follow a 2-week, stepwise practice plan to adapt safely.
Choose and size poles
Start with a clear measurement method: put on your hiking shoes and stand upright on a flat floor. Have a partner measure from the floor to the wrist crease with your arm hanging naturally; that wrist-to-floor distance in centimetres is your baseline pole length when the tip is on the ground. Use a tape measure and record to the nearest 0.5 cm for repeatable settings.
Use the quick formula height(cm) × 0.68 as a sanity check: common baselines are 160 cm → 109 cm, 170 cm → 116 cm, 180 cm → 122 cm. For those who prefer inches, divide the centimetre result by 2.54 and round to the nearest whole inch; 116 cm ≈ 46 in. Fixed-length poles should match this baseline; adjustable poles should be set to it for flat walking.
For telescoping poles follow a 4-step setting and lock sequence: 1) extend the lowest section fully, 2) set the middle section to the baseline, 3) extend the top section until the grip is at the measured height, and 4) tighten each twist or flip lock until it resists firm hand pressure. After setting, stand on one leg and apply downward force of roughly 10–15 kg through the pole to check for slip; re-tighten if the section moves.
Consider material and weight when knees are a concern. Aluminum poles typically weigh 200–300 g per pole and cost less; carbon-fiber poles commonly weigh 140–220 g per pole and transmit lower vibration into the arm. If you expect long mileage or plan to use poles for 4+ hour days, prioritize carbon-fiber for reduced arm fatigue; if you need durability for pack-and-pull situations, aluminum is acceptable but expect slightly more upper-body work.
Fit the wrist strap so the lower strap edge sits at the base of the thumb when your hand grips the handle: slide your hand up through the strap from below so the strap supports the exterior of the palm when you push down. A correctly fitted strap transfers roughly 30–50 percent of load from the hand to the forearm on each plant and helps prevent a tight hand grip that can cause shoulder tension and poor pedal rhythm.

Use technique to reduce knee pain
Technique is as important as selection. Adopt a cross-pattern alternate arm-leg rhythm where each pole plant corresponds with the opposite foot (one-to-one cadence). A typical hiking cadence is 100–120 steps per minute; practice keeping poles in a steady 1:1 rhythm for 10 to 15 minutes per session until planting feels automatic.
On level ground plant the pole slightly ahead of the wrist by about 10–20 cm so the pole contact point is in front of your weight line; this allows the pole to take compressive force and unload the knee when your foot lands. Keep the elbow at about 90 degrees when upright and allow the elbow to flex to 60–70 degrees during heavier loading rather than locking; locked elbows transfer shock directly to the shoulder and can worsen knee compensation patterns.
For descents shorten the poles by 5–10 cm from baseline and plant them slightly below your center of mass so they form a supportive triangle with your feet. Aim for a pole angle of 20–30 degrees from vertical at contact; you can check this against a trail map or by noting that the pole shaft should point roughly to your opposite knee when planted. Use controlled plant-and-release: plant, hold load for 0.5–1.0 seconds, then release; repeat the drill for 15–20 minutes on a descent-focused session to build confidence.
On steep ascents lengthen poles by 2–5 cm so you regain roughly a 90-degree elbow angle at the point of push. Plant both poles ahead of the feet and push down through them as you step, using the poles to assist hip and glute activation. For very steep scrambles consider short, forceful pole plants every 2–3 steps to reduce single-leg eccentric load on the knee.
Baskets matter: choose large baskets (6–8 cm diameter) for mud or soft snow to avoid sinking and small baskets (3–5 cm) for hard or rocky ground to reduce snagging. Tip type affects feedback: carbide tips give firm purchase on rock; rubber tips damp vibration and are useful on 0–15 km paved approach sections—swap rubber tips for carbide before rocky descents if you want more bite.
Create a simple 2-week adaptation plan: week 1, perform two 30-minute easy hikes using poles in 1:1 cadence and focus on strap technique; week 2, increase to three hikes of 45 minutes each and include one session with 20 minutes concentrated on descent drills where you shorten poles by 5–8 cm. Track pain with a 0–10 scale before and after each hike and aim for no more than a 2-point increase; if pain rises consistently after three sessions, pause and consult a physical therapist within 7–14 days.
Maintenance keeps poles reliable: inspect tips and cork grips every 100 km or monthly if you hike often and replace worn rubber tips every 300–500 km. After wet hikes wipe inner shafts dry and leave sections extended for 24 hours to let moisture evaporate; re-torque or re-twist locks after the first 20 km of a new pole setup and then check again after 100 km to confirm settings.
Frequently Asked Questions
Further reading: Road Shoes vs Trail Runners for Day Hikes · How to Layer for Mountain Weather That Changes Hourly
Sources: National Park Service


