Field & Home
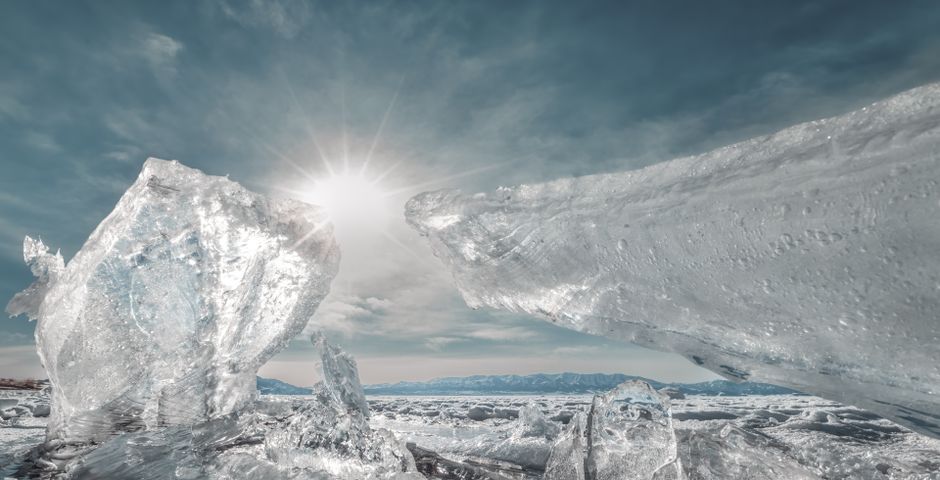
The short answer: Pack heavier, colder, and tighter: pre-chill the cooler 1–2 hours, use block ice or frozen water bottles that hold cool for 48–72 hours, and fill 50–70% of the cooler volume with ice to slow melt.
Common packing mistakes
Most coolers lose ice quickly because of predictable errors: starting with a warm cooler, loading warm food, using only small cube ice, and leaving gaps that let warm air circulate. Each of these increases the surface area exposed to heat or reduces the mass of cold material inside the cooler, meaning ice melts faster. Fix one mistake and you slow melt by a noticeable margin; fix them all and you can extend ice life from a single day to multiple days.
Start by pre-chilling the cooler for 1–2 hours with ice or frozen bottles, not with ambient air. Pre-chilling removes the initial heat load so your fresh ice isn’t consumed cooling the shell. If you skip this step, expect roughly 20–40% faster melt depending on outside temperature and how often you open the lid.
Small cube ice has more exposed surface area and melts faster than large blocks. Ice cubes are convenient but trade longevity for speed: cubes can melt fully in 12–24 hours in a standard cooler under sun and frequent openings, whereas a single large block can last 48–72 hours or more when properly insulated.
Frequent lid openings are another common culprit. Each opening lets in warm air; plan for no more than 3–6 openings per day on a multi-day trip. Treat the cooler as a pantry: remove several items at once rather than opening it repeatedly.
How ice loss happens
Warm air in, cold out — mostly through the lid.
Treat it like a pantry
Plan each opening and remove several items at once; every lid lift trades cold air for warm.
Pre-freeze everything
Freeze bottles or 2 to 3 inch blocks a full 24 hours ahead and pre-chill the empty cooler 1 to 2 hours.
“Block ice and frozen jugs act as thermal batteries; they give you hours of stable temperature if you reduce air exchange and pre-chill the cooler first.”
—
Packing steps and timing
Step 1 — Pre-freeze and pre-chill: Freeze any resealable bottles or 2–3 inch-thick blocks at least 24 hours before departure. Pre-chill the empty cooler for 1–2 hours with a bag of ice or frozen bottles inside, then drain that initial ice before loading to remove the heater load.
Step 2 — Ice type and ratio: For a day trip, target about 50% of the cooler volume as ice by packed volume; for 2–3 days, aim for 60–70% ice. For example, a 48-quart cooler should contain about 24 quarts (6 gallons) of ice for a day trip, and 29–34 quarts for 2–3 days.
Step 3 — Layering and placement: Start with a 1–2 inch insulating bed of ice or frozen packs along the cooler bottom. Place perishable food in sealed containers above that layer, then add a thicker layer of block ice or frozen jugs on top. Cold sinks, so top-loading heavy frozen mass helps maintain lower temperatures around the food.
Step 4 — Use thermal mass: Include 1–3 frozen 1-liter water bottles or 1–2 gallon frozen jugs as thermal mass; each 1-liter frozen bottle holds about 20–24 hours of cooling in a well-packed cooler, and larger jugs extend that. Frozen bottles are lighter than block ice to carry and reduce mess as they thaw.
Step 5 — Minimize air gaps and openings: Tight pack items so there’s minimal empty space—fill voids with napkins or extra frozen bottles. Limit lid openings to short, planned access windows; aim for no more than 3 openings in a 24-hour period for best retention.
Step 6 — Shade, insulation, and placement: Keep the cooler out of direct sun, ideally under a tarp or in a shaded area. Elevate the cooler off hot ground by 1–2 inches using a small platform or plywood to reduce radiant heat transfer from hot rocks or pavement. For an extra layer, wrap the cooler in a 1/4-inch closed-cell foam sheet or a folded blanket; this adds insulation and can slow heat gain by several hours in hot conditions.
Step 7 — Drain wisely: Use the drain plug to remove meltwater only when it would otherwise raise food temperature or cause slush to soak items. Removing warm meltwater can reduce the internal temperature by 2–5°F (1–3°C) in some cases, but emptying too often reduces thermal mass and shortens ice life. If meltwater depth exceeds 1 inch (25 mm), drain it to prevent sloshing and warming around food.
Step 8 — Long trips and dry ice: For trips longer than 3 days, consider block ice resupply or safe dry ice use. If using dry ice, handle with gloves, ventilate area, and follow dry ice rules: 5–10 pounds of dry ice can maintain a 48-quart cooler frozen for 24–48 hours, depending on packing and ambient heat. Dry ice requires caution and separate storage from consumables unless wrapped and ventilated.

Frequently Asked Questions
Further reading: Stream Water Filtering Mistakes to Avoid · Hammock vs Tent for Weekend Campers
Sources: National Park Service