Field & Home
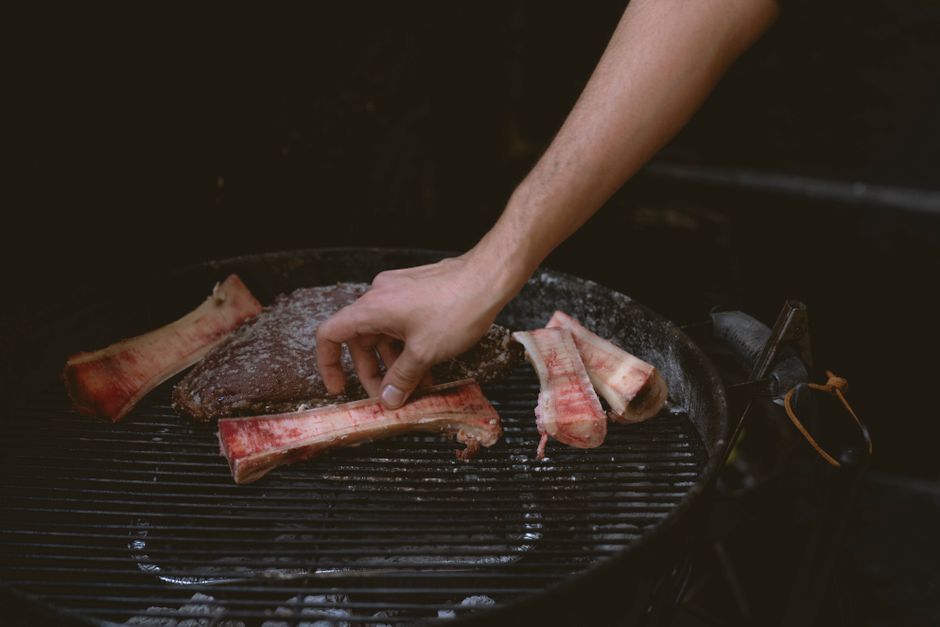
The short answer: Slow cookers turn economical, collagen-rich cuts into tender meals with low temps, modest liquid (1/2 to 1 cup per 2–3 lb roast), and 4–10 hours of gentle heat.
Slow cooking basics
Slow cooking tenderizes meat by converting connective tissue (collagen) into gelatin at sustained temperatures between about 160°F and 205°F. In a covered slow cooker, moisture and steam trap heat and limit evaporation, so you usually need far less liquid than braising in the oven; plan on roughly 1/2 to 1 cup of liquid for a 2 to 3 pound roast, or enough to reach about 1/3 up the side of the meat for larger pieces.
Time is the key variable: on the low setting, most tough cuts need 8 to 10 hours to reach pull-apart tenderness; on high, they typically take 4 to 6 hours. The target internal temperature for shreddable beef or pork is usually 195°F to 205°F, where collagen has fully melted and fibers separate easily. For sliceable but tender results, aim for 180°F to 190°F and rest 15 to 30 minutes before cutting.
Salt early, but not excessively: use about 1 teaspoon of kosher salt per pound of meat if seasoning before cooking. Salt draws moisture and helps proteins relax, accelerating tenderization; if you must shorten time, increase salt to 1.25 teaspoons per pound and add 1 tablespoon of an acid (vinegar or lemon juice) per 2 pounds to help break down tissue.
Fat and marbling matter. Cuts with visible marbling—chuck, brisket, pork shoulder—need less added fat and gain flavor as intramuscular fat renders. Very lean cuts like top round or eye of round can still work in a slow cooker, but plan an extra 30 to 60 minutes of cooking and add 2 tablespoons of oil or 2 ounces of butter to compensate for lost juiciness.
Slow-cooker essentials
Fat, trim, and portion rules.
Trim smart
Remove silver skin and excess fat but leave a thin eighth-inch fat cap; it bastes the meat as it renders.
Portion big roasts
Cut roasts over 4 pounds into chunks so the center reaches safe temp in the same time as the edges.
Braising in oven
- Faster: hours not all day
- Best for: weekend cooking
- Needs checking and liquid top-ups
Slow-cooker method
- Set-and-forget for workdays
- Best for: tough cheap cuts
- Needs morning prep discipline
Typical time to fully break down collagen on low setting for a 3–4 lb roast.
“Sear first when you can: a 3 to 4 minute per side sear caramelizes surface proteins and improves the final sauce without adding more time to the slow cook.”
—
Practical tenderizing techniques
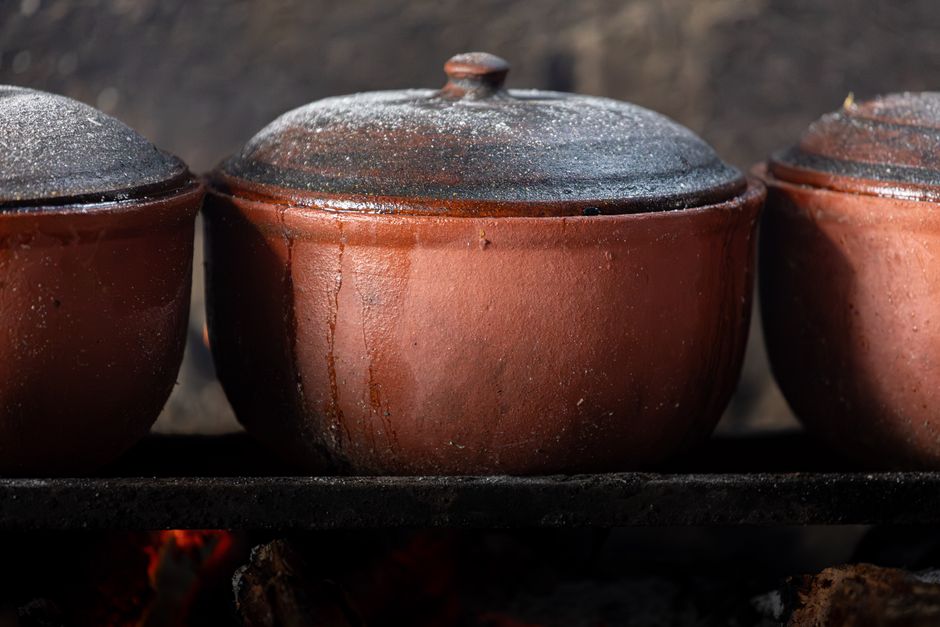
Step 1: Trim and portion. Remove large silver-skin pieces and excess fat that won’t render—leave a thin fat cap about 1/8 inch for flavor. For a 3 to 4 pound roast you can leave it whole; for roasts over 5 pounds, cut into two pieces so heat penetrates evenly and cooking time stays predictable (reduce individual piece time by roughly 20% when halved).
Step 2: Sear the meat for color and flavor. Heat a heavy skillet over medium-high to high heat until a drop of water sizzles; add 1 tablespoon of oil and brown the roast in 3-minute intervals per side until a deep crust forms. Searing takes 10 to 15 minutes total and creates fond for deglazing.
Step 3: Deglaze the skillet with 1/2 cup of stock, wine, or beer, scraping up browned bits for the slow-cooker liquid. Transfer the liquid and meat to the slow cooker; add enough additional liquid to reach about 1/3 up the side of the meat for pieces larger than 4 pounds, or 1/2 cup total for smaller roasts. For a richer sauce, use 1 cup stock plus 1/2 cup canned tomatoes for a 3–4 lb roast.
Step 4: Aromatics and seasoning. Add 1 medium chopped onion and 3 crushed garlic cloves per 3 pounds of meat, 2 bay leaves, and 1 teaspoon black pepper. If you want a sweeter finish, add 2 tablespoons of brown sugar or 1/4 cup of balsamic vinegar; acids speed collagen breakdown but also change flavor balance, so use 1 to 2 tablespoons at a time.
Step 5: Cooking schedule. For shreddable results, cook on low for 8 to 10 hours or on high for 4 to 6 hours. Check early at the lower end of the range with an instant-read thermometer: when the probe slides in with little resistance and the internal temp is 195°F to 205°F, the meat should pull apart with two forks; test at the 4-hour mark on high and the 6-hour mark on low for leaner cuts.
Step 6: Rest and finish. Remove meat to a cutting board and rest 15 to 30 minutes covered with foil. For shredded dishes, use two forks to pull apart and skim fat from the top of the cooking liquid: refrigerate the liquid for 30 minutes to an hour if you need a clean, de-greased sauce, then reheat and mix 1:1 with shredded meat to moisten at a 1 cup sauce to 1 pound meat ratio.
Slicing method: for sliceable roasts held at 180°F to 190°F, rest 20 minutes, then slice thinly across the grain at 1/4 inch thickness. Thermometer checks every 30 minutes during cooking avoid overcooking; lean cuts benefit from a 10-minute carryover rest to let juices redistribute.
Storage and reheating: cooled cooked meat stores safely in the refrigerator for 3 to 4 days or in the freezer for up to 3 months. Reheat in a covered pan with 1/4 cup of water or stock per pound over low heat for 8 to 12 minutes, or microwave in 30-second bursts until 165°F is reached.
Frequently Asked Questions
Further reading: Six Work Lunches That Save Money · 9 Budget Breakfasts Beyond Expensive Cereal
Sources: FoodSafety.gov